background image

EN

10

D

C

B

A

9 - GETTING STARTED

ATTENTION! 

For first time use, the following operation is recommended. 


WARNING! 

Make sure the power cord is not plugged in before you start. 

ATTENTION!

Lay TUTTOSTEAMY on a flat and steady surface.

9.1 FILLING WITH WATER

ATTENTION! Fill TUTTOSTEAMY with filtered water (from ZEPTER water 

filtration systems) or with tap water with a low mineral content (soft water).

Do not put any type of detergent or chemical substance into the boiler. 

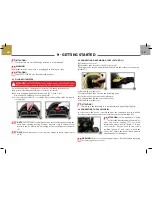
a)   Unscrew the safety valve (9) anti-clockwise (picture A).

b)   Pour in a suitable quantity of water (min. 0.5 l – max. 1.6 l). 

  Use a funnel for higher precision (picture B).

c)  Screw safety valve back – clockwise. Ensure that safety valve is properly 

closed/tight.

 NOTE: TUTTOSTEAMY is equipped with a safety valve that prevents the 

valve from opening as long as steam pressure is high. Current steam 

pressure can be monitored by looking at the steam pressure indicator 

(8).

  NOTE:  When water level is too low, the orange indicator light comes  

on (6).

9.2 CONNECTING OR REMOVING THE FLEX TUBE (31)
a)   
Lift the socket cover

b)   Insert flex tube into the socket (11) (picture C).

The pin has to be turned upwards and inserted into the socket cover opening 

(picture D).

c)   Release the socket cover. 

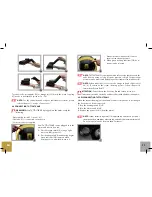
To remove the flex tube observe the following steps:

a)   Lift the socket cover above the safety pin. 

b)   Gently pull the flex tube out of the socket.

c)   Release the socket cover.

ATTENTION!

Ensure that the safety pin is correctly attached by pulling it lightly.

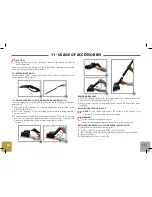
9.3 CONNECTING THE ACCESSORIES
In order to use the device correctly and get the requested results, it will be 

necessary to insert the proper accessories onto the extension tube (32). 

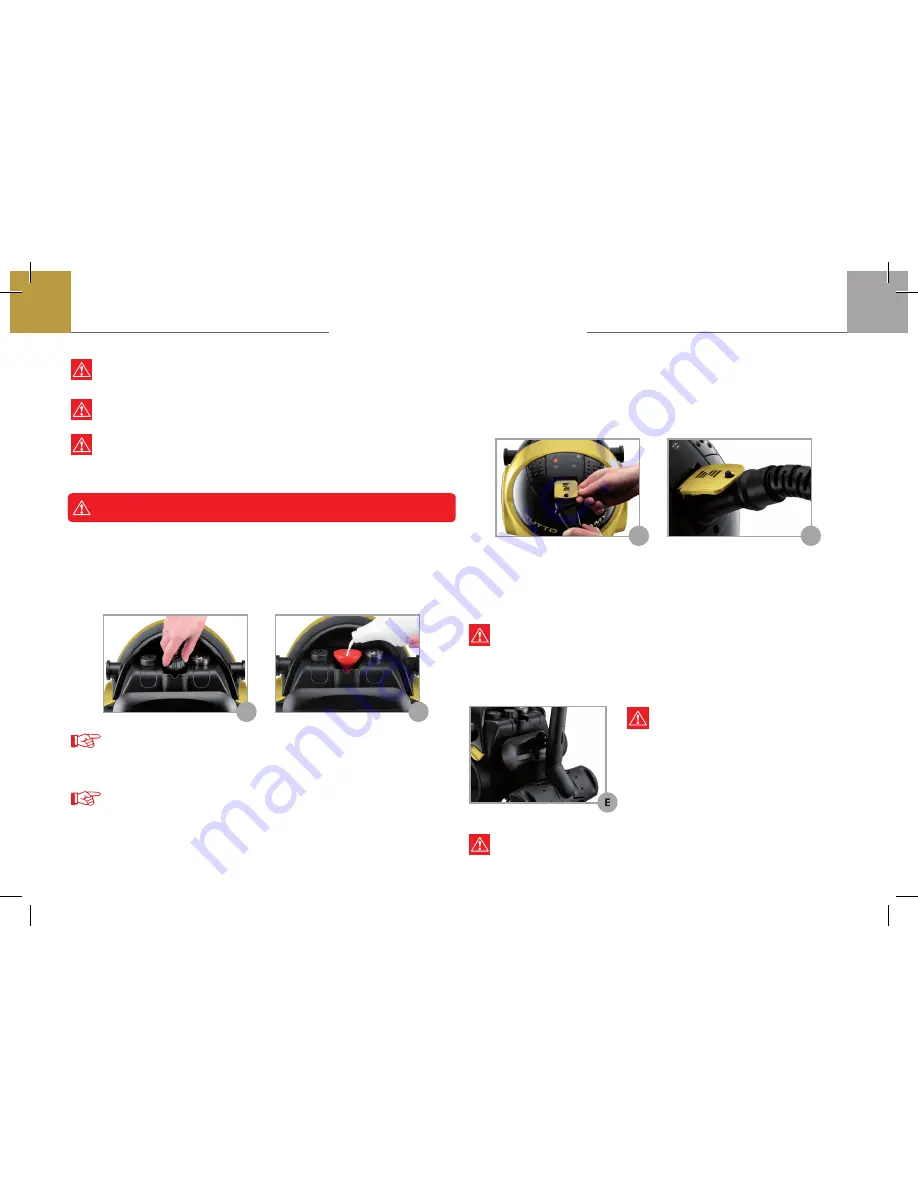
ATTENTION!  If the appliance is being 

used for the first time, apply the hook (41) 

onto the brush coupling (37). For more 

information, please refer to chapter 11 “Usage 

of accessories”.  Put the hook in the correct 

position (picture E) and secure it with the 

screws (42). Ensure the hook is fixed properly 

and cannot be lost during use. 

WARNING! The accessories heat up during use. Be careful when replacing 

or removing the accessories.

Summary of Contents for TUTTO STEAMY PWC-301

Page 1: ...EN 1 INSTRUCTION FOR USE...

Page 2: ...GOLD C 15 M 25 Y 80 K 25 RED C 0 M 90 Y 86 K 0 BLACK C 0 M 15 Y 50 K 100...

Page 3: ...A page 06 6 WARNINGS page 07 7 CLEANING PRACTICAL ADVICE page 08 8 STEAM CLEANING PRACTICAL ADVICE page 09 9 GETTING STARTED page 10 10 WATER RE FILL page 12 11 USAGE OF ACCESSORIES page 13 12 IRONING...

Page 4: ...40 Window wiper suction 41 Hook for extension pipe 42 Screws for hook 1 OVERVIEW OF TUTTOSTEAMY PWC 301 LIST OF ACCESSORIES 1 TUTTOSTEAMY body 2 Wheels 3 Power cord 4 Main switch 4B Main switch light...

Page 5: ...s doors Mirrors STEAM CLEANING HEALTHY AND POWERFUL Water in the form of steam is the most effective and environment friendly way to clean and disinfect It is the natural way to cleanse deeply respect...

Page 6: ...STICS WARNING Make sure the technical data on the data plate matches that of your electricity mains supply Technical characteristics Total power 2350 W Boiler volume 2 4 L Boiler capacity 1 6 L Boiler...

Page 7: ...multiple adaptors and extensions are used which conform to current safety regulations 8 Do not use the appliance if any damage is visible on the power cord or the plug In case of malfunction switch o...

Page 8: ...4 Do not expose the machine to severe weather elements such as rain hail snow wind etc Never put the appliance into any type of liquid 25 Use the appliance with the utmost care when children are nearb...

Page 9: ...nozzle to release the steam Direct the steam jet towards the surface to be cleaned Clean the dirty surface evenly with the floor polisher For more stubborn dirt rub a little without pressing on the br...

Page 10: ...l is too low the orange indicator light comes on 6 9 2 CONNECTING OR REMOVING THE FLEX TUBE 31 a Lift the socket cover b Insert flex tube into the socket 11 picture C The pin has to be turned upwards...

Page 11: ...indicator 5B is on steam can be released NOTE TUTTOSTEAMY is equipped with a safety valve that prevents the valve from opening as long as steam pressure is high Current steam pressure can be monitore...

Page 12: ...EAMY is equipped with a safety valve that prevents the valve from opening as long as steam pressure is high 4 Unscrew the safety valve 9 anti clockwise 5 Pour a suitable quantity of water min 0 5 l ma...

Page 13: ...from flex tube 31 to brush coupling Press the spring button and insert end of extension tube or nozzle into brush coupling until the spring bottom snaps into its correct position REMOVING BRUSHES 1 Pu...

Page 14: ...sert end of extension tube or nozzle into window wiper until the spring bottom snaps into its correct position pictures U Ua 2 Spray the steam onto window from top to bottom Picture Ua by placing the...

Page 15: ...Steam switch Pressure key Steam release during ironing Push button with locking function Iron status LED light red Shows when the iron is ready for use Iron temperature regulation DIAL For the adjustm...

Page 16: ...hout any stains FRESHENING UP CLOTHES Adjust the required temperature with the temperature regulator 3 of the iron Set the steam intensity regulator 10 on the main body to 3 Spray steam onto the garme...

Page 17: ...OP CALC The descaler prevents limescale from forming on the components of the appliance and in the pipes which come into contact with steam ATTENTION If STOP CALC PWC 300 57 is used follow next recomm...

Page 18: ...ed position 0 The accessory is clogged Turn the steam intensity regulator to the open position 1 6 Check the accessories An accessory becomes detached during use The accessory has not been properly co...

Page 19: ...COATED 15 USE OF ACCESSORIES ACCESSORIES 29 Domestic iron 30 Rubber mat 31 Flex tube with plug 32 Extension tube 33 Triangular brush 34 Towel wipe 22x22 cm 35 Floor wiper 44x32 cm 36 Rectangular brush...

Page 20: ...by other people are found 3 Original accessories have been used 4 The machine has not been overloaded or damaged 5 The device is regularly cleaned and maintained according to the manufacturer s instru...

Reviews: