Zero 88 Series
Usk House, Lakeside, Llantarnam Park,
Cwmbran, NP44 3HD. UK
Tel: +44 (0)1633 838088 Fax: +44 (0)1633 867880
Email: enquiries@zero88.com Web: www.zero88.com
Lighting Controls
–
FLX lighting console
Zero 88 FLX Quick Start Guide v1.2
– Stock Code: 9850-000492-00 – Page 10 of 20
Playbacks and cues
Once you have set up a scene that you like, you can then
record that onto a cue. Cues can be recorded into any of
the 240
playbacks, or the Master Playback. There’s
nothing special or different about the Master Playback
compared to the other playbacks, apart from the double-
width GO button and dedicated Pause button for
convenience.
When dealing with cues, we suggest viewing the
“Programmers” desktop. If you do not have an external
monitor, the two windows discussed below will appear on
the internal monitor when you press View .
Pressing View will switch between the two windows.
Playback window
The Playback window (fig. 9) shows all the cues within a
single playback, with each cue being a different row. The
columns show the various fade times and settings for each
of those cues.
To change which playback you’re viewing, hold View and
tap the Go button of the playback you wish to view
– this
could be any of the 24 MFFs, or the Master Go button.
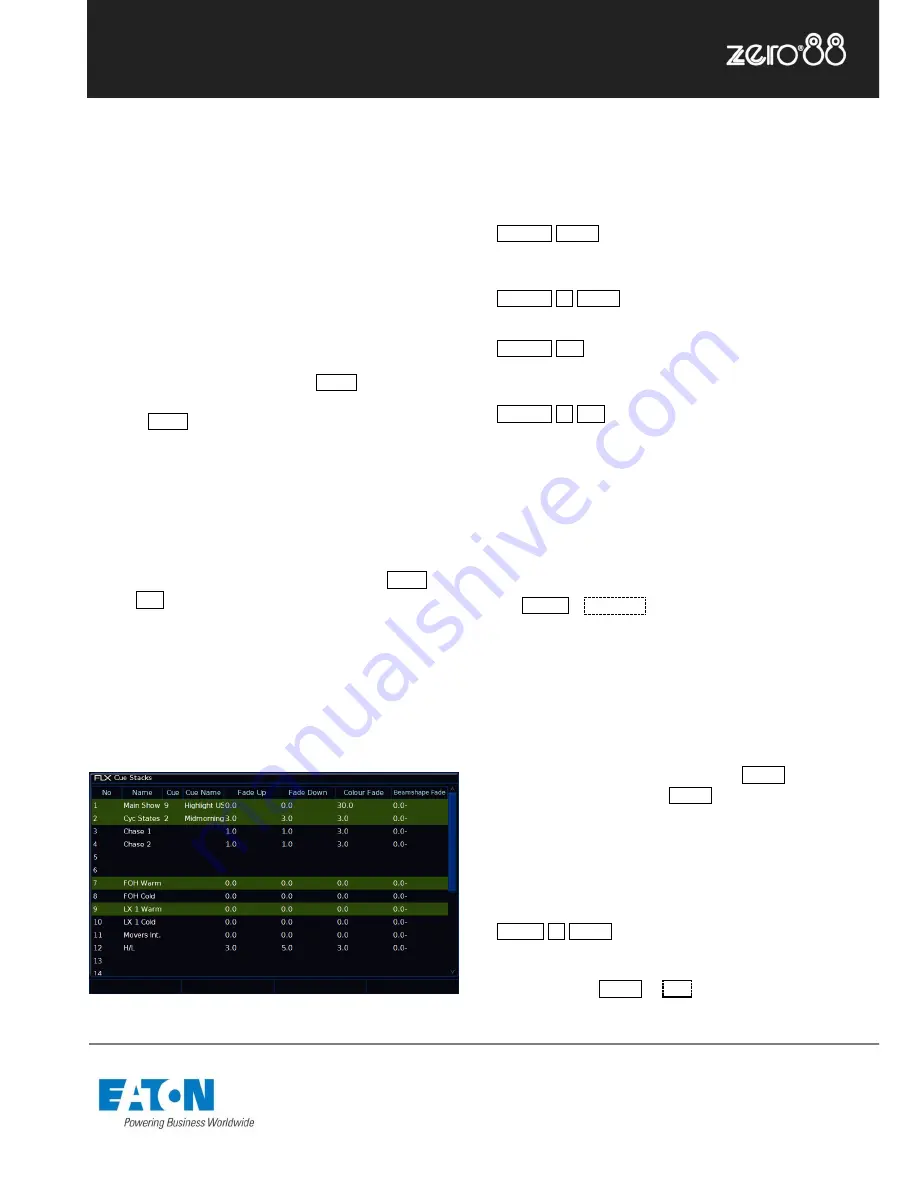
Playback Summary window
The Playback Summary window (fig. 8) lists the current
page’s 24 playbacks, each on their own row. The columns
show the playback’s name, and then information about the
currently active cue within each playback.
Figure 8
– Playback Summary window
Recording a cue
To record a cue, there are four possible methods:
… Record Enter …
This will record the next available cue, within the playback you are
currently viewing.
… Record 5 Enter …
This will record cue 5 within the playback you are currently viewing.
… Record Go …
This will record the next available cue, within the playback of the Go
button you press (this could be one of the MFFs, or the Master Go button)
… Record 5 Go …
This will record cue 5 within the playback of the Go button you press.
Subsequent cues can then be set up and recorded using
the same method.
Adjusting fade times
Each cue can have a Fade Up, Fade Down, Colour, Beam,
Shape and Position fade time.
Within Setup >
Defaults
the default fade times are
defined, and can be adjusted if required prior to
programming cues. Cue 1 will always have a
default
of 0
seconds, but can be altered once recorded if desired.
Once a cue has been programmed, its times can be
adjusted in a similar format to a spreadsheet on a
computer, with each time be
ing in a separate “cell”.
Choose the time you wish to change by either touching it
or selecting it using the arrow keys, press Enter and then
type the new fade time. Press Enter to confirm.
Naming cues
Naming cues can be helpful in remembering what
changes, or when the cue happens. Use the following
command to name a cue:
… Name 5 Enter …
An onscreen keyboard will then be displayed to type the
cue
’s name. Press Enter or
OK
to confirm.


