15
Quick Start Tutorial
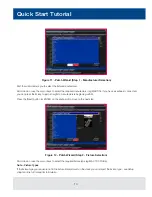
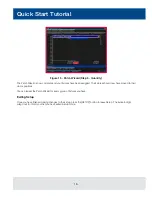
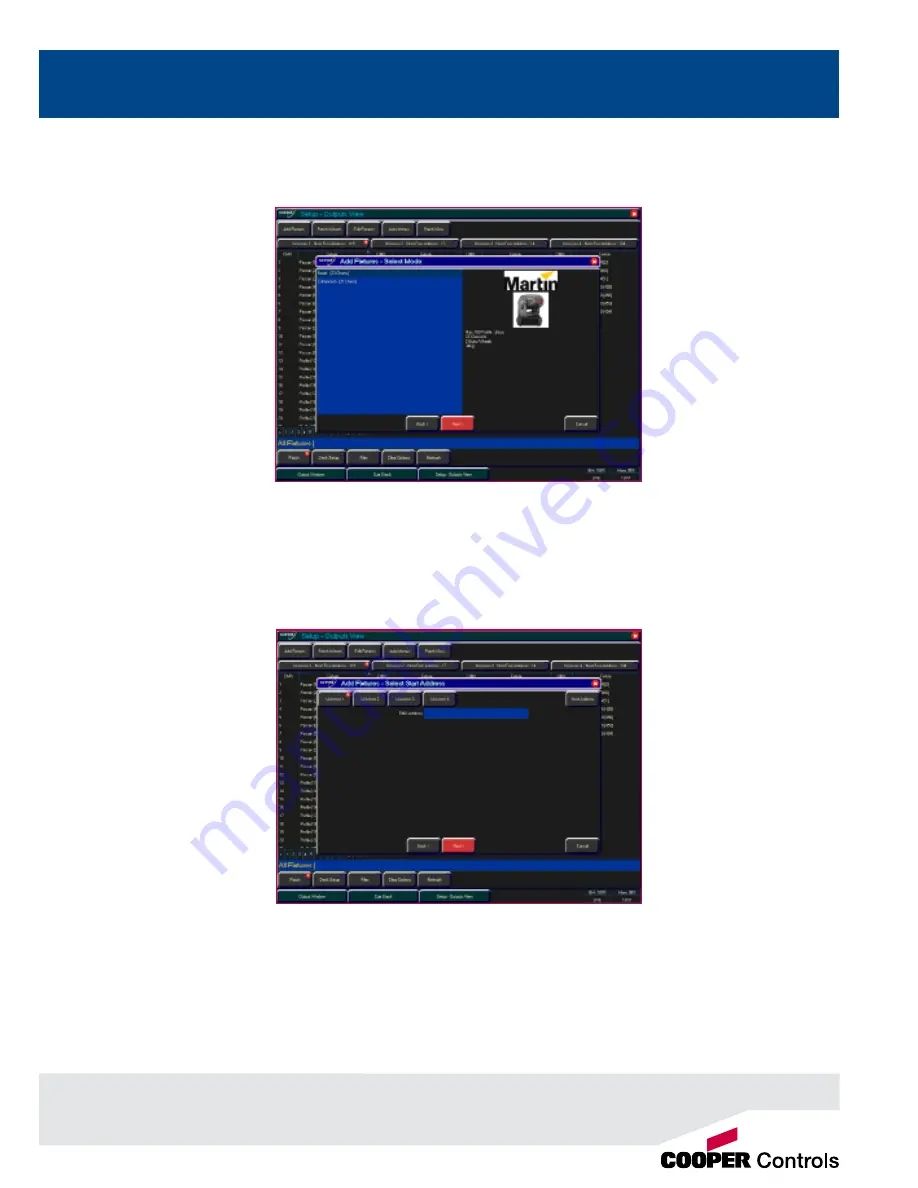
Press the [Next] button to select the fixture Mode. It is important that the mode set here matches the mode set on the
fixture itself - if in doubt, consult the fixture operating manual for full details.
Figure 13 - Patch Wizard (Step 3 - Mode Selection)
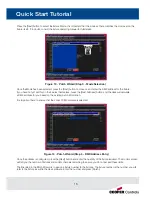
Once the Mode has been selected, press the [Next] button to move on and enter the DMX address for the fixture.
If you have not yet set this on the fixtures themselves, press the [Next Address] button and the desk will calculate
a DMX address for you based on the existing patch information.
It is important here to ensure that the correct DMX universe is selected.
Figure 14 - Patch Wizard (Step 4 - DMX Address Entry)
Once the address is configured, press the [Next] button and enter the quantity of the fixture required. The monitor screen
will tell you the number of fixtures and control channels remaining to ensure you do not exceed these limits.
The final step in the Patch Wizard is to assign a fixture number to the fixtures. The fixture number is the number you will
refer to the fixture as within the desk software. Enter the number and press [Finish].

