16
SHOOTING
PHOTOS:
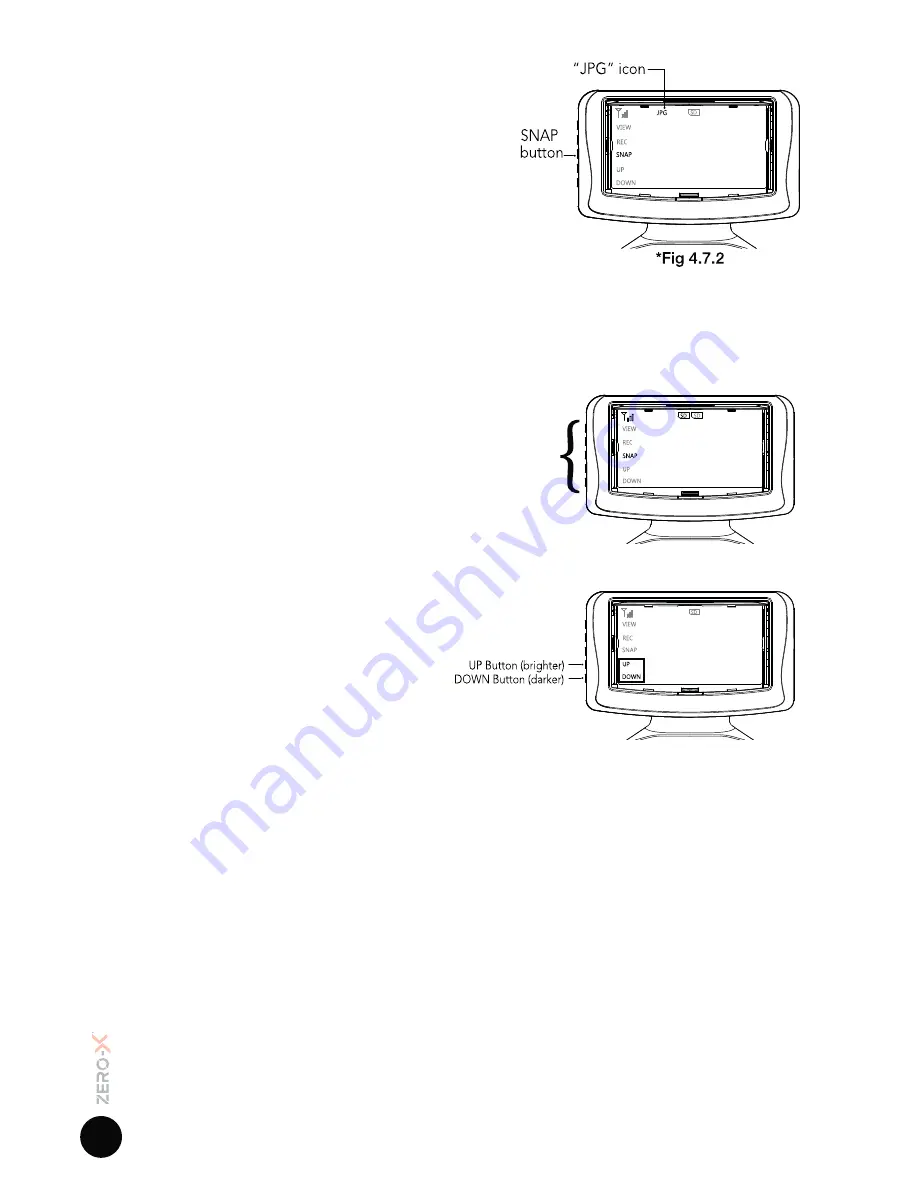
To shoot a photo with your Rapture
HD
press the Snap button
(Refer to Fig 4.7.2)
on the left side of the FPV screen. “JPG”
will be displayed at the top of the FPV
screen in red indicating that a photo has
been taken.
4.8
FIRST PERSON VIEW DISPLAY
When connected the First Person Display streams the video from the
Rapture
HD
s camera as well as gives the ability to play back footage from an
inserted SD Micro Card.
INTERFACE
The FPV interface can be controlled
using the five buttons on the side of the
FPV screen.
(Refer to Fig 4.8.1)
In the front menu the buttons control
recording footage, taking photos, viewing
recorded Videos/Photos and adjusting the
brightness of the FPV screen.
BRIGHTNESS
To increase or decrease the brightness of the
FPV screen use the up and down buttons on
the front menu.
(Refer to Fig 4.8.2)
PAIRING
If you are in an area where more
than one drone is being flown it
is recommended that you pair your FPV screen
to your drone to avoid signal interference.
To pair your FPV screen to your Rapture
HD
:
1.
Connect your Rapture
HD
to the controller by following the connection
instructions in the section named ‘Flying your Rapture
HD
’.
2.
Once paired hold the Up button in the Front Menu for six seconds, this will
then allow you to pair the Rapture
HD
to the FPV Screen by pushing the Up
button again.
3.
The FPV screen will then take five seconds to bind the connection which
will be counted down on screen.
4.
The FPV Screen and Rapture
HD
are now paired.
*Fig 4.8.1
*Fig 4.8.2


