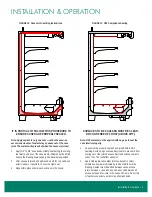
Installation & Operation • 13
INSTALLATION & OPERATION
Mirrors
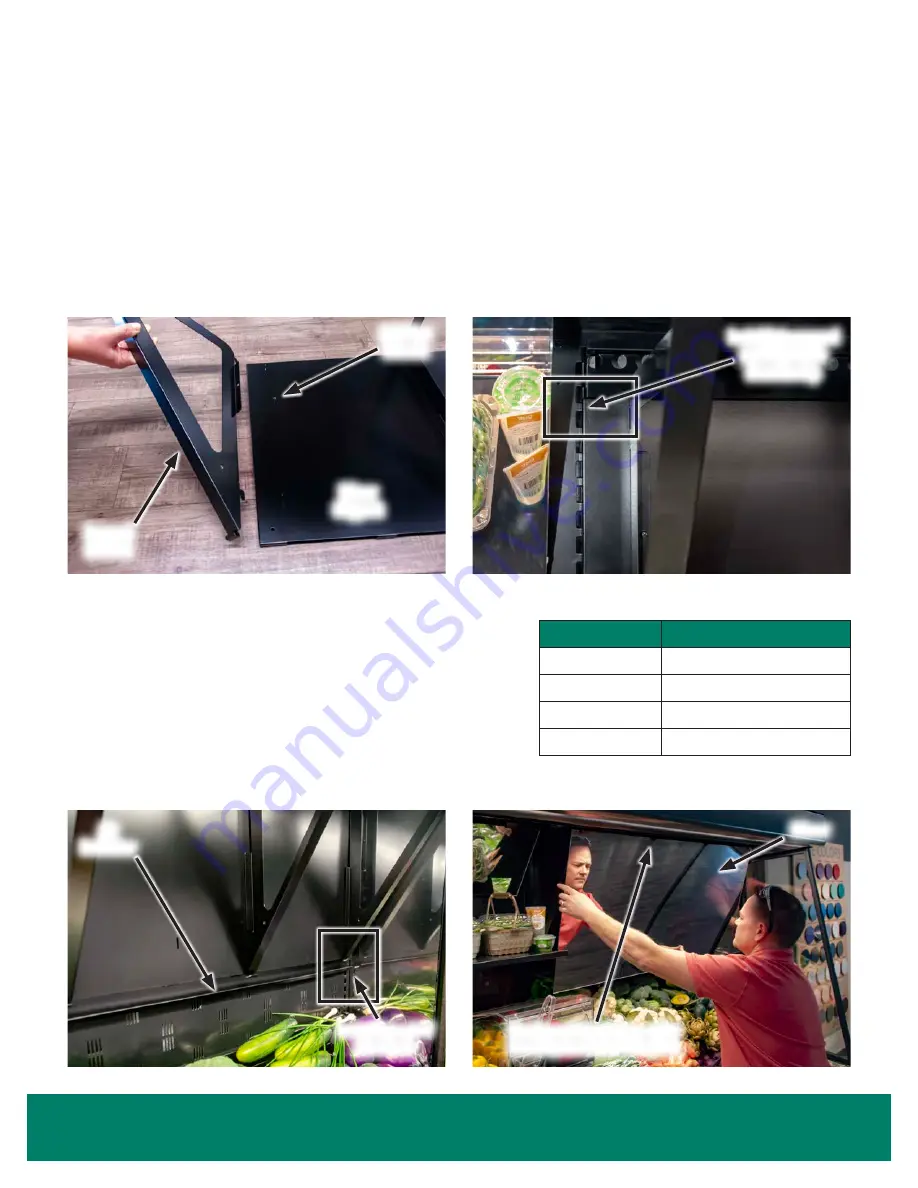
Mirror assemblies include the mirrors, brackets, supports, and an air deflector, which are shipped together as a kit.
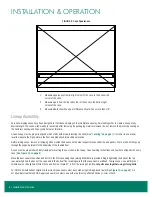
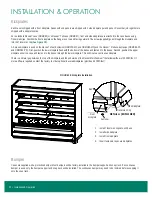
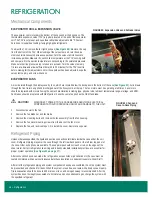
1. Assemble the support brackets to the mirror support. Slide the tabs on the brackets into the slots in the mirror support. use the supplied
hex screws to fasten the brackets in place (
).
Note: There will be 3 brackets and 3 screws for 36" wide mirrors or
4 brackets and 4 screws for 48" wide mirrors.
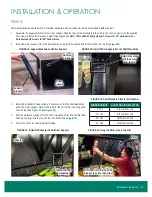
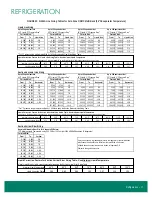
2. Install the mirror support into the shelf standards, using both the second and third slots from the top (
FIGURE 19: Support Brackets and Mirror Support
Support
Bracket
Mirror
Support
Add Hex
Screws
FIGURE 20: Install Mirror Support into the Shelf Standards
Install into second
and third slots
from the top
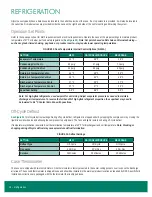
FIGURE 21:
Shelf Standard Slots for Air Deflector
MIRROR HEIGHT
SLOT FOR AIR DEFLECTOR
8" Tall
6th Slot from Top
12" Tall
9th Slot from Top
20" Tall
16th Slot from Top
24" Tall
19th Slot from Top
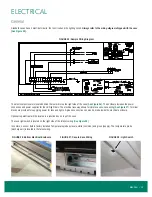
FIGURE 22:
Install Air Deflector Under Mirror Support
Install into shelf
standards
Air
Deflector
FIGURE 23: Hang the Mirror, Insert Top First
First insert into the top of the
bracket, then into the bottom
Mirror
3.
Install the air deflector (also called a “mirror scoop”) into the shelf standards
under the mirror support. Refer to the table for the correct slot, counting down
from the top (
).
4. Peel the protective coating off of the mirror. Hang the mirror from the brackets.
Start by inserting it into the top and then the bottom (
).
5. Center the mirror for optimal product display.

