6 • Installation & Operation
INSTALLATION & OPERATION
Leveling
Cases should be set level right to left to allow complete drainage of defrost and condensate water. Since a level floor area is seldom available,
the following steps are recommended to ensure a level installation. If your case uses seismic restraints, specific instructions for attaching
seismic restraints are included in your document package. Read and understand these instructions before assembling the lineup.
1.
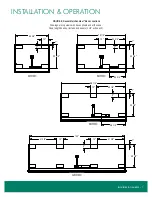
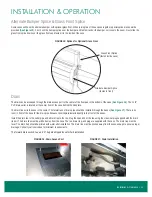
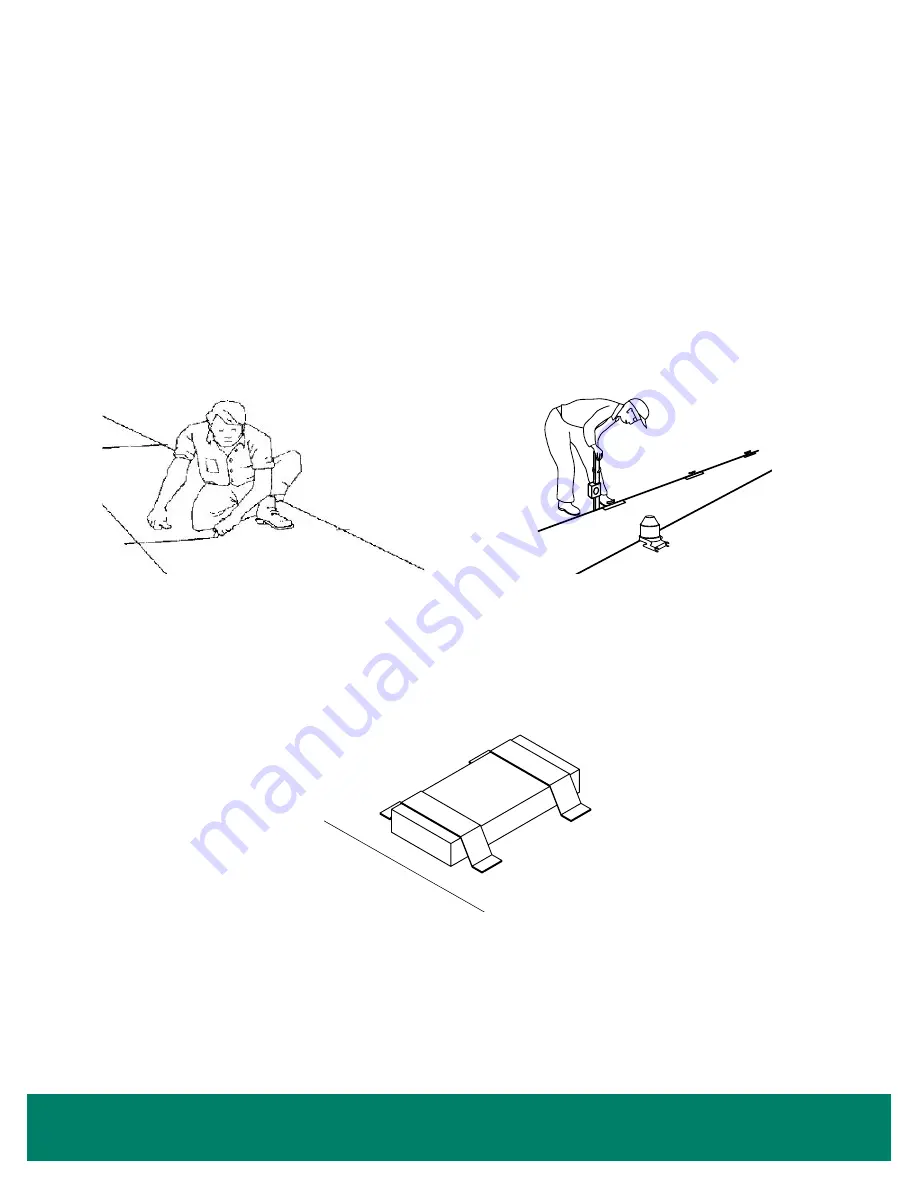
Measure off and mark on the floor the exact dimensions of the case lineup (
). Refer to the fixture plan or floor plan.
2. Snap a chalk line at the locations for the front and back positions of the bases.
3. Mark locations of all joints, both front and back.
4.
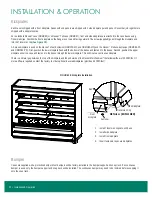
Using a laser level or transit, find the highest point along both base position lines. Using the high point as a reference, mark the difference
directly on the floor to each base, both front and back (
).
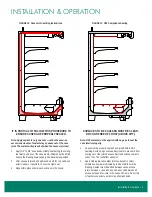
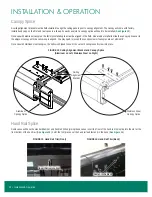
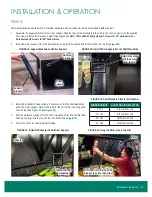
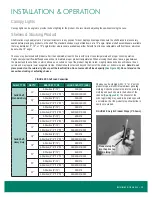
5. Place enough shims under each base to equal the highest point. Shims should not extend beyond the front case bases or they will interfere
with installing trim. The shims should be oriented to sit under the front and rear bends of each base. Tape all shims in place (
After the case is set, additional shims may need to be added at specific base locations (
).
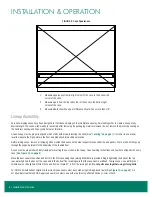
6. The case must be leveled front-to-back and side-to-side. Ensure that the case is set square to within 1/8". Measure squareness from the
top right corner to the bottom left corner, and then again from the top left corner to the bottom right corner. Measurements should be equal
(
). Check that the case is level by setting a 4' level against the frame or intermediate standard.
7. Cases should be set with a slight backward tilt to offset the forward lean of a fully loaded case. We recommend an additional 3/8" of shims
be installed under the front bases after the case is leveled.
8. Place additional support shims under any bases with gaps taller than one shim.
Note: Total height of shims should be less than 3/4".
FIGURE 5: Measure and Mark Exact Case Outline
FIGURE 6: Mark Floor Level Difference
FIGURE 7: Tape Shims on the Floor Under Each Base
Cas
e F
ron
t
Case
Fr
ont
Placement
under Bases
Case Front

