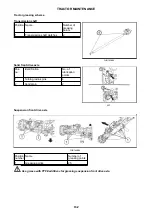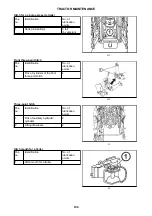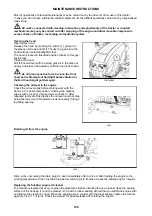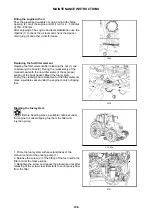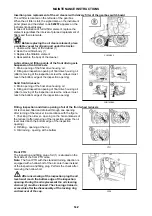
Replacing the hydrostatic steering hoses
F11N037
The hoses must be replaced after four years from the production date (the date is indicated on their surface)
or after 3500 hours of work of the tractor or immediately after discovering signs of their damage (hose
sweating, local buckling, leaks of the working media around the end pieces and on the hose surface,
abrasion of the hose surface to the metallic reinforcement, damage of the outer yarn braiding in the case of
low-pressure hoses).
In case of a pump failure or after stopping of the engine the steering capability is maintained,
but the required steering force gets higher. You can drive the tractor at a reduced speed to the
nearest workshop. The steering wheel must not be held in the limit turning angle positions for a long
time (the maximum time is 20 s); otherwise the oil in the hydrostatic steering circuit is heated up
excessively.
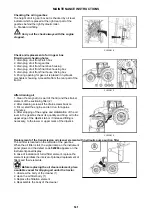
Replacing coolant
Proceed in the following way:
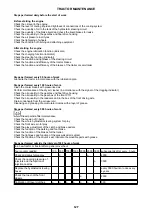
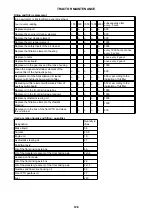
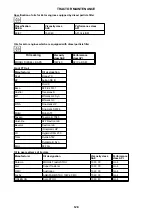
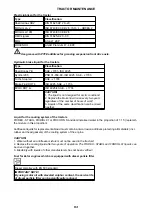
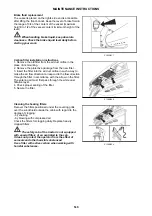
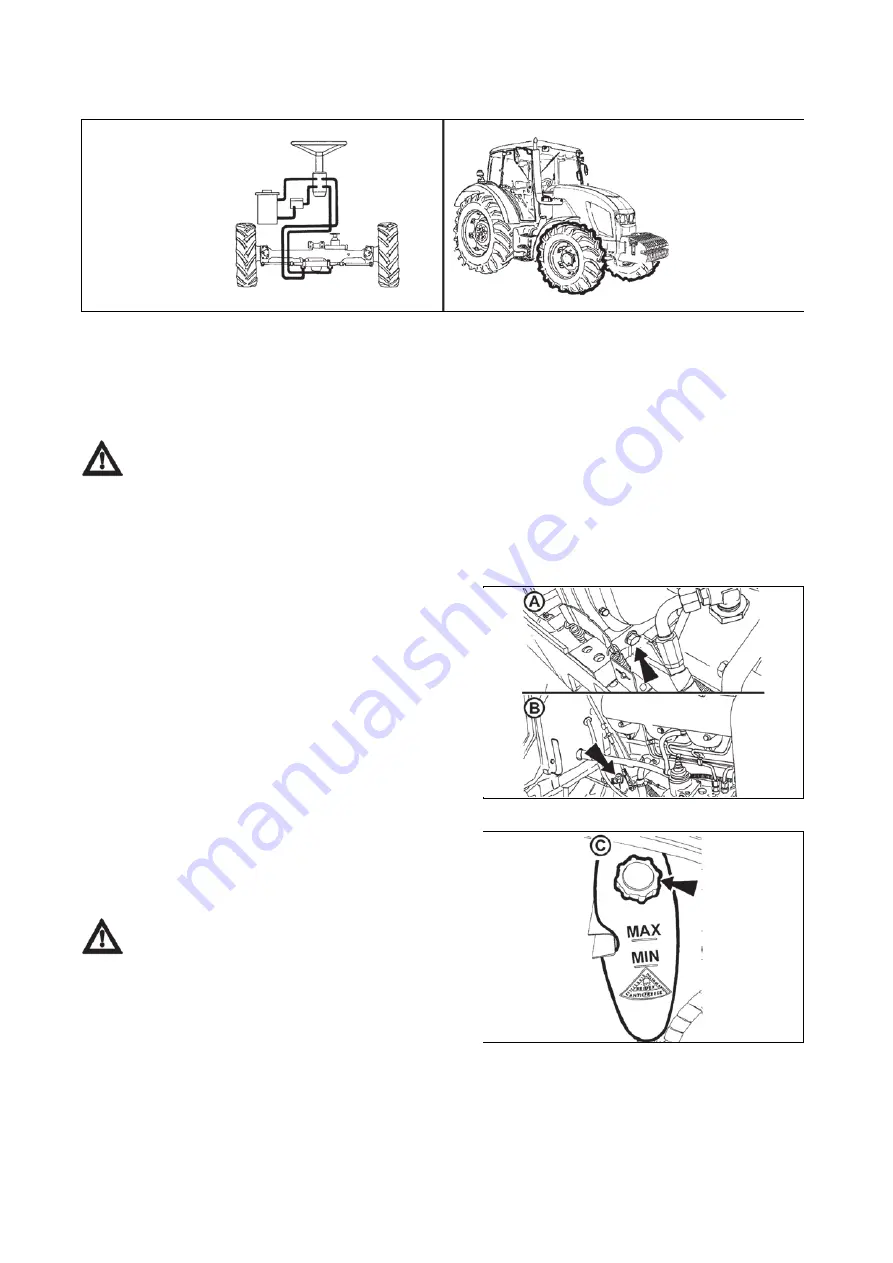
1. Open the heating valve and release the pressure cap
(C) on equalizing vessel.
2. Drain the coolant from the radiator. Plug (A) is
accessible after lifting the bonnet.
3. Drain the coolant from the block of engine. Drain cock
(B) is accessible after the disassembly of right side part.
4. After draining the coolant close the drain valve and cap
(leave heating cock open).
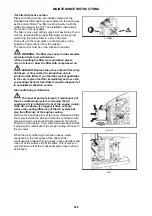
5. Fill the cooling system with a coolant to the neck in
equalizing vessel and close by pressure cap.
FH12N084
6. Start the engine and allow it to run for approximately
1 min.
7. Fill the level of coolant in equalizing vessel to MAX.
gauge.
8. Close the vessel with a pressure cap (C).
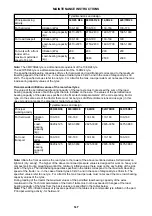
Always use the prescribed coolant to fill the
cooling system of the engine. Never fill the cooling
system with water. Using other than the prescribed
coolant may damage the engine.
XF_02_199
MAINTENANCE INSTRUCTIONS
140
140
Summary of Contents for FORTERRA HD Series
Page 1: ...130 140 150 Tractor is Zetor Since 1946 OPERATOR S MANUAL FORTERRA HD 01 2014...
Page 3: ...2 2...
Page 11: ...NOTES 10 10...
Page 75: ...NOTES 74 74...
Page 79: ...NOTES 78 78...
Page 97: ...NOTES 96 96...
Page 115: ...NOTES 114 114...
Page 123: ...Placement of fuses in fuse box X18 ELECTRIC INSTALLATION 122 122...
Page 127: ...NOTES 126 126...
Page 153: ...NOTES 152 152...
Page 163: ...NOTES 162 162...


