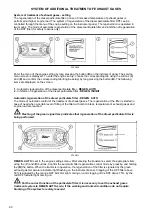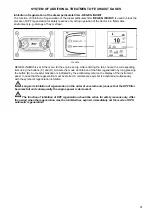
Processed area - user selection
PSH18N010
Enter the processed area menu - user selection.
Three aggregation widths can be adjusted for each user.
There is an extra memory of the processed area for each user.
In the use selection menu (a) use the buttons (
C
) and (
D
) of one out of three users.
Shortly press the button (
B
) to select the user with the set aggregation.
Long press the button (
B
) to enter the menu for setting the aggregation for the selected user (b).
(1) - user code and aggregation number
(2) - set width of aggregation
Use the buttons (
C
) and (
D
) to select the required aggregation width and shortly press the button (
B
) for
confirmation. The selected aggregation is marked by the tick (3).
Return to the main screen by repeatedly pressing the button (
A
).
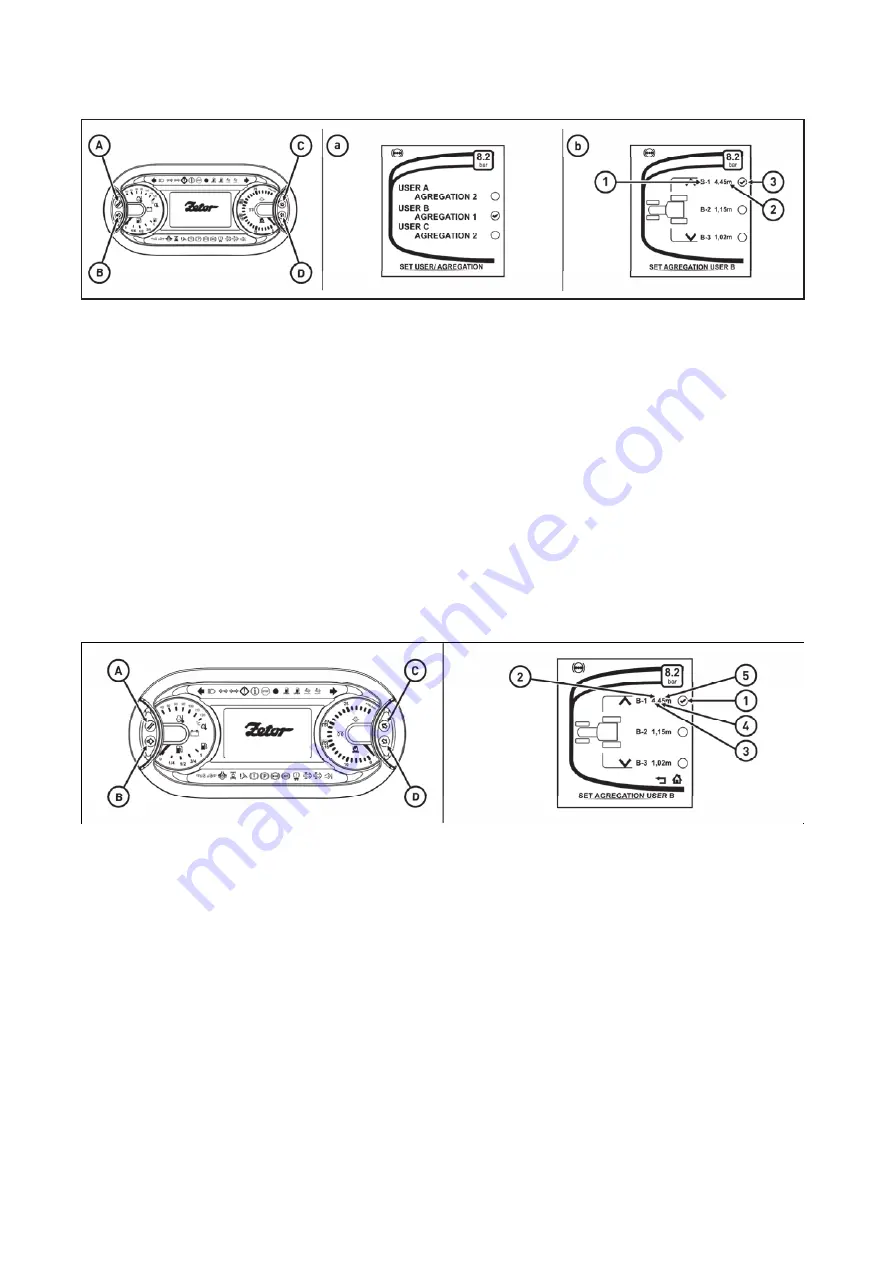
The processed area - setting of the width of aggregation
PHS18N011
In the aggregation width menu, each of the three preset values of the aggregation width can be changed for
each user.
Enter the aggregation setting menu for the selected user.
Use the buttons (
C
) and (
D
) to select the aggregation that you can change and press the button (
B
). The
aggregation is marked by the tick (1).
Long press the button (
B
) to enter the value change mode (aggregation width). The value indicating the
aggregation width starts flashing (2).
Press the button (
A
) to reset the value of the aggregation width;
0,00
is displayed.
By pressing the button (
B
) the first position of the value (3) is selected and starts flashing. Use the buttons
(
C
) and (
D
) to change the value 0 to the required one. By pressing the button (
B
) go to the next position (4)
that starts flashing.
Use the buttons (
C
) and (
D
) to change the value
0
to the required one. Press the button (
B
) to go to the next
position (5) that starts flashing.
Use the buttons (
C
) and (
D
) to change the value
0
to the required one. Long press the button (
B
) to save the
newly the set aggregation width.
Return to the main screen by repeatedly pressing the button (
A
).
INSTRUMENT PANEL
76
Summary of Contents for FORTERRA HSX 120
Page 1: ...FORTERRA HSX 120 130 Tractor is Zetor Since 1946 140 OPERATOR S MANUAL 04 2020...
Page 3: ...2...
Page 93: ...NOTES 92...
Page 125: ...NOTES 124...
Page 131: ...NOTES 130...
Page 163: ...NOTES 162...
Page 179: ...Fuse panel B Tractors without light controller only FHSXS5N010 ELECTRIC INSTALLATION 178...
Page 181: ...Fuse panel B Tractors with light controller only FHSXS5N008 ELECTRIC INSTALLATION 180...
Page 195: ...NOTES 194...
Page 225: ...NOTES 224...
Page 230: ...229...


