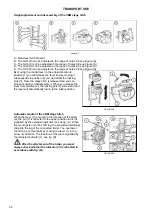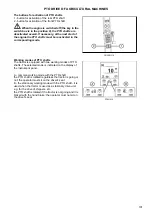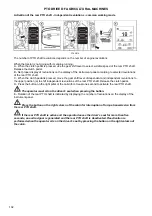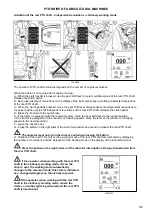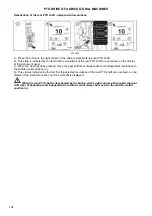
Height adjustment and disassembly of the CBM stage hitch
záv
ě
sy_2
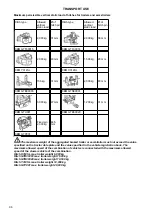
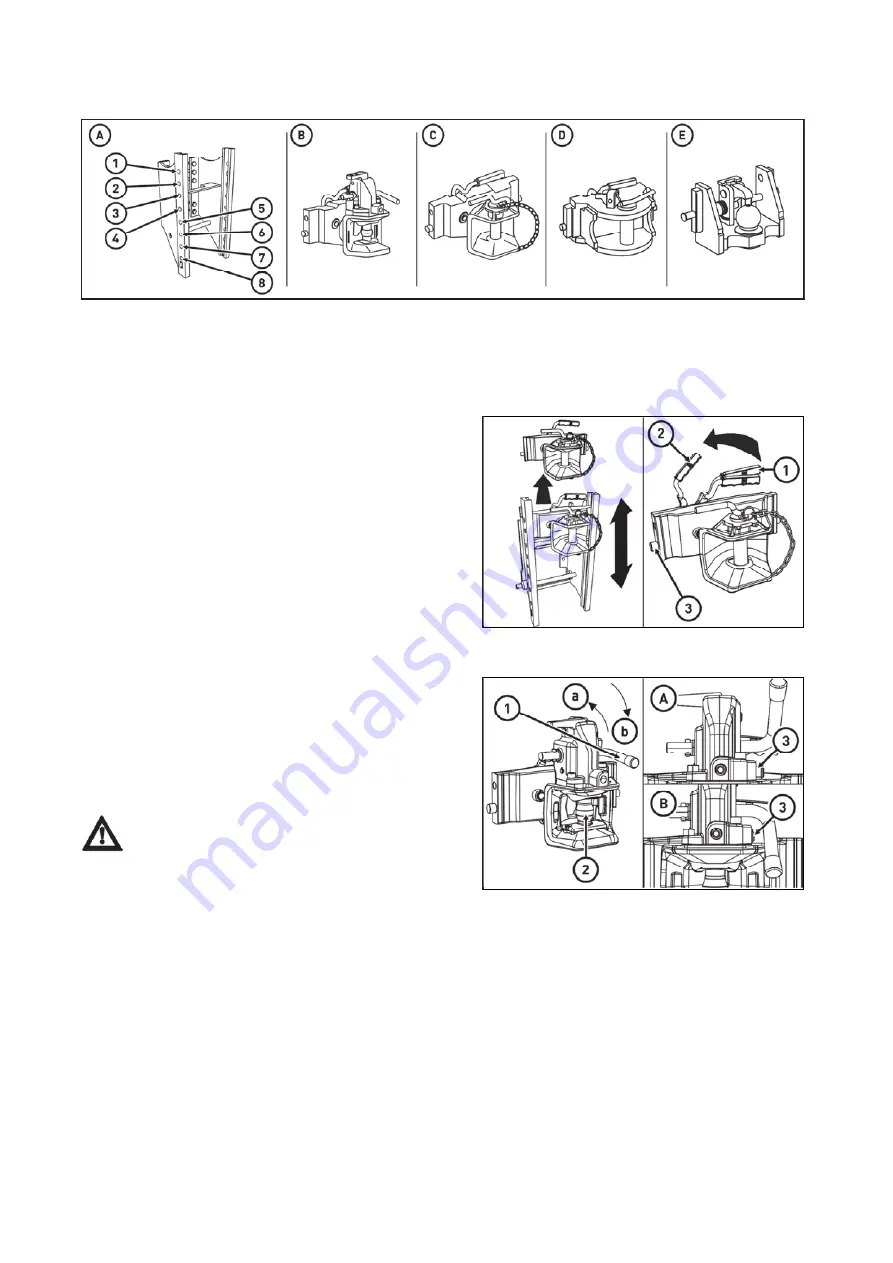
A - Multi-level hitch bracket
B - The hitch (B) can be adjusted in the range of holes 3-8 see Figure (A)
C - The hitch (C) can be adjusted in the range of holes 3-8 see Figure (A)
D - The hitch (D) can be adjusted in the range of holes 4-8 see Figure (A)
E - The hitch (E) can be adjusted in the range of holes 7-8 see Figure (A)
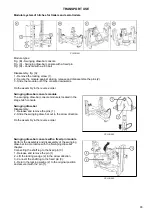
Automatic mouth of the CBM stage hitch
By moving the control lever in the arrow direction to
position (1) you will release the lever and by moving it
subsequently to position (2) you will retract the locking
pins (3). Now, the stage hitch is released and you can
adjust its height or disassemble it. When you release the
lever from position (2), the locking pins (3) will extend and
the lever will automatically return to the initial position.
PCLPN049
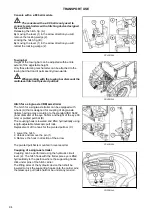
When the lever (1) is moved in the direction of the arrow
(a), the pin (2) is retracted to the upper position, which is
signalled by the extended indicator (3), see fig. (A). When
the mouth gets onto the shaft lug, the pin will automatically
slide into the lug of the connected trailer. You can lower
the hitch pin (2) manually by moving the lever (1) in the
arrow (b) direction. The insertion of the pin is signalled by
the retracted indicator (3), see fig. (B).
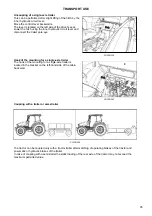
After the attachment of the trailer you must
always check whether the indicator (3) is retracted in
accordance with fig. (B).
PCLPN050
TRANSPORT USE
92
Summary of Contents for Proxima CL 80
Page 1: ...OPERATOR S MANUAL PROXIMA CL 03 2018 Tractor is Zetor Since 1946 80 90 100 110...
Page 3: ...2...
Page 11: ...10...
Page 33: ...NOTES 32...
Page 91: ...NOTES 90...
Page 111: ...NOTES 110...
Page 131: ...NOTES 130...
Page 147: ...Fuse panel B P18N083 ELECTRICAL INSTALLATION 146...
Page 163: ...NOTES 162...
Page 181: ...NOTES 180...
Page 187: ...NOTES 186...
Page 203: ...NOTES 202...
Page 208: ...207...

