Programming
74
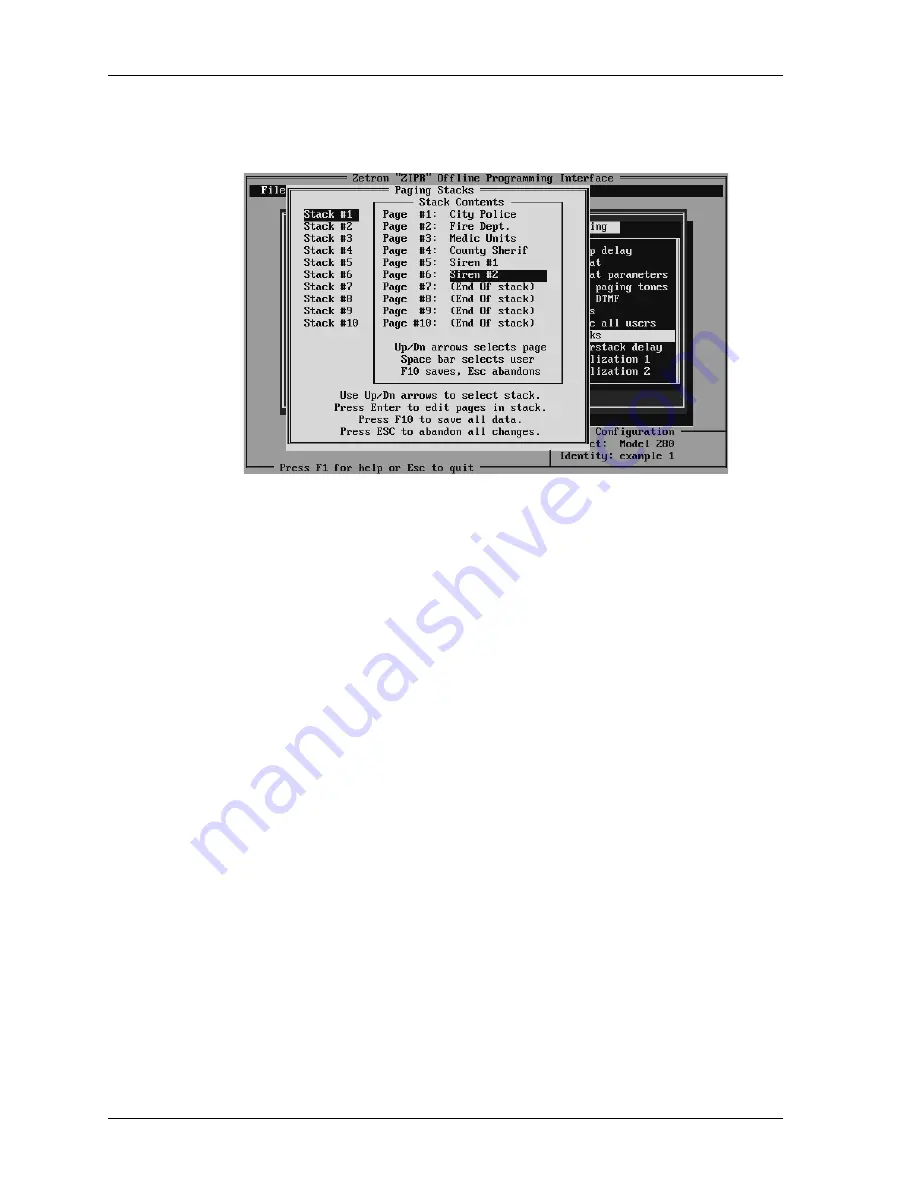
Figure 25: Stack Page Programming Window
Writing to a Remote
The follow sequence of steps will allow the technician to write the contents of a
programming file into a new (or used) remote.
Plug the USB-TL adapter into a USB port of the computer running the ZIPR program.
Plug the modular cable into the adapter, and plug the keyed end of the cable into the
mating jack on the bottom of the remote to be programmed. This is on the side opposite
the handset jack.
Apply power to the remote and allow it to finish its power-up testing and configuration.
If it is not already running, start the ZIPR program on the computer and select
programming for the Model 280 and 284 devices. From the Main window, select the
(S)etup menu and the (C)omm port command. Press ENTER, when the window opens,
confirm that the serial port selected is the same port that the adapter was connected to in
step one.
From the Main window select the (F)ile menu and the (O)pen command and load the file
into memory that you wish to program into the remote. If you have just finished editing
and saving a file, it will still be in memory and available to load into a remote.
Select the (D)eskset menu in the Main window and then the (W)rite command. Press
ENTER and the program will open a new window indicating that it is writing to the
remote and show what percentage of the process is completed. While it is being written to
the remote will show the message “Receiving...” on the top line of its display. This will be
following by the message “Comprehending... ” as its writes the new information into its
EEPROM memory. The remote will repeat the “Configuring” process it when through
after power-up and then it is ready to operate based on the new programming loaded into
it.


