DOCK TRIALS
Page6-4
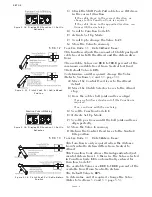
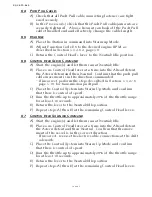
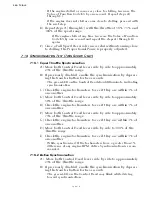
6-10.1.1 Troll Minimum Pressure Adjustment at the Dock
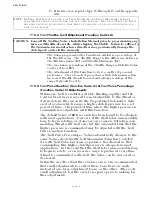
A) Verify that the Troll push-pull cable is positioned at the
Full Pressure (lock-up) position.
B) With the engine running, place the Station-in-Com-
mand’s lever into the Ahead Detent.
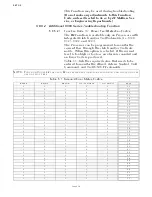
C) Measure the Shaft RPM at Idle with a Shaft Tach and
record on Table 6-1:
D) Return the Control Head lever to the Neutral detent.
•
If connected, disconnect the push-pull cable from the
Trolling Valve lever.
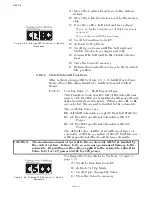
E) Move the Control Head lever to the Ahead detent.
F) Manually position the Troll lever to the point where the
Shaft rotation is 30 to 50% of that measured in Table 6-1:
above.
G) If not previously selected, enable Troll with Function
Code
L0
.
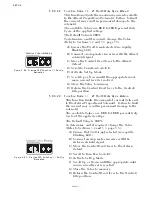
H) Depress the Transfer Button until the red LED begins
blinking rapidly (approximately 2 seconds).
I) Scroll to Function Code
L2
(Troll Minimum Pressure)
and activate Set Up Mode.
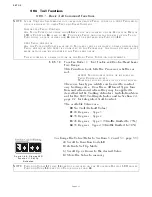
J) Scroll Up or Down until the Push-pull cable aligns with
the troll lever.
K) Store the Value to Memory.
L) Return the Control Head lever to the Neutral Detent.
M)Repeat steps A) thru L) on the opposite side if required.
6-10.2 Troll Solenoid Adjustments
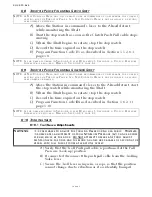
6-10.2.1 Troll Minimum Pressure Adjustment at the Dock
A) Verify that the appropriate Value is selected with Func-
tion Code
L1
(Trolling Valve Function) for the Gear.
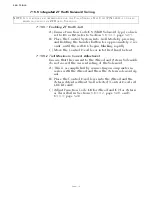
B) Connect a Service Field Test Unit in-line with the Clutch
Harness and Pigtail as shown in Appendix B, MM13927
Rev.C 4/03 Service Field Test Unit Manual.
NOTE: T
HE
G
EAR
OIL
MUST
REACH
NORMAL
OPERATING
TEMPERATURE
BEFORE
THE
T
ROLLING
V
ALVE
CAN
BE
ACCURATELY
ADJUSTED
. T
HE
ADJUSTMENT
OF
THE
M
INIMUM
P
RESSURE
POINT
MUST
BE
DONE
ONE
SCREW
AT
A
TIME
WHEN
TIED
TO
A
DOCK
.
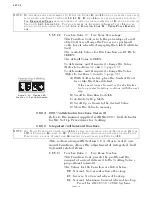
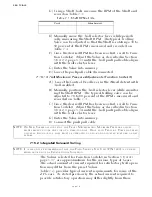
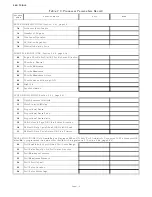
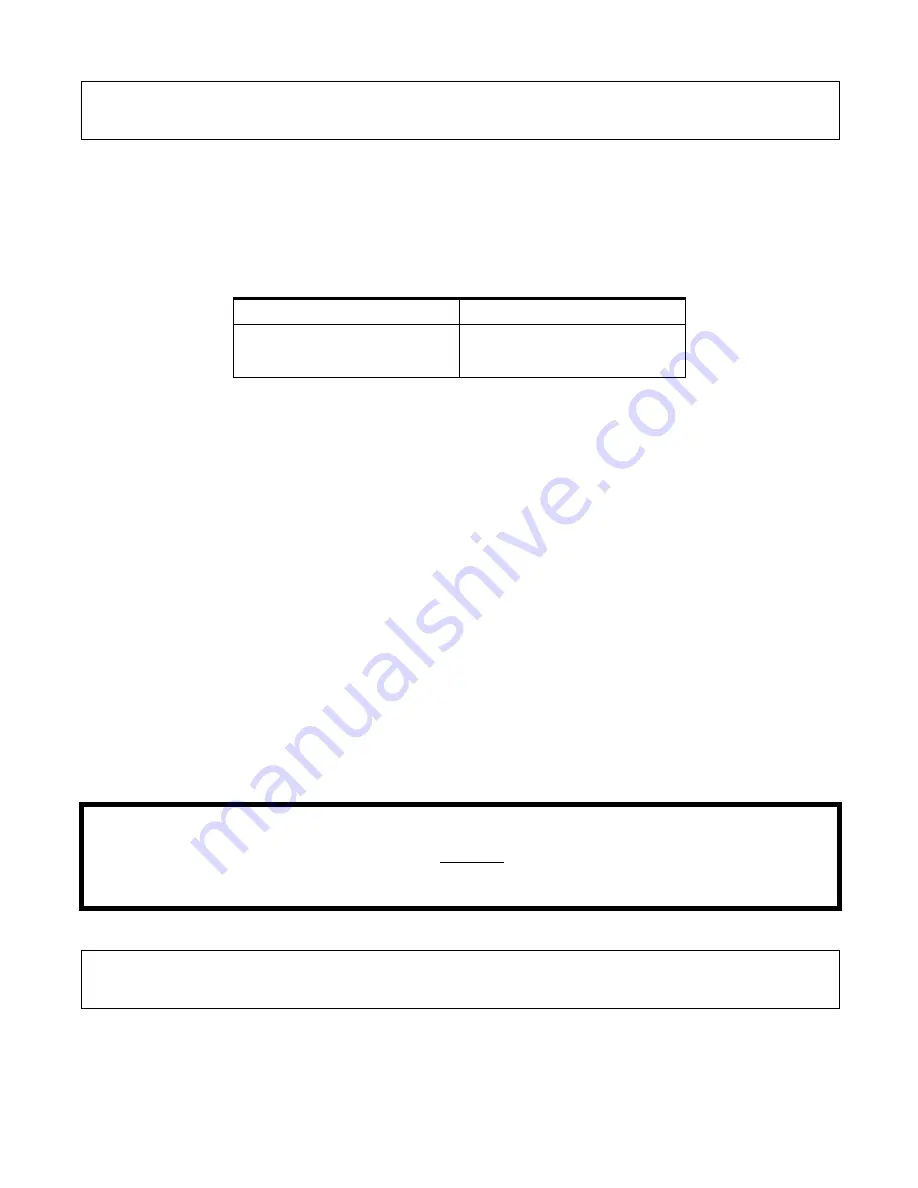
Table 6-1: Shaft RPM at Idle
Port
Starboard
WARNING:
I
T
IS
PREFERABLE
TO
ADJUST
THE
T
ROLLING
V
ALVE
DURING
SEA
TRIALS
. H
OWEVER
,
IN
SOME
CASES
ADJUSTMENT
OF
T
ROLL
M
INIMUM
P
RESSURE
(L2)
CAN
BE
ACCOM
-
PLISHED
WHILE
AT
THE
DOCK
. D
O
N
OT
ATTEMPT
TO
MAKE
ANY
T
ROLL
ADJUST
-
MENTS
UNLESS
THE
DOCK
AND
THE
MOORING
LINES
ARE
CAPABLE
OF
SECURING
THE
VESSEL
WITH
FULL
THRUST
FROM
AT
LEAST
ONE
SCREW
.
NOTE: T
HE
G
EAR
OIL
MUST
REACH
NORMAL
OPERATING
TEMPERATURE
BEFORE
THE
T
ROLLING
V
ALVE
CAN
BE
ACCURATELY
ADJUSTED
. T
HE
ADJUSTMENT
OF
THE
M
INIMUM
P
RESSURE
POINT
MUST
BE
DONE
ONE
SCREW
AT
A
TIME
WHEN
TIED
TO
A
DOCK
.
Summary of Contents for ClearCommand 9000 Series
Page 132: ......
Page 133: ...APPENDIX A...
Page 134: ......
Page 139: ......
Page 140: ...Page A 4...
Page 143: ......
Page 144: ...10...
Page 148: ...Page A 18...
Page 149: ...Page A 19 TEMPLATE...
Page 150: ...Page A 20...
Page 152: ...Page A 22...
Page 154: ...Page A 24...
Page 156: ...Page A 26...
Page 157: ...Page A 27 Drawing 11488D 1 Twin Screw Single APS Connection Alternate Remote Switch...
Page 158: ...Page A 28...
Page 159: ...Page A 29 Drawing 11488D 2 Twin Screw Dual APS Connections...
Page 160: ...Page A 30...
Page 161: ...Page A 31 Drawing 11488D 3 APS Notes Page...
Page 162: ...Page A 32...
Page 164: ...Page A 34...
Page 166: ...Page A 36...
Page 170: ...Page A 40...
Page 172: ...Page A 42...
Page 176: ...Page A 46...
Page 178: ...Page C 48 ZF Mathers LLC 12125 Harbour Reach Drive Suite B Mukilteo WA 98275...
Page 179: ...APPENDIX B...
Page 180: ......
Page 234: ...Appendix B 6...
Page 238: ...Appendix B 10...
Page 242: ...Appendix B 14...
Page 247: ...Service Field Test Unit Reference Manual MM13927 Rev E 4 07...
Page 248: ......
Page 250: ...Page ii Table of Contents...
Page 264: ...SERVICE FIELD TEST UNIT MM13927 RvD 10 03 Page 3 2...
Page 265: ...APPENDIX C...
Page 266: ......
Page 267: ...Appendix C 1 Drawing 12284A 1 ClearCommand Diagram all options...
Page 268: ...Appendix C 2...
Page 269: ...Appendix C 3 Drawing 12284A 2 ClearCommand Circuit Board Connections...
Page 270: ...Appendix C 4...
Page 271: ...Appendix C 5 Drawing 12284A 3 ClearCommand Drawing Notes Page...
Page 272: ...Appendix C 6...

