EtherXtend Installation
40
EtherXtend User’s Guide
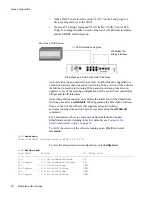
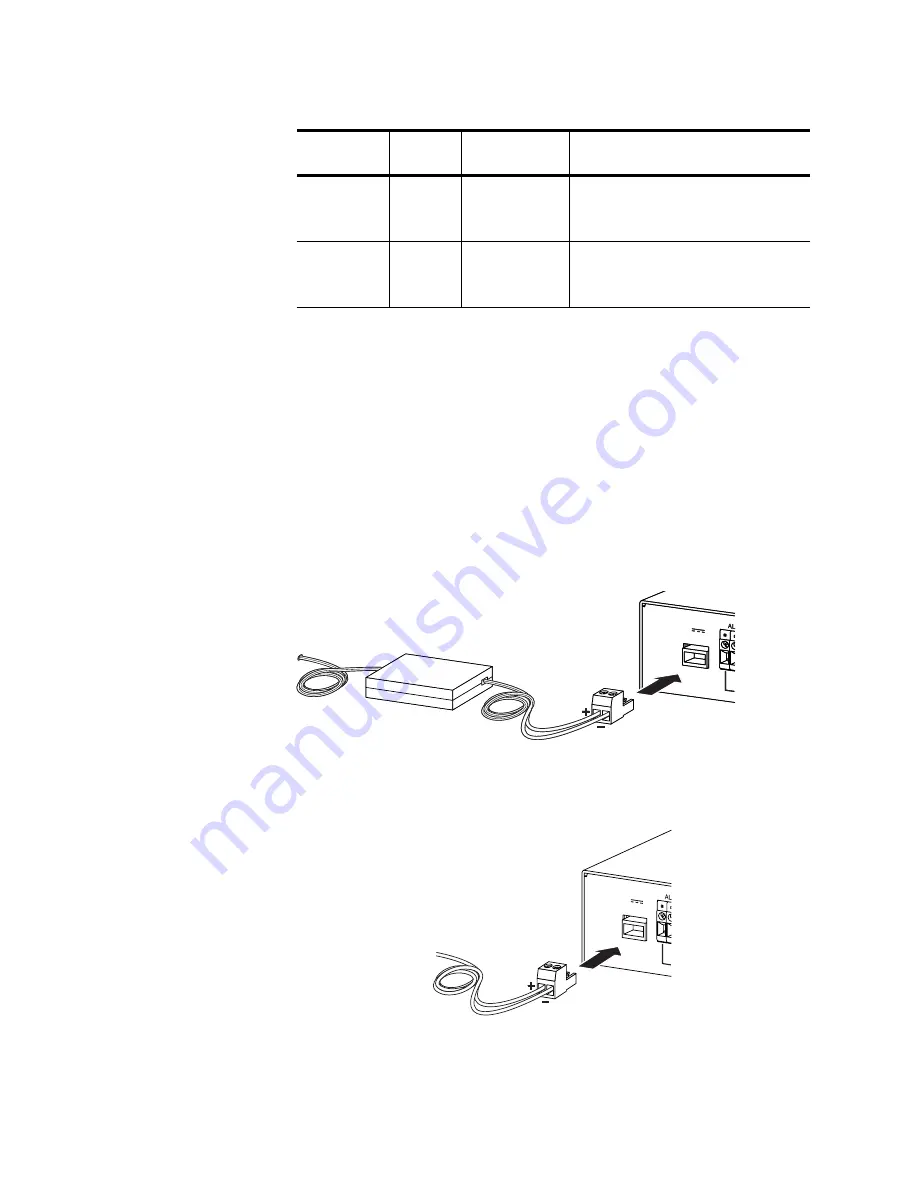
Connect the power supply
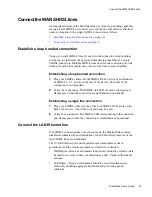
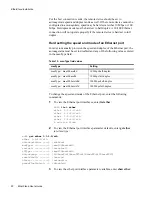
Connect the power supply to the EtherXtend by plugging either the AC power
supply or the DC power supply into the power adaptor port on the back of the
device.The power adaptor port has a plus (+) and a minus (-). The plus side
connects to the RTN side of the power outlet and the minus side connects to
the -48 side of the power outlet. Verify that the power LED on the front of the
device illuminates. After startup, Ethernet links remain disabled until at least
one of the SHDSL connection has been established.
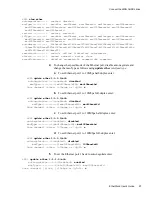
shows the AC
power supply.
Figure 10: Connect AC power
shows a DC power connection.
Figure 11: Connect DC power
LAN (10/
100) (right
side)
green
off
The port operates in 10BASE-T
mode where it transmits and receives
packets at 10Mbps.
on
The port operates in 100BASE-T
mode where it transmits and received
packets at 100Mbps.
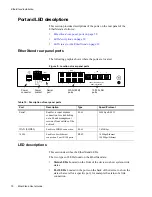
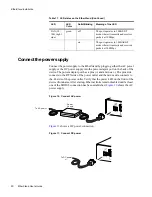
Table 11: LED states on the EtherXtend (Continued)
LED
LED
Color
Solid/Blinking
Meaning of the LED
POWER
48VDC
0.5 A
RTN -48
POWER
48VDC
0.5 A
RTN -48
To AC power
Power
Supply
POWER
48VDC
0.5 A
RTN -48
ex0606
To DC power
+/-
Summary of Contents for EtherXtend 3300 Series
Page 8: ...Contents 6 EtherXtend User s Guide...
Page 18: ...Overview 16 EtherXtend User s Guide...
Page 70: ...Basic Configuration 68 EtherXtend User s Guide...
Page 132: ...Advanced Configuration 130 EtherXtend User s Guide...
Page 146: ...IP Service Level Agreement 144 EtherXtend User s Guide...
Page 150: ...Index 148 EtherXtend User s Guide...


