T
ELE
SCO
PE
A
SS
EMBL
Y
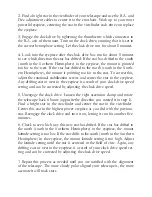
1. Extend tripod legs to comfortable working
height and tighten wingnuts to ensure stabil-
ity. Separate tripod legs and ensure that the
legs are extended to equal heights. The top of
the tripod should be level to ensure stability
when mounting telescope.
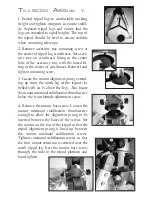
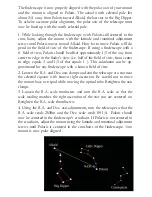
2. Remove accessory tray mounting screw at
the center of tripod leg crossbracce. Set acces-
sory tray on crossbrace, lining us the center
hole of the accessory tray with the raised fit-
ting at the center of crossbraces. Reinsert and
tighten mounting screw.
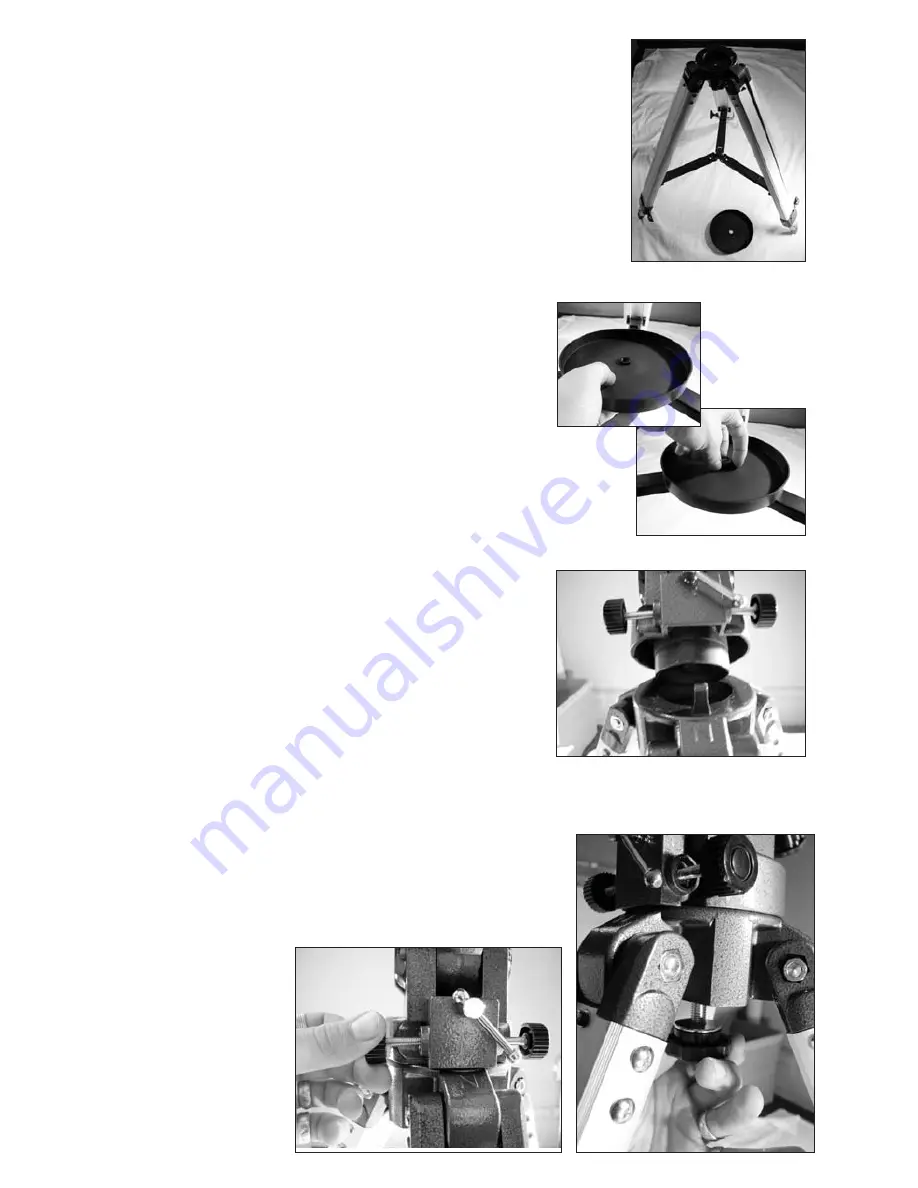
3. Locate the mount alignment prong extend-
ing up from the north leg of the tripod (la-
belled with an N above the leg). Also locate
the mount rotational stabilization thumbscrews
below the front latitude adjustment screw.
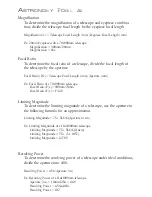
4. Remove the mount base screw. Loosen the
mount rotational stabilization thumbscrews
enough to allow the alignment prong to be
inserted between the bases of the screws. Set
the mount on the top of the tripod so that the
tripod alignment prong is lined up between
the mount rotational stabilization screws.
Tighten rotational stabilization screws so that
the fron mount extrusion is centered over the
north tripod leg. Isert the mount base screw
through the hole in the tripod platform and
hand tighten.
Summary of Contents for Tycho
Page 1: ...TYCHO 254 ...


