background image

4

65

4. MODE SWITCH

Push the 

button successively until the icon re p resenting the desired mode is

appearing (=> Cool => Fan => Cool => etc).

On the LCD-display you will see: 

Cooling  

Fan only  

Each time the unit starts, it starts operating in coolmode with a set temperature

of 22°C. The fan speed will be selected automatically.

5. FAN SPEED SETTING

If  you  prefer  a  constant  fan  speed  instead  of  the  auto  fan  speed,  push  the 

push  button  successively;  the  fan  icon 

on  the  LCD-display  will  ro t a t e

accordingly.

Fast 

- for the turbo speed

Normal

- for the medium speed

Slow

- for the slow speed

Alternating

- for the auto fan speed (In the cooling mode only!)

6. SWITCHING LCD BACKLIGHT ON/OFF

If you prefer to switch the LCD backlight off, push the 

and 

buttons at

the same time. After blinking twice the backlight will be switched off after 3 sec.

By pushing any button on the control panel the backlight will switch on again.

7. TIMER SETTING

The timer can be set in the following configurations:

ON

Programming the timer for ON - when the unit is OFF.

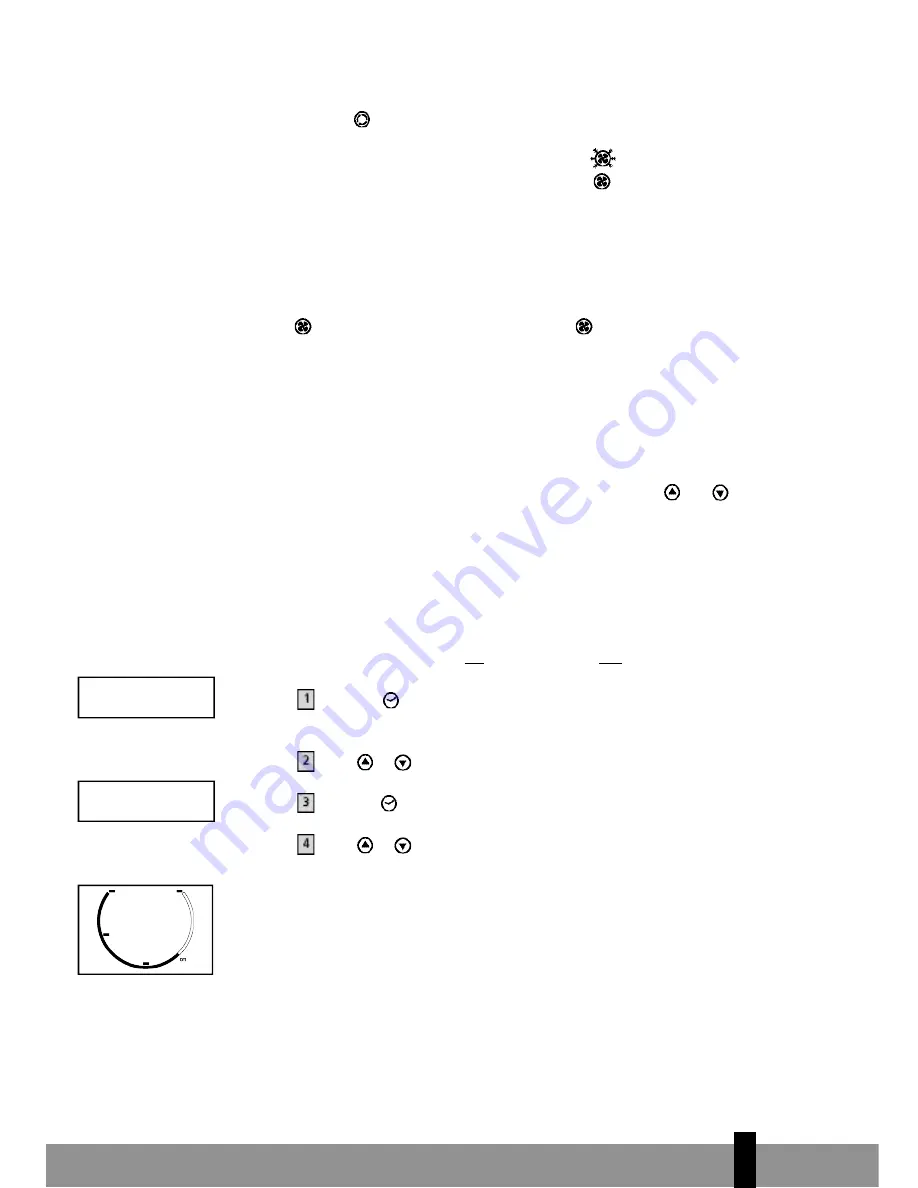
P ress the 

push button; the 2 left digits of the 4 digits on the LCD display

are flashing. 

Press 

or 

to adjust the hour.

Press the

push button again, the 2 right digits of the 4 digits are flashing.

Press 

or 

to adjust the minutes of the clock in intervals of 5 minutes.

The timer is set. After 10 seconds the time display returns.

The circular time scale will be on between the ON programmed times until 24:00. 

The flashing bar on the time scale indicates the real time and moving a phase

e v e ry  30  minutes  ahead  until  it  reaches  the  ON  timer  time,  then  the  black

segments in the circular time scale will disappear.

88:88

88:

88

Summary of Contents for P 832

Page 1: ...ITUNG BRUGSANVISNING INSTRUCCIONES DE USO MANUEL D UTILISATION OPERATING MANUAL ISTRUZIONI D USO GEBRUIKSAANWIJZING INSTRUKCJA OBS UGI 2 6 5 3 4 1 P 820 P 828 P 832 KULLANIM KILAVUZU TR 4 18 32 46 60...

Page 2: ...chimi ques F Ne pas placer aupr s d une source de chaleur G Ne pas immerger H Ne pas renverser I Ne rien introduire dans l appareil J Ne pas utiliser de c ble de rallonge K A tenir hors de port e des...

Page 3: ...ie stosowa adnych rodk w chemicznych F Nie umieszcza w bezpo rednim s siedztwie r de ciep a G Nie zanurza w wodzie H Nie rozlewa cieczy I Nie wtyka obcych przedmiot w do aparatu J Nie u ywa przed u ac...

Page 4: ...torage Water stopper drainage point Hose Hose connector optional Hose adapter optional Caps for hose adapter optional Remote control Slidebar connector Telescopic slidebar A B C 4 E F G H I J K L M N...

Page 5: ...mobile air conditioner is easy to operate and move You have acquired a high quality product that will provide you with many years of pleasure on condition that you use it responsibly Reading these in...

Page 6: ...ver allow the device to come into contact with chemicals Never spray the unit with or submerge in water Do not insert objects into the openings of the unit Always remove the plug from the electric pow...

Page 7: ...her objects to ensure proper air circulation Connect the hose K to the unit by turning it clockwise at least 5 turns Connect the hose K in the slidebar connector P as far as possible WARNING Before us...

Page 8: ...ight digits of the 4 digits will flash Press or to adjust the minutes of the clock Press the push button for 3 seconds again to activate the clock 3 TEMPERATURE SETTING UP DOWN If you want to change t...

Page 9: ...d buttons at the same time After blinking twice the backlight will be switched off after 3 sec By pushing any button on the control panel the backlight will switch on again 7 TIMER SETTING The timer c...

Page 10: ...t OFF ON when the unit is running Press the push button the 2 left digits of the 4 digits on the LCD display are flashing Press or to adjust the hour Press the push button again the 2 right digits of...

Page 11: ...order to cancel the timer programming press the push button momentarily then it will return to the time display The daily mode will be cancelled as well The black segments in the circular time scale...

Page 12: ...oner is equipped with a 3 layer filter to clean the circulated room air a Screen filter to remove bigger dust particles b 3MTM FiltreteTM filter to remove unhealthy particles from the air such as poll...

Page 13: ...rom its plastic bag Insert the active carbon filter into the filter frame see fig 2 Insert the 3MTM FiltreteTM filter into the filter frame see fig 3 Fix the filter by reassembling the fixer into the...

Page 14: ...rained ca 1 5 ltrs Replace the rubber plug and water stopper J put the plug into the wall socket and switch the unit on The warning signal should be off F REMOTE CONTROL The unit responds to all signa...

Page 15: ...reteTM filter and Active carbon filter before seasonal storage and install new filters at the beginning of the new season The old filters can be disposed in the Non biological garbage container Replac...

Page 16: ...LCD light flashing Empty the internal water container refer to Chapter E Timer function is active De activate Timer function refer to Chapter C Internal watertank is full Empty internal watertank refe...

Page 17: ...the instructions for use Take the air conditioner to your dealer for repairs if these instructions do not provide a solution K TECHNICAL DATA To be used as indication subject to modifications conform...

Page 18: ...ius B P 185 76410 SOTTEVILLE SOUS LE VAL tel 33 2 32 96 07 47 fax 33 0 820 34 64 84 email pvgfrance zibro com 4 UNITED KINGDOM Lister Gases Bridge Street Holloway Bank Wednesbury West Midlands WS10 OA...

Reviews: