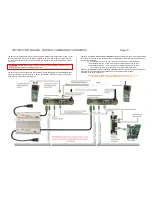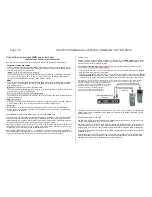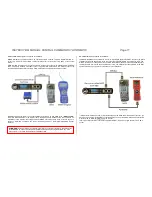
Page 4 INSTRUCTION MANUAL CENTRAL COMMAND STATION MX10
ATTENTION:
Only use the fully symmetrical cable with identical plugs on both ends, DO NOT use the
cable with a coloured plug on one side (which may be part of the start set).
General information:
This instruction manual corresponds to the product and software version at delivery. The device may
react differently after a software update. New versions of this instruction manual are published regu-
larly on www.zimo.at, which then may correspond better to the new software versions.
ZIMO’s devices shall not be placed in humid or excessively warm locations. Do not cover the device
during operation.
Cable links shall not be squeezed or put under tension. Stable links are a mandatory requirement for
a flawless current and data transmission.
Disconnect the device when you are leaving, maybe use a switchable multi-socket outlet or pull the
main plugs.
Children under 8 years shall not use the device without an adult.
Improper usage or opening the devices without consultation results in the loss of warranty.
1.
Initial start-up of a ZIMO system
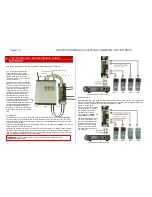
The ZIMO system usually is delivered as
“start set”
.
There are different variations; here we refer
to a start set with at least the following con-
tents:
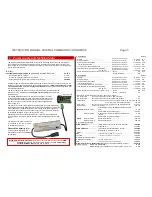
1 central command station
MX10
1 controller
MX32 or MX32FU
1 power supply unit
with 30 V / 240 W or
more; various plugs, CAN cable,
Power cable (depending on the country
you maybe need an adapter or a replace-
ment).
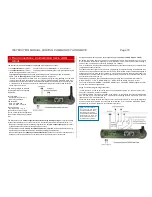
Additionally, the most important
connections
have to be made with
the existing material:
-
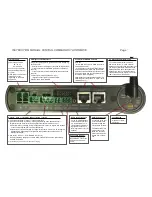
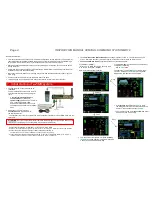
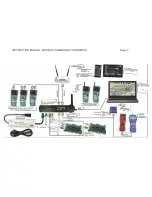
The controller (one of the two sockets) has to be connected to the MX10 (socket “ZIMO CAN”) via the
CAN cable.
-
Connect the track system to “Schiene 1” or “Schiene 2” of the MX10.
“Schiene 2” can be switched to programming track function in “service mode”, otherwise normal driving operation
-
Connect the power supply unit (output cable) to supply socket “DC in”.
The polarity
has to be correct (but it CANNOT be damaged by wrong polarity).
-
Connect the power supply unit with the delivered (or another) “cold-device cable” (110 - 240 V~).
If the
MX10 does not start: Control the cable’s polarity on the “DC in” of the MX10!
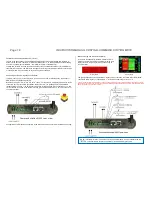
The
command station MX10 starts up
when voltage is present on “DC in”. The start-up phase (red
screen, after a few seconds it turns blue) begins. Connected controller starts up (about 30 sec).
The controller MX32 starts
its operation at the end of the start-up phase...
(if it is
new
or
“empty”
)
...with
LOCO IN
(MAN flashes red, because there
is no entry in the system / ObjDB):
Here: enter desired vehicle address:
(if it is
not “empty”
, because it was used before but
not cleared completely),
... with
LOCO
or
SWI
.
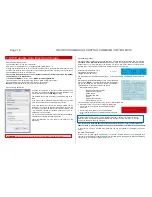
The address or vehicle shown can now be maneu-
vered. Or: Change to
LOCO IN
by pressing the
A-
key
, where a new address can be entered.
.
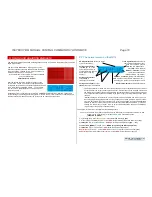
After
entering
the address in
LOCO IN
press
the
F-key
to activate the vehicle with the entered
address - the operation changes to
LOCO
.
The vehicle can now me
maneuvered
: with slider,
direction key and function keys.
To maneuver another vehicle, first press the
A-key
,
in
LOCO IN
the new address is entered (maybe add
a name) and activated with the
F-key.
A-key
F-key
A-key
Address


