System Description & Relay Setup
•
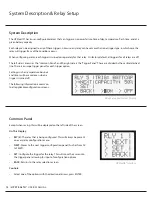
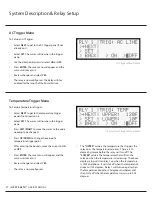
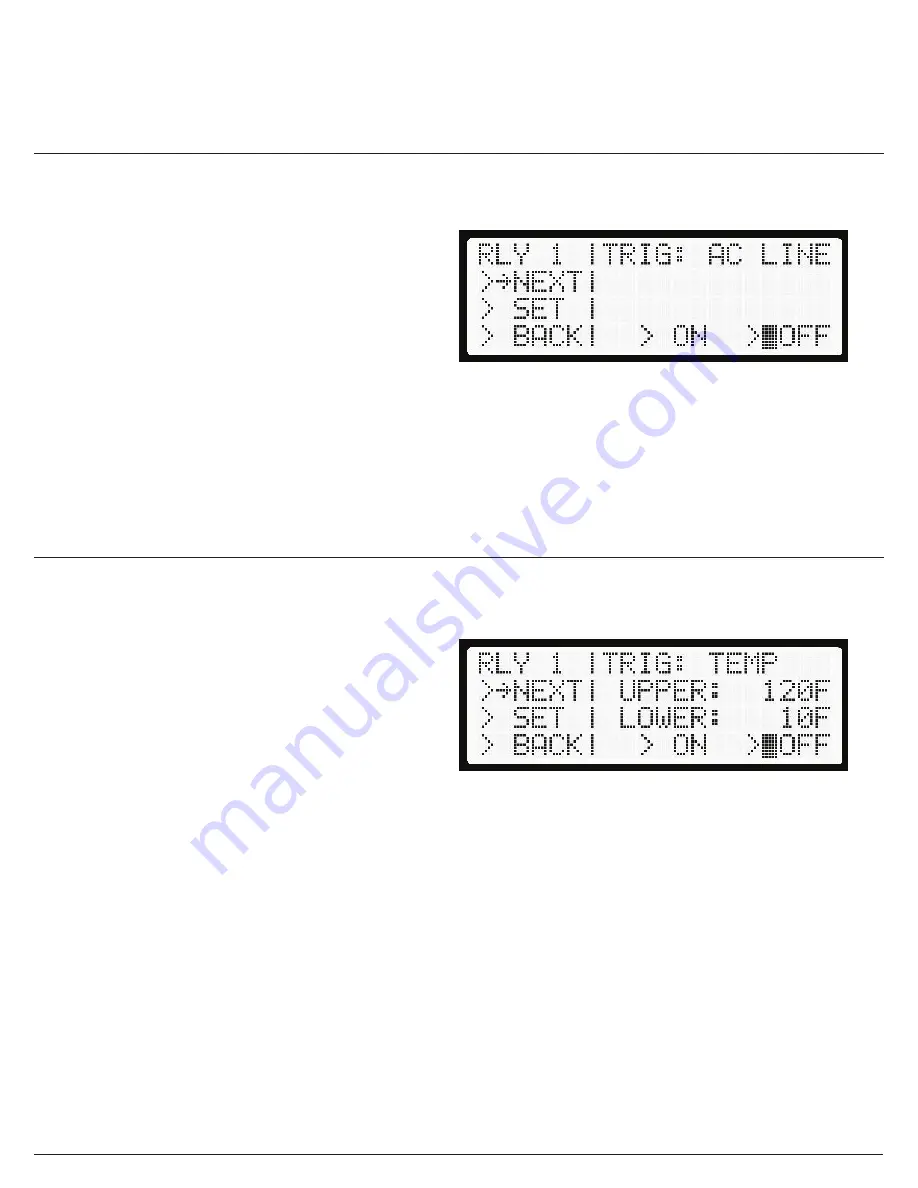
The
“UPPER”
value is the temperature that triggers the
relay on as the temperature increases. There is a 10
degree hysteresis before the relay will turn o
ff
. The
“LOWER”
value is the temperature that will turn the
relay on when the temperature is decreasing. The above
display setup will turn relay 1 on when the temperature
is 120F and above. It will shut o
ff
when the temperature
drops to 110F degrees. Relay 1 will turn on again when
the temperature drops to 10F degrees and below and
then turns o
ff
when the temperature warms up to 20F
degrees.
AC Trigger Menu
To Setup an AC Trigger:
•
Select
NEXT
to get to the AC trigger panel if not
already on it.
•
Select
SET.
The cursor will now be in the trigger
pane.
•
Use the directional arrows to select
ON
or
OFF.
•
Press
ENTER.
The save menu will appear, and the
cursor will move to it.
•
Review changes and select
YES.
•
The relay is now con
fi
gured. The Relay will stay
enabled for the length of the Power Failure.
Temperature Trigger Menu
To Setup a Temperature Trigger:
•
Select
NEXT
to get to the temperature trigger
•
panel if not already on it.
•
Select
SET.
The cursor will now be in the trigger
pane.
•
Press
LEFT/RIGHT
to move the cursor to the value
needing to be changed.
•
Press
UP/DOWN
to change the value of a
temperature trigger point.
•
After entering the bounds, move the cursor to
ON
or
OFF.
•
Press
ENTER.
The save menu will appear and the
cursor will move to it.
•
Review changes and select
YES.
•
The relay is now con
fi
gured.
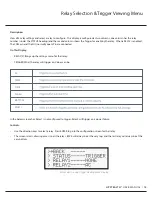
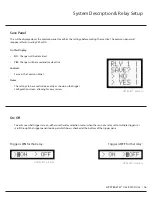
AC Trigger Menu Display
Temperature Trigger Menu Display
17
/
UPSTEALTH®
USER MANUAL


