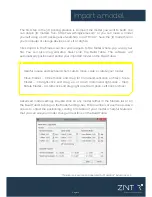


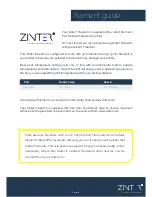


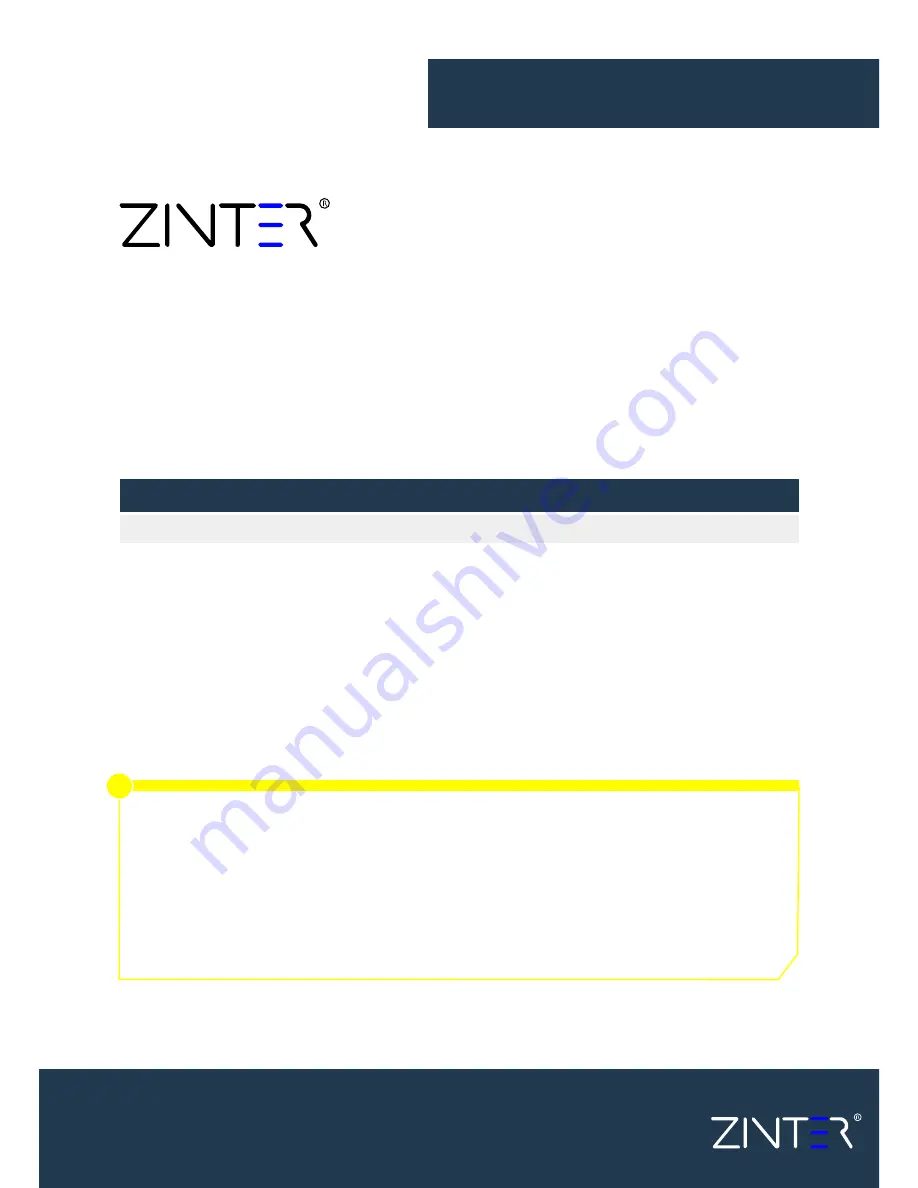
All Colours
PLA
192 - 200C
filament guide
Nozzle Temp
Speed
40 - 100mm/s
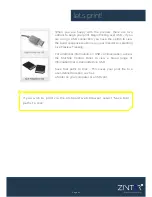
Your Zinter
®
Freedom is supplied with a roll of Premium
PLA Filament selected by Zinter.
For best results we recommend using Zinter filaments
with your Zinter
®
Freedom
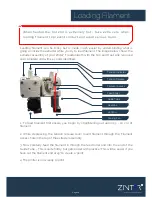
Your Zinter Freedom is configured to work with 3mm filament using 1.75mm filament in
your printer will cause your extruder to block and may damage your printer.
Ideal print temperature settings will vary in line with environmental factors, outside
temperatures and other factors . Zinter Filament will always carry a guide temperature on
the box, you can adjust the print temperature within your slicing software.
More abrasive filaments such as XT-CF20 Carbon Fibre, and some metallic
filaments (Brassfill for example) will wear your print nozzle much quicker that
plastic filaments. This will become apparent through reduced quality prints,
particularly where fine detail is needed. Hardened steel nozzles can be
sourced from www.zinter.com
i
Excellence in Additive Manufacture
Excellence in Additive Manufacture
A full range of filaments can be found on the Zinter shop at www.zinter.com.
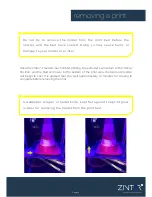
Your Zinter Freedom is supplied with two rolls of adhesion tape to ensure maximum
adhesion to the glass bed, replacements can be sourced from www.zinter,com
Page 24


