12
Installation instructions
805845UK V1.02 July 2018 - G4 Command Centre
Technical support
Tel: 0345 6 005 005 Email: service@zipindustries.co.uk www.zipwater.co.uk
Before installation
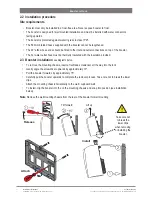
Before installation ensure that the following have been
provided at the installation site
•
Review of all the technical specifications.
•
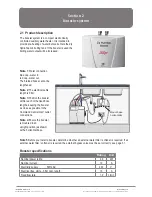
Ensure the under counter cupboard floor can support the product weight
when full of water (allow an extra 3-8kg when full).
•
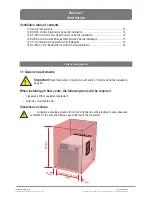
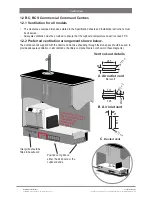
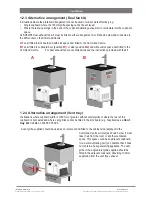
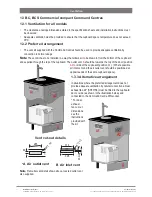
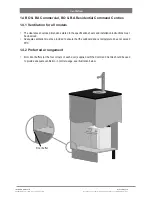
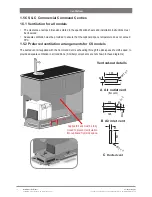
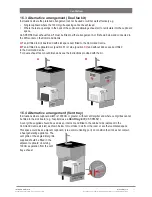
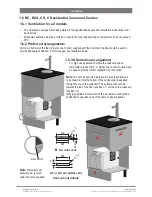
Sufficient space in the cupboard to install the Command Centre and
other components in accordance with these installation instructions. See
Technical specification, page 11 for dimensions. Make allowance for a
booster if required. See sections 2 page 21 for installation instructions.
•
For Zip HydroTap
G4 models without booster, 1 x 220-240V AC 13A socket
will be required.
For Zip HydroTap
G4 models with booster, 2 x 220-240V AC 13A sockets will
be required.
(One socket is for the Command Centre and the other for the booster).
•
Both the Command Centre and booster must be installed in accordance
with IEE regulations, See Technical specification, page 11 for power
ratings.
Note
Check all cable and hose lengths against inlet /outlet positions before
proceeding (see section 7 for general layout).
•
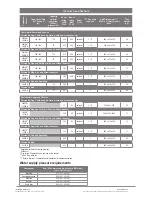
A wholesome water supply connection with a minimum working pressure
of: (see page 11 min. / max. water supply pressure) with isolating valve
inside the cupboard within reach of the braided hoses and positioned so
that the connection point and the stop cock will not be obstructed when
the Command Centre is installed.
•
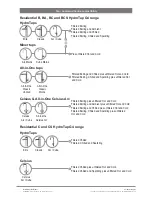
For the All-in-One, Celsius and Mains mixer taps a hot and cold water
supply are required. (see page 11 for min/max. water supply pressure).
•
If external filtration or a lime-scale protection filter is required, then it is
important to allow extra space for it.
•
If pressure is likely to exceed 0.5 MPa (5 bar), install a 0.35 MPa (3.5
bar) pressure limiting valve.
•
The appliance must be placed with its base in a horizontal position.
•
Ensure proper ventilation for CO
2
, see Important safety instructions, page
6.
IMPORTANT!
Do not proceed with the installation if these requirements are
not met.
!
!


