background image


MOUNT READER TO THE WALL 


A: 

Place the

 Mounting Guide 

on the spot on a wall you are considering mounting the 

reader. When you find a spot you like, peel the clear sticker off & place it on the wall 

where you want to mount your reader

The 

Measuring Tape

 might come in handy at this 

step. This location needs to be


close enough to an electrical outlet for the AC Power 

Adaptor cord to plug in and also close to a Network Port so the Network Cable can be 

plugged in to access a wired network or for troubleshooting your reader.  


SUGGESTION:

 Keep in mind the variety of heights amongst your employees. A slightly 

lower versus higher position will probably work be for everyone. 


B:

 With the 

Mounting Guide

 sticker on the wall, use the 

Stylus

 to punch a hole at each of 

the 

X

 spots. This might require a hammer or drill, depending on the composition of your 

wall. Then insert the 

Anchors

 into the holes made with the stylus. 


C:

 Place the 

Reader Mounting Bracket

 against the wall, line up its holes with those in 

your wall, and insert the long screws. Tighten securely. 
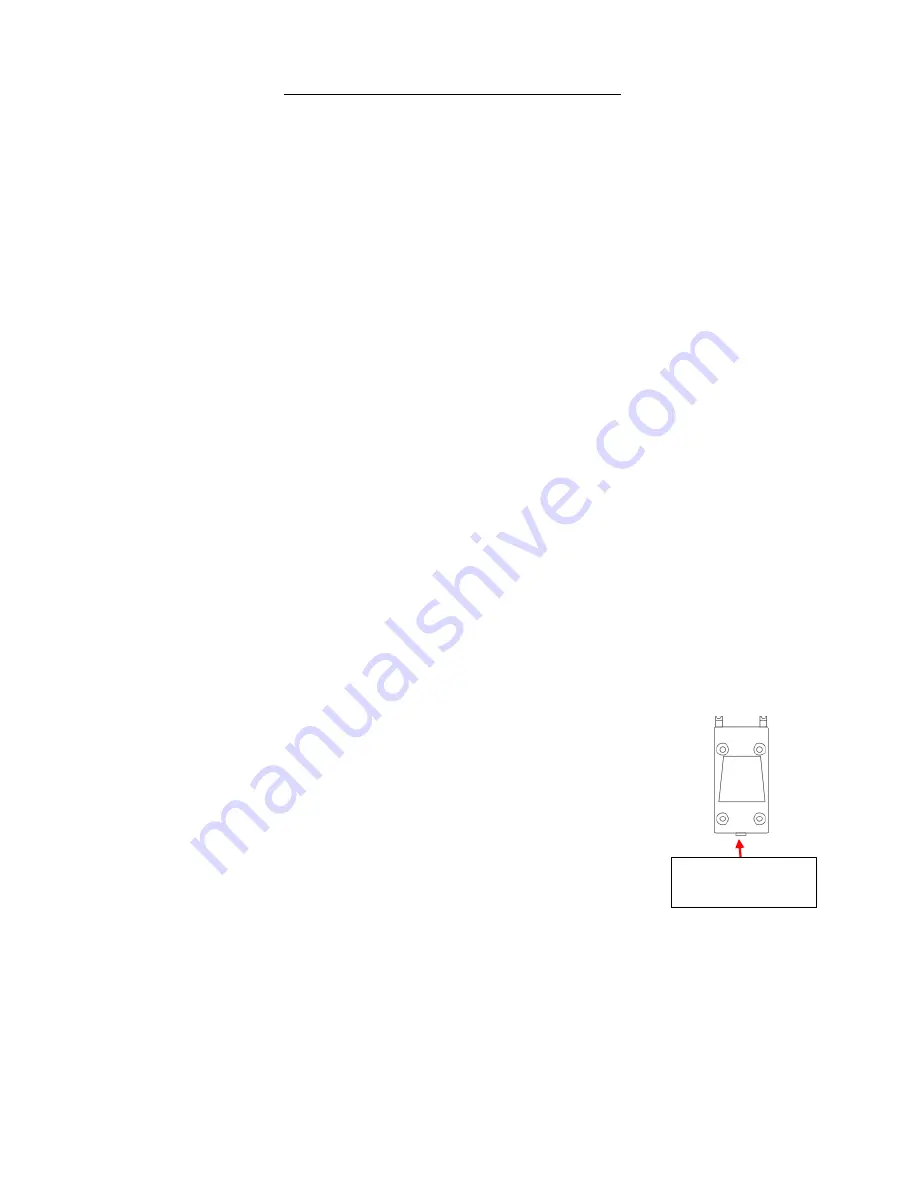
 

D:

 Attach the 

Reader Back Plate

 to the 

Mounting Bracket

 with 4 of 

the small black screws. Align slots on the back of the reader to the 

top 2 tabs (

1 & 2

) of the 

Reader Back Plate

 & slide the reader on to 

it. Secure the reader to the 

Reader Back Plate

 at the bottom of the 

reader by inserting the remaining small black screw.  


Next, proceed to NETWORK SETUP. 


Insertion Point for 

Tiny Black Screw 

Summary of Contents for F300

Page 1: ...1 Face Reader Installation Guide F300 Help Files All rights reserved Last update 10 7 20...

Page 2: ...2 Index CONTENTS p 3 MOUNT READER TO THE WALL p 3 4 NETWORK SETUP Ethernet or Wi Fi p 5 ADD EMPLOYEES TO READER p 6 ENROLL FACE IMAGE p 7 LOCK MENU ACCES Set Admin p 8...

Page 3: ...ion Booklet by Shift2Work 2 The F300 Face reader shown above Wall Mounting Short Ethernet Cable AC Power Adaptor Template Sticker Another small bag containing 4 long screws Stylus 4 anchors and 5 tiny...

Page 4: ...igher position will probably work be for everyone B With the Mounting Guide sticker on the wall use the Stylus to punch a hole at each of the X spots This might require a hammer or drill depending on...

Page 5: ...k Setup 1 Plug in the power supply into the reader and into an electrical outlet It takes a minute to boot up 2 Select from the touch screen Menu Ethernet Wi Fi Setting 3 Available WLAN and select you...

Page 6: ...oyee s name hire date and the employee number provided by your Payroll Software Check the box to select the Reader Access and Disable Web Clock In 4 Click the Save Changes button It takes about 60 sec...

Page 7: ...the green box three times Then the system will say Punch Accepted Thank You when the recognition is completed OR Select Password and type in a numerical password to access the menus Select Save at th...

Page 8: ...r will automatically read your face image then display the menus Using A Password To Access Menus 1 Select the Menu button and you will see a lock display Admin Affirm 2 Select the 1 1 button on the b...

Reviews: