!
TASK
Steps
Notes
Set time
Make sure Date Format=YY-MM-DD and
24-hour time is ON
Set IP Address
Required if connecting to your network.
Do not use DHCP, set fixed IP address.
SmoothPay and/or the attendance
software supplied with the clock may use
this address to communicate with the
timeclock.
Backup Clock to USB
stick
This backs up all user data to the
attached USB device
Export clocking data to
USB stick
This downloads all attendance data to the
attached USB device
Enroll employee
Follow the prompts on the clock screen…
!
!
Make sure that at least one employee is
set as an administrator, and that the card
supplied with the clock is recorded as the
Admin card (you’ll need this if the admin
user is away for any reason - and it’s
simpler when adding new staff, collecting
clock data etc.)
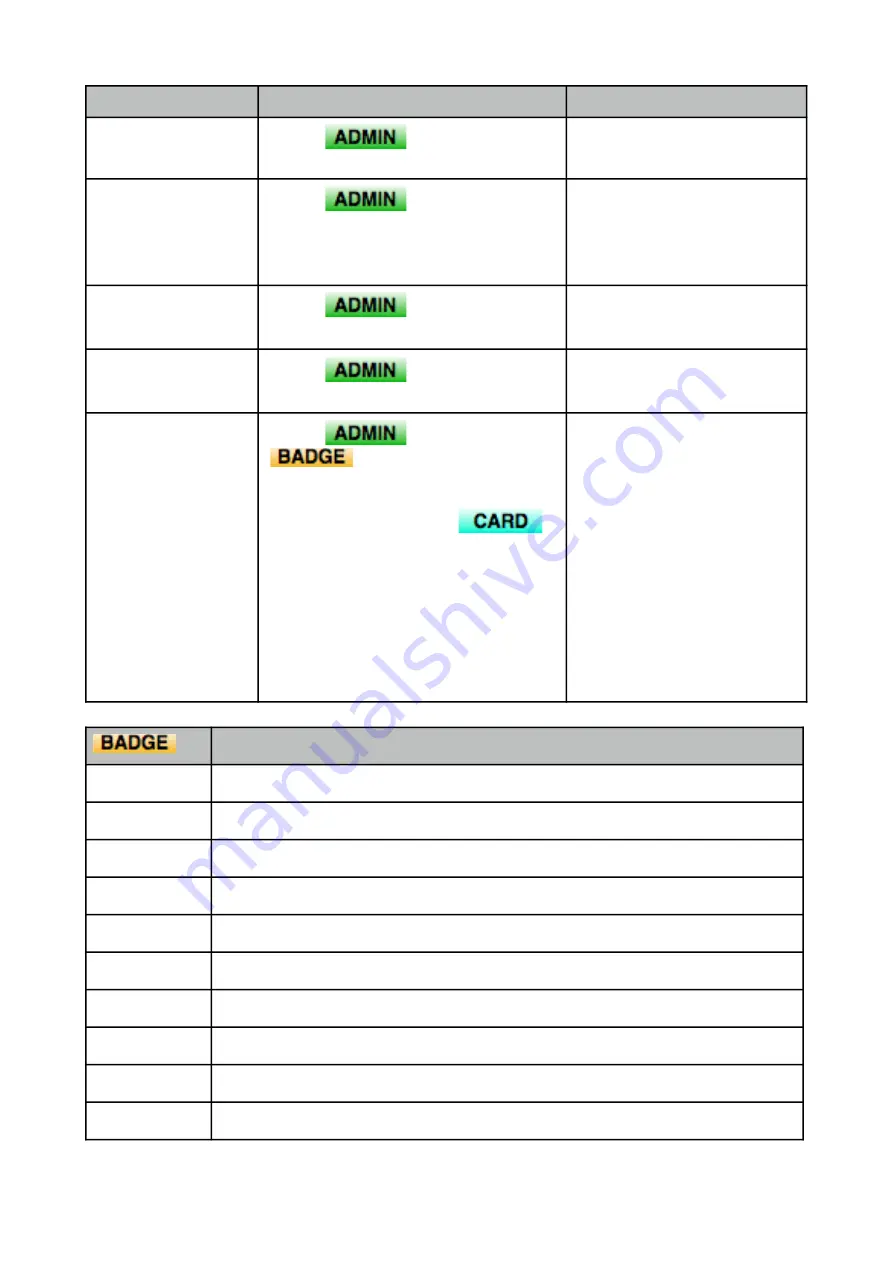
[Menu],
, Dn/Upload,
Download User
[Menu],
, Date/Time
[Menu],
, Dn/Upload,
Download Transactions
[Menu],
, Comm…
[Menu],
, Add User,
[
press User ID option to edit
user number - use allocation list below
],
set name (
optional, recommended
),
user-role (
user or admin
),
add face (
use Face option
), add RFID
Card if you wish (
use Card option - this
is NOT the employee number
),
password (PIN) is optional (
not
recommended as they can be easily
shared).
The
VerType
option allows you
to restrict employee access to one or
more of the available clocking options.
Employee name (or use a list printed from SmoothPay)
101
102
Smoothpay/Gold Payroll - www.smoothpaygold.com
!
Page of
2
2