CANFDNET-400U
High-Performance Four-Channel CANFD Bus-to-Ethernet Converter User Manual
©2021 Guangzhou ZLG Electronics Technology Co.,Ltd.
22
User Manual
5.4 CANET-8E-U and USBCAN Interface Card Communication
We need a device equipped with a CAN port to demonstrate how the CANET device
realizes bidirectional transparent conversion of CAN network data and Ethernet data.
Here, select the USBCAN-II interface card, which is convenient to use. Its related
information is available at http://www.zlg.cn.
First, connect the CANET device to the PC by using a network cable, connect the
CANET device to the USBCAN-II interface card by using a twisted pair (CANH is
connected, CANL is connected), connect the USBCAN-II by using a USB cable, connect
power to the device. Run the CANtest software on the PC (as shown in Figure 5.11). The
CANtest test software can be downloaded from the delivered CD-ROM or the www.zlg.cn.
Figure 5.11 Software used to test communication
The following communication operations are based on the premise that the
parameters have been configured for CANET-8E-U. The device IP address is changed to
the IP address of the same network segment of the test computer, 192.168.7.190. The
CAN0 port is configured as TCP Server, and the working port is 4001.
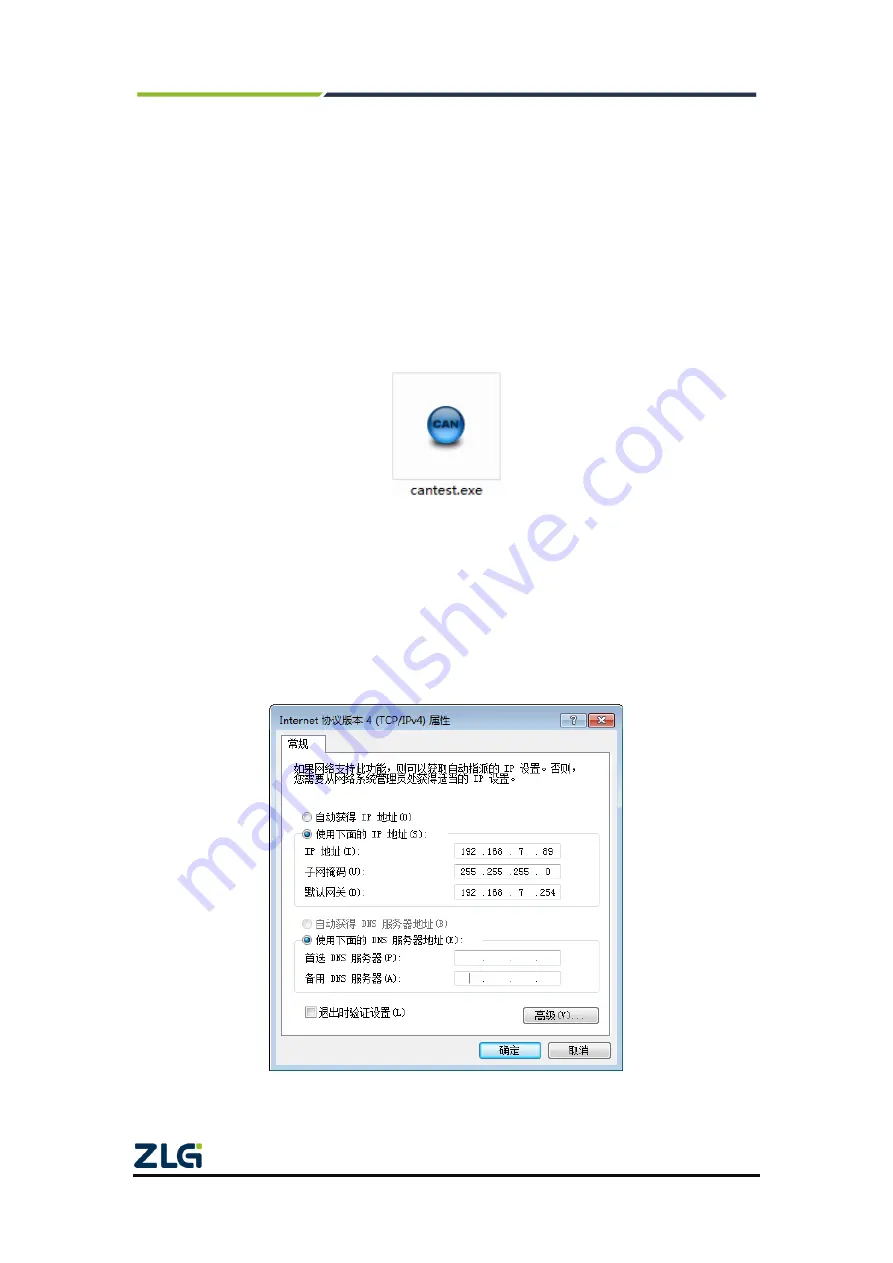
View the computer IP address, as shown in Figure 5.12. Make sure that CANET
(192.168.7.190) and the test computer (192.168.7.89) are on the same network segment.
Figure 5.12 Viewing the IP address of the test computer


