8
Installing the Legs
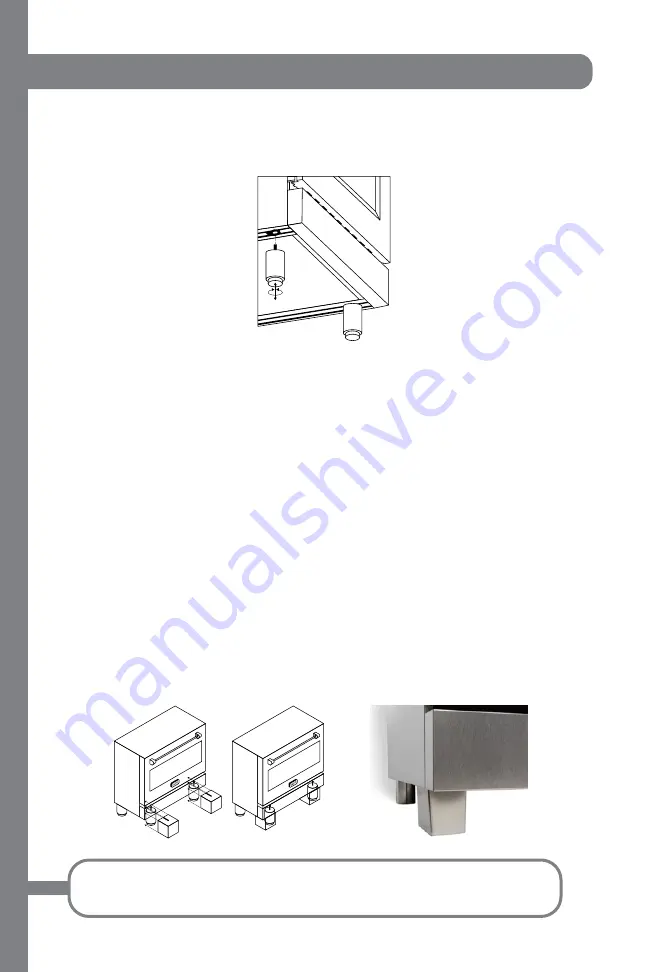
The ranges must be used with the legs properly installed. Height-adjustable legs are
shipped with the range in a foam container above the range.
1. Before installing the legs, position the appliance near its final location, as the legs
are not suitable for moving the appliance over long distances.
2. After unpacking the range, raise it enough to insert the legs in the appropriate
receptacles situated on the lower part of the appliance. Lower the range gently to
keep any undue strain from legs and mounting hardware.
3. Adjust leg height to the desired level by twisting the inside portion of the leg
assembly until the proper height is reached. Check with a level that the cooktop is
perfectly level.
Installing the square covers
Some ranges come with attachable square leg covers. To install, loosen the round leg
from the range to accommodate for the square leg. Align the top of the square leg
(with the slit) to the top of the round legs and slide in. Adjust the square leg and the
round leg until they are flushed with the ground.
Installing the Legs
Note: If the range is not level, the cooking will be uneven.
When adjusting the legs, ensure they are the same height.
Summary of Contents for RA24
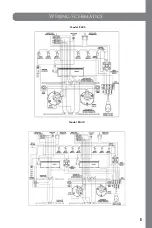
Page 22: ...14 Model RA24 Model RA30 Wiring Schematics...
Page 23: ...15 Model RA36 Model RA48 Wiring Schematics...
Page 24: ...16 Wiring Schematics Model RA60...
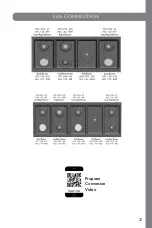
Page 29: ...21 Propane Conversion Video Gas Connection...
Page 34: ...26 Users Manual...
Page 46: ...Installation Guide and User Manual 1 614 777 5004 1 1 0 www zlinekitchen com...


