


24
23
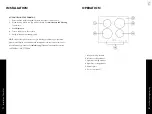
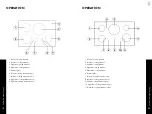
OPERATION
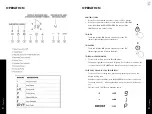
Power Boost
Power Sharing
OPERATION
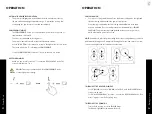
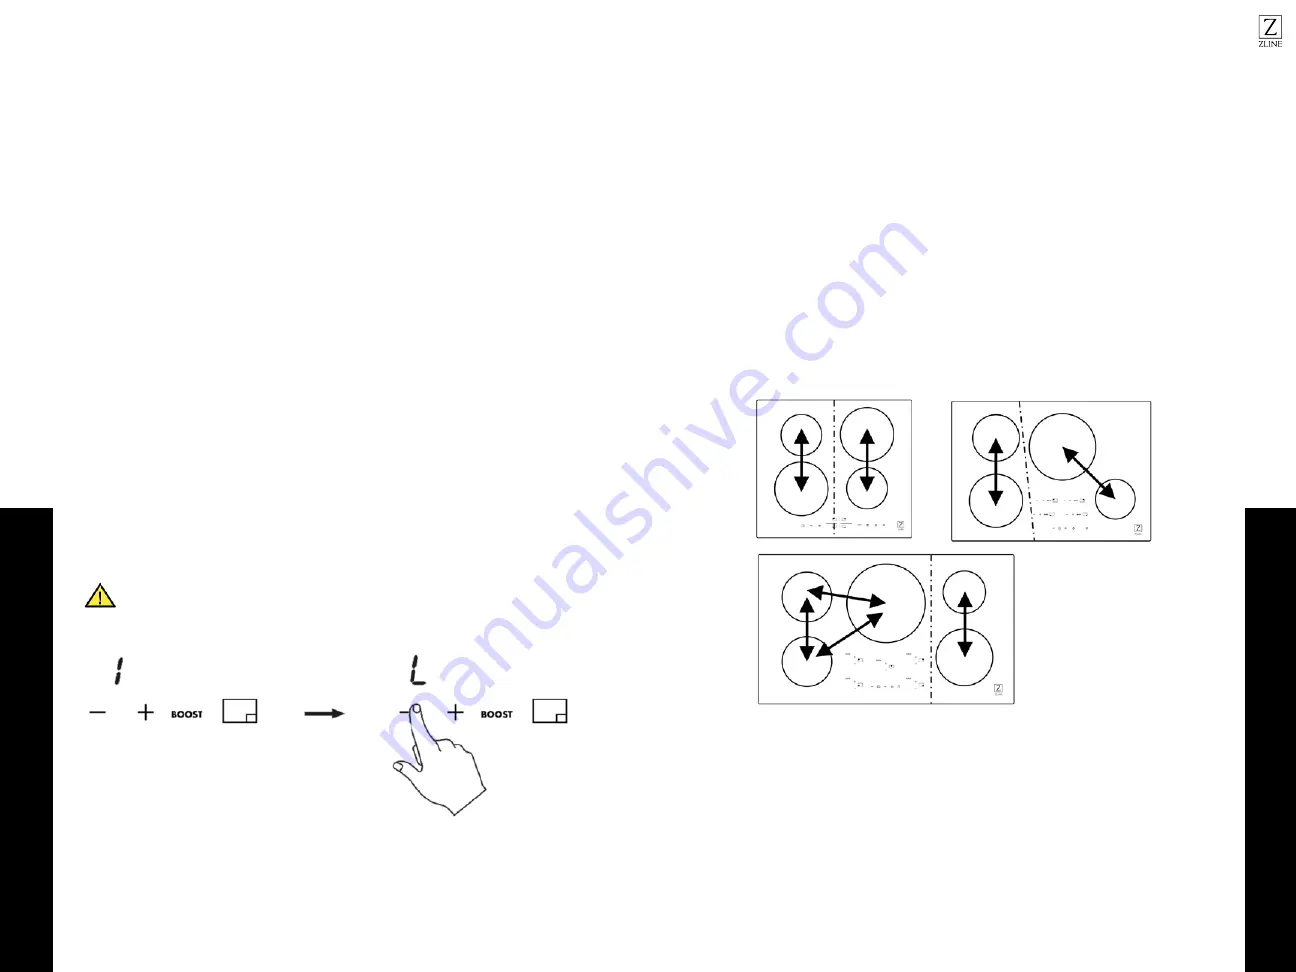
POWER SHARING
• Four or five cooktops are divided into two separate cooking areas: the right and
left side cooking elements share the power of an inverter.
• Power sharing is activated when the cooking elements that are in the same
zone are activated. The controls adjust the power automatically for POWER
SHARING. This power sharing is administered by the unit’s microprocessors,
which will alternate power in one area.
NOTE:
Remember to select the power setting last for the cooking element you want to
maintain at full setting heat. To maintain full setting heat for two items, place one item
on an area and place the second item on another area.
TO TURN OFF THE HEATING ELEMENT
• For 30” (RCIND-30) and 36” (RCIND-36) models, touch the ON/OFF button
for the cooking zone.
• For 24” model (RCIND-24), touch the “-”to enter into “KEEP WARM”mode. Then
press”-” again to turn off the cooking zone.
TO TURN OFF THE COOKTOP
• To turn off the cooktop, touch the POWER button.
• The indicator light above the button will turn off.
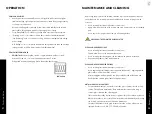
AUTOMATIC POWER LEVEL CONTROL
• The power level displayed may be different from the actual power level at
the power sharing and high temperature range. To prevent the cooktop from
overheating, the power level is controlled automatically.
POWER BOOST MODE
• The POWER BOOST is used to cook at maximum power for a short period of
time (maximum 10 minutes).
• This is best recommended for boiling water.
• The power is reduced to level 9 at the end of the maximum time.
• Use the “B” BUTTON to boost the power level to the highest level for 10 minutes.
The screen will show a “P” indicating the POWER BOOST.
• To turn off POWER BOOST, touch the “-” key to switch from P to level 9.
KEEP WARM MODE
• While in a power level, touch the “-” to enter into “KEEP WARM” mode. The
screen will switch from 1 to L.
DO NOT leave a pot unattended while in POWER BOOST mode
or other high power settings.
WARNING


