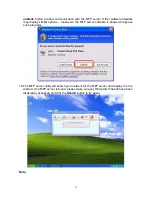
The default IP address of MFP server is 192.168.0.10, and subnet mask is
255.255.255.0. If the MFP server utility didn’t find MFP server, please make sure of the
MFP server and your computer’s IP segment are the same, e.g. 192.168.0.xxx.
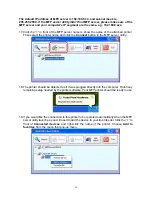
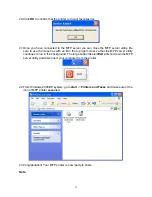
17. Click the “+” in front of the MFP server name to show the name of the attached printer.
Then select the printer name and click the
Connect
button in the MFP server utility.
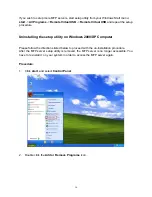
18. The printer should be detected as if it was plugged directly into the computer. Finish any
remaining setup needed by the printer software. Your MFP printer should be ready to use.
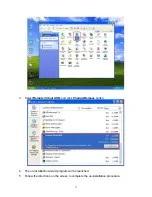
19. If you would like the connection to this printer to be restored automatically when the MFP
server utility launches, you will need to add the device to your favorites list. Click the “+” in
front of
Connected devices
and right-click the name of the printer. Choose
Add to
favorites
from the menu that pop-up menu.
14
Summary of Contents for ZPS2000
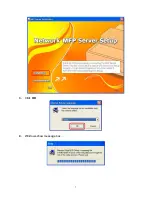
Page 7: ...3 Click OK 4 Windows show message box 7...
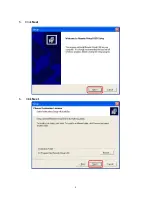
Page 8: ...5 Click Next 6 Click Next 8...
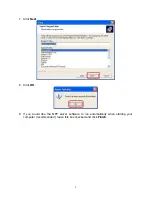
Page 11: ...12 Click Continue Anyway 13 Click Finish to complete the software installation 11...
Page 24: ...Note This option is reserved 24...
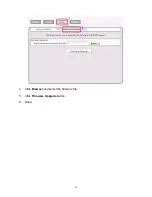
Page 26: ...4 Click Browser and select the firmware file 5 Click Firmware Upgrade button 6 Done 26...
Page 34: ...7 Double click the MFP device icon to launch Windows Scanner and Camera Wizard 8 Click Next 34...
Page 35: ...9 Click Next to start the scanning process 35...
Page 36: ...10 Click Next 11 Click Next 36...
Page 39: ...5 Input the remote fax number and then click Send Fax button 39...
Page 41: ...2 Setup utility will search all the MFP servers located on your private network 41...


