


Appendix:
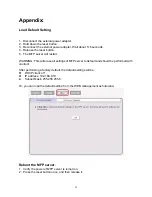
Load Default Setting
1. Disconnect the external power adapter.
2. Hold down the reset button.
3. Reconnect the external power adapter. Wait about 5~6 seconds.
4. Release the reset button.
5. The MFP server will restart.
WARNING: This will erase all settings of MFP server to default and should be performed with
caution!
After performing a factory default, the default settings will be:
z
DHCP client: off
z
IP address: 192.168.0.10
z
Subnet Mask: 255.255.255.0
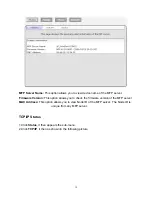
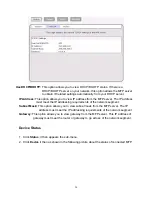
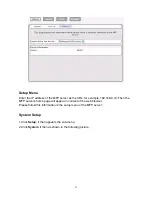
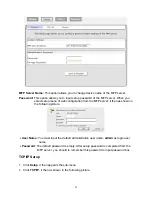
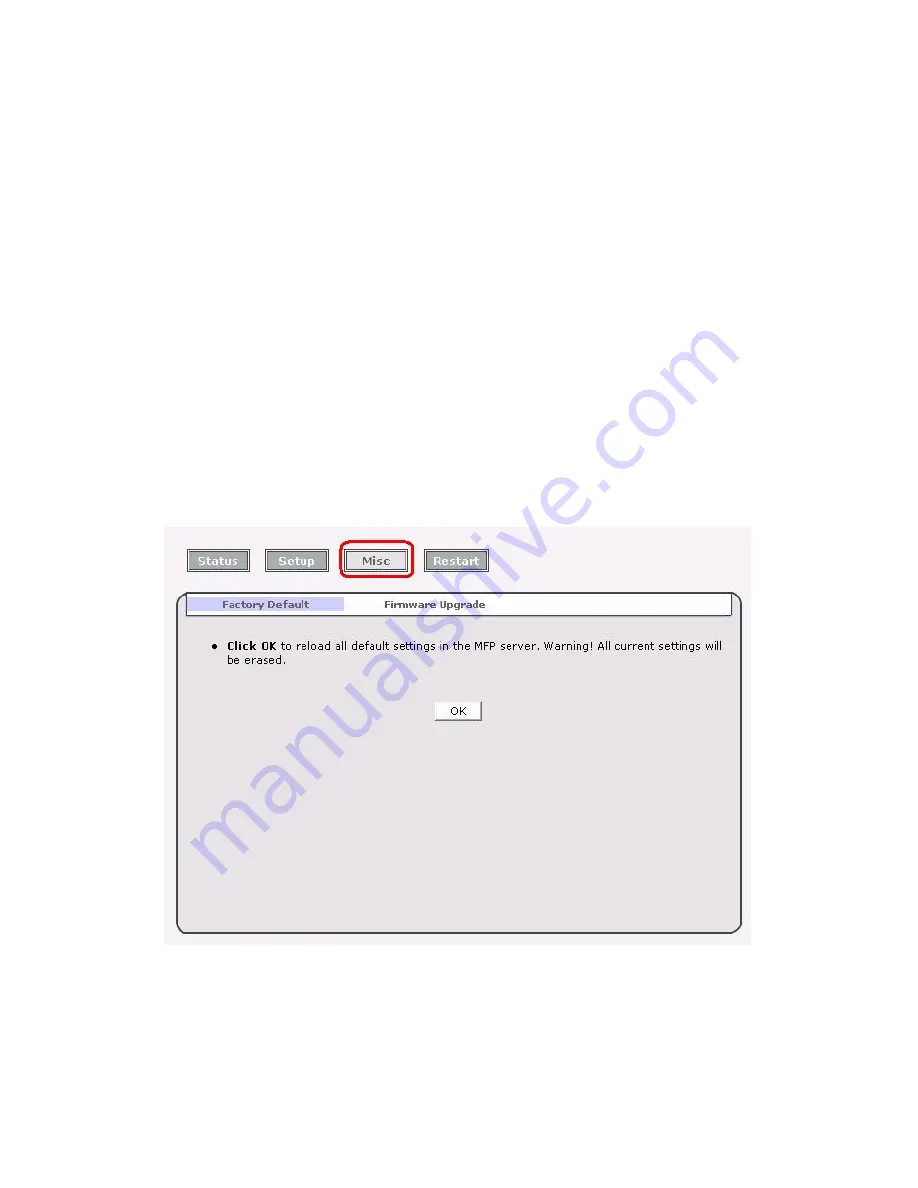
Or, you can load the default setting from the WEB management as following:
Reboot the MFP server
:
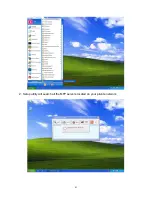
1. Verify the power of MFP server is turned on.
2. Press the reset button once, and then release it.
29
Summary of Contents for ZPS2000
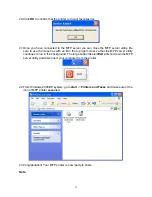
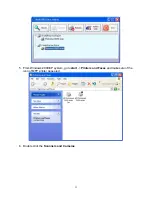
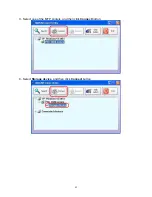
Page 7: ...3 Click OK 4 Windows show message box 7...
Page 8: ...5 Click Next 6 Click Next 8...
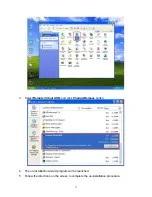
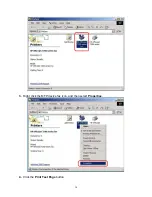
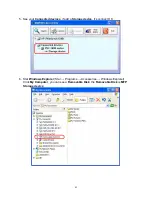
Page 11: ...12 Click Continue Anyway 13 Click Finish to complete the software installation 11...
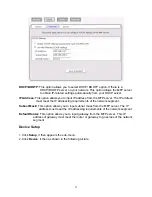
Page 24: ...Note This option is reserved 24...
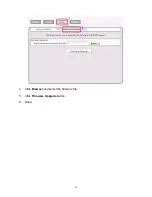
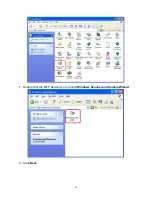
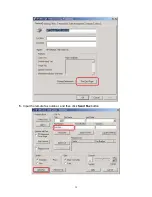
Page 26: ...4 Click Browser and select the firmware file 5 Click Firmware Upgrade button 6 Done 26...
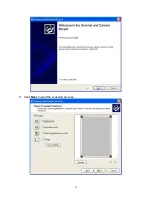
Page 34: ...7 Double click the MFP device icon to launch Windows Scanner and Camera Wizard 8 Click Next 34...
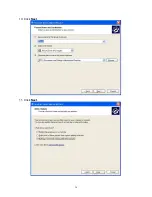
Page 35: ...9 Click Next to start the scanning process 35...
Page 36: ...10 Click Next 11 Click Next 36...
Page 39: ...5 Input the remote fax number and then click Send Fax button 39...
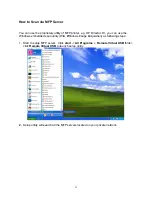
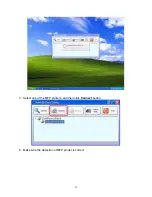
Page 41: ...2 Setup utility will search all the MFP servers located on your private network 41...


