2A Installing the ZoomAir PC Card under Windows 95 and 98
19
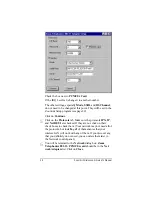
to insert the ZoomAir installation CD or Disk 1 from the set
of installation floppies. Insert the disc or diskette as needed
and click on Retry.
2
2
The ZoomAir Setup program will start. Click on Next to con-
tinue.
You will be asked to select the setup you prefer. Click on
ZoomAir 802.11 Client Software and then click on Next.
3
3
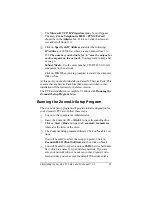
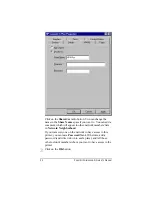
You will be asked to type in a unique SSID (Service Set Identi-
fier), which is a name for your wireless network. If you are
sure your network will not be near any other ZoomAir wire-
less networks, you can accept the default. Otherwise enter a
word or phrase.
This identifier must be the same for all computers that
will be in the same wireless network. Members of your
network should regard the SSID as a password and keep
it secret. The SSID is case-sensitive; you must use capital
and lower-case letters in the same way for all ZoomAir
units.
If you ever need to change the SSID, refer to Chapter 4.
4
4
Select a network mode when the setup program prompts for
it. Your two choices are AdHoc and Infrastructure. Choose
AdHoc unless you are installing a client in an infrastructure
network. (For a description of ad-hoc and infrastructure net-
works, see Why Wireless? on page 6.)
5
5
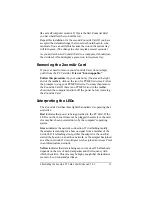
The Setup program will start copying files onto the computer’s
hard drive. If you are installing from ZoomAir diskettes, you
will be asked at some point to insert Disk 2. (Do not change
the path information in this dialog box.)
You may be asked for the Windows installation CD. If so, in-
sert the CD that came with this particular computer. Copying
files from the Windows CD may take some time.
6
6
A Network Configuration dialog box may appear briefly. Do
not enter information into it; the Setup program will take care
of this.
7
7
Depending on your configuration, you may see other screens,
including a Network Settings Change box asking you to re-
start the computer.

