2B Installing the ZoomAir PC Card under Windows NT 4.0
29
7
7
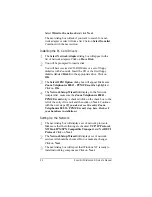
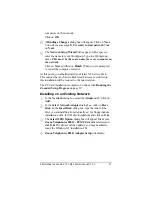
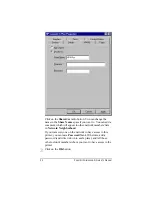
The Microsoft TCP/IP Properties dialog box will appear.
The entry Zoom Telephonics 802.11 - PCMCIA Card
should be in the Adapter box. If it is not, click the down ar-
row and scroll down to it.
8
8
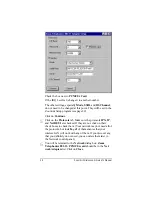
Click on Specify an IP Address and enter the following:
IP Address—192.168.0.n, where n is any number from 1 to
253.
The number you sbstitute for “n”
must be unique for
each computer on the network.
You may want to keep a list
as you go.
Subnet Mask—Use the same number, 255.255.255.0, for all
computers on the network.
Click on OK. When you are prompted to restart the computer,
click on Yes.
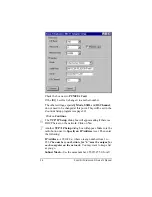
At this point you should reinstall your latest NT Service Pack. This
ensures that any Service Pack files that were overwritten in this
installation will be restored to the latest version.
The PC Card installation is complete. Continue with Running the
ZoomAir Setup Program below.
Running the ZoomAir Setup Program
The ZoomAir Setup program will provide initial configuration for
your ZoomAir PC Card. Follow these steps:
1
1
Log on to the computer as Administrator.
2
2
Insert the ZoomAir CD or Disk 1 in its corresponding drive.
Click on Start | Run and type in
d
:\zoomair\zoomair.exe,
where
d
is the letter of the drive.
3
3
The ZoomAir Setup program will start. Click on Next to con-
tinue.
You will be asked to select the setup you prefer. Click on
ZoomAir 802.11 Client Software and then click on Next.
4
4
You will be asked to type in a unique SSID (Service Set Identi-
fier), which is a name for your wireless network. If you are
sure your network will not be near any other ZoomAir wire-
less networks, you can accept the default. Otherwise enter a

