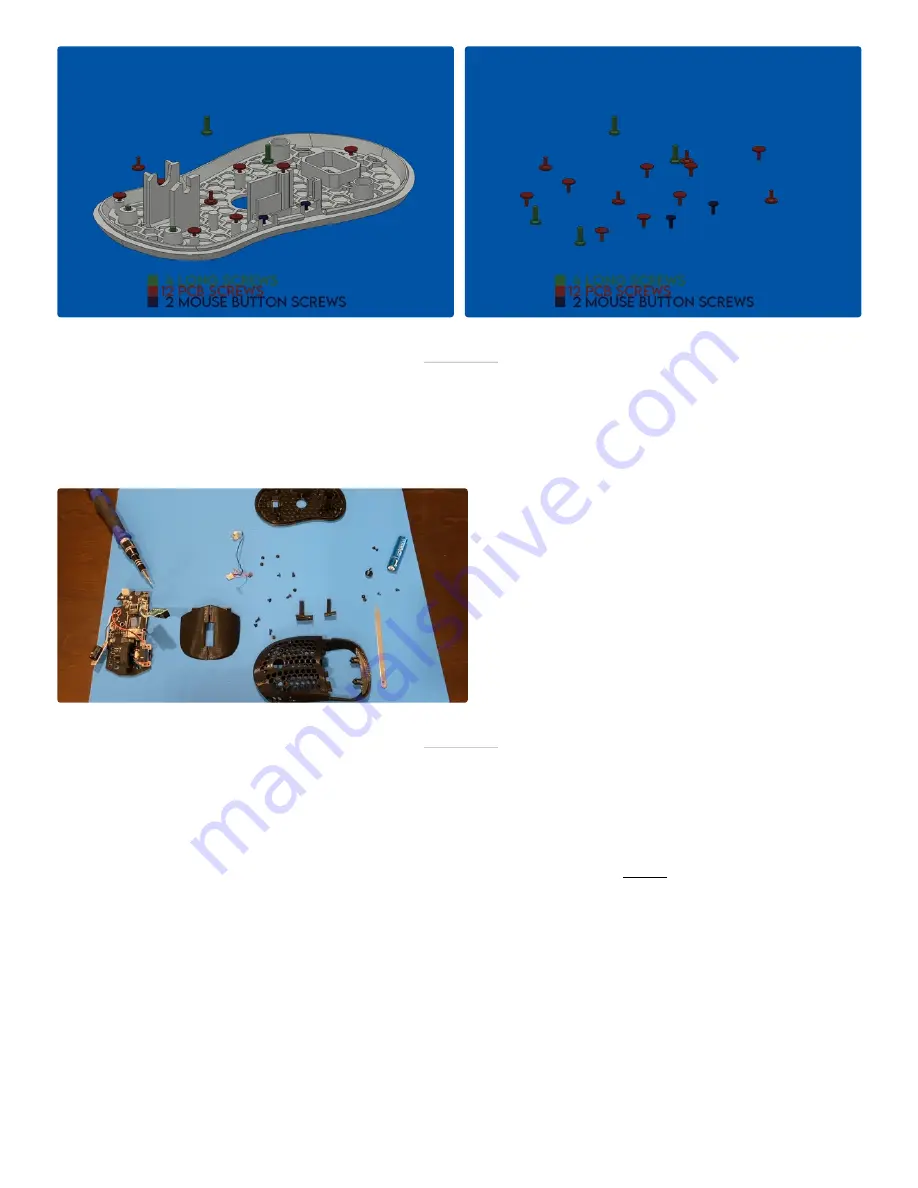
Step 3: Laying It All Out
Step 4: Bottom Internals
Make sure to leave the microusb magnetic charging tip o . It's much easier to add it in later.
Slide the PCB into place. Make sure the on/o button
doesn't fall o .
Put the side buttons into place before the side button
PCB. I screw them all the way down and then back o
like 1/4 turn. Use the very small screws that hold the
G305 switches into place.
For the side button PCB you'll want to push it gently, and
mainly down at the back. DON'T push down at the front.
Screw it into place.
Slide the switches into place on the PCB. The spikes sit in
the front holes .Screw them into place. I do the back rst.
ZS-X1, 3D Printed Endgame Gear XM1 Mini Guide: Page 7


