Get Started
6
7
Get Started
3. The operating system will automatically detect and recognize
your device and install any needed drivers. (If you are using a
Mac, see
Install the Driver
(Mac
®
OS X
®
)
below.)
Note:
Compatible with many operating systems; see
Supported
Operating Systems
on page 22 for details. Installation may vary
depending on your operating system and version.
Install the Driver (Mac OS X)
Note:
Installing the driver will improve data speed, particularly on
systems running version 10.10.
1. Insert the AT&T Velocity USB Stick into a USB port on
your Mac.
2. Double-click on the
AT&T USB Modem
icon that appears.
3. Double-click on the
AT&T USB Modem
package icon.
(You may need to enter your password.)
Uninstall the Driver (Mac OS X)
1. Disconnect from the Internet and remove the AT&T Velocity
USB Stick from your Mac.
2. Open Applications (in Finder, click
Go
>
Applications
or press
Shift-Command-A
) and double-click on the
Uninstall AT&T USB Modem
icon.
3. Click
Uninstall
. (If you have not yet removed the AT&T Velocity
USB Stick from your Mac, remove it and click
OK
.)
4. You may need to enter your password. When driver removal is
finished, click
Close
.
Connect to the Internet
Once installation is complete, your device will automatically
connect to the network. Connection is complete when the
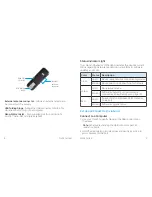
indicator light is solid green.
Disconnect and Remove the Device
Disconnect From the Network
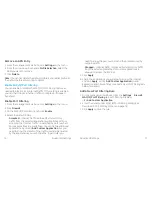
1. Launch a browser and enter
http://attusbmodem/
or
http://192.168.1.1
in the address bar.
2. Under Domestic Data, click
Off
next to
Mobile Data
.
3. Click
Apply
.
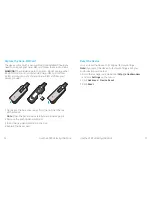
Properly Remove the Device
Disconnect from the network and close the management web
site before removing the device from the computer. You can
safely remove the device at any time when you are not connected
to the network. Gently grip the device on both sides and pull
straight out of the port to avoid damaging the USB connector.


