background image

ZXHN F668

Optical Network Unit or Terminal

GibFibreSpeed Customer Service Reference Manual

Revision History

Document Revision

Revision Description

GFSCSM-F668-RevA

First Edition

Contents

1. Product Overview

1.1 Safety Precautions

Page 2

1.2 Packing List

Page 3

1.3 Features and Specifications

Page 3

1.4 Product Appearance

Page 4

1.5 System Requirements

Page 6

1.6 Hardware Connection

Page 6

2. Configuration Preparation

Page 10

2.1 Preliminary Set-up

Page 10

2.2 Logging In to the Device

Page 10

2.3 WLAN Configuration

Page 11

Page 1

Summary of Contents for ZXHN F668

Page 1: ...irst Edition Contents 1 Product Overview 1 1 Safety Precautions Page 2 1 2 Packing List Page 3 1 3 Features and Specifications Page 3 1 4 Product Appearance Page 4 1 5 System Requirements Page 6 1 6 Hardware Connection Page 6 2 Configuration Preparation Page 10 2 1 Preliminary Set up Page 10 2 2 Logging In to the Device Page 10 2 3 WLAN Configuration Page 11 Page 1 ...

Page 2: ... maintenance if the device is faulty Note The users should read the usage cautions above carefully and will be responsible for any incident resulted from the violation of the cautions above Environment Requirements Ensure the proper ventilation to the device Place the device out of the direct sunlight Keep the device ventilated and dry Never spill any liquid on the device Do not place any object o...

Page 3: ...on provides GE or FE Ethernet interfaces to connect to the Ethernet devices IPTV function provides IPTV service For data access the ZXHN F668 implements L2 data switching and forwarding By working with relevant network devices through signalling protocols such as H 248 and SIP the ZXHN F668 implements the IP voice function The ZXHN F668 provides the security QoS and network management functions su...

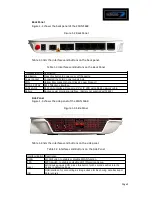
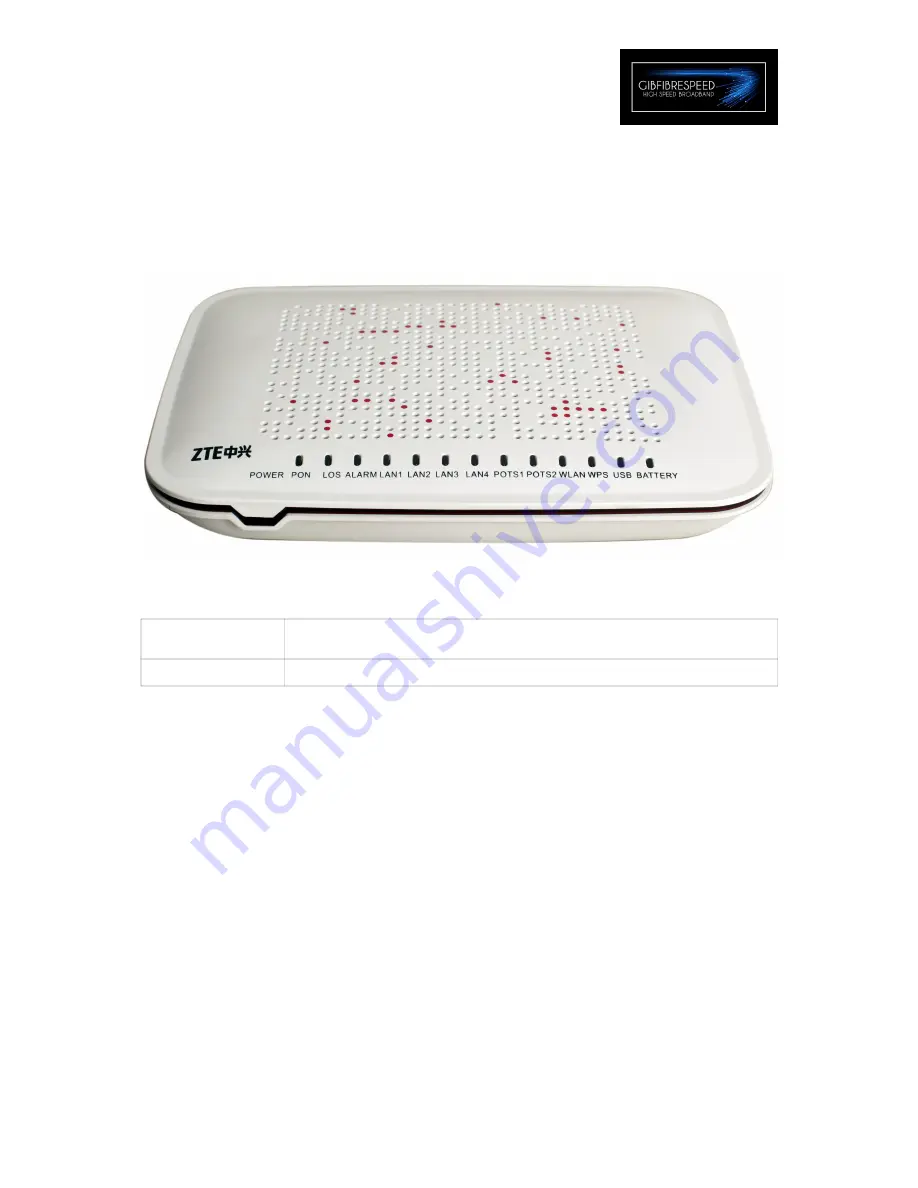
Page 4: ...Off The device is powered off or the interface is not connected to a network device Flashing The network interface is connected and data is being transmitted POTS1 POTS2 Solid Green The device is registered at the Soft Switch but no data is being transmitted Off The device is powered off or failed to register on the Soft Switch Flashing The device is registered and data is being transmitted WLAN S...

Page 5: ...er on or off the device Power Socket Connected the 12vDC power supply here PON Optical fibre connects here Class 1 Laser Product POTS1 POTS2 RJ11 Telephone Interface LAN1 LAN4 RJ 45 LAN interface Connect a PC or IP STB using RJ 45 network cable Battery Backup power monitoring interface Battery not supplied with F668 Interface Button Description WLAN WLAN button to enable or disable WLAN function W...

Page 6: ... 1000 Mbps Ethernet interface or an 802 11b g n wireless card is needed A Web browser such as Chrome IE Mozilla Firefox Opera etc 1 6 Hardware Connection Figure 1 4 shows the entire connections between the ZXHN F668 and other devices Figure 1 4 Hardware Connections Figure 1 5 shows how to connect the power supply to the ZXHN F668 Figure 1 5 Power Supply Connection Page 6 ...

Page 7: ...fibre cable connecting to the ZXHN F668 PON interface Figure 1 6 PON Connection Use a RJ 45 network cable to connect the computer or the IPTV STB with the ZXHN F668 as shown in Figure 1 7 Figure 1 7 LAN Interface Connection Page 7 ...

Page 8: ... cable to connect a phone to the ZXHN F668 as shown below Figure 1 8 Telephone Connection Use the special power cable to monitor the battery Optional and not supplied with F668 Figure 1 9 Battery Connection Page 8 ...

Page 9: ...e 1 10 USB Storage Device Connection Press the button to power ON the ZXHN F668 as shown below The POWER LED PON LED LAN LED if device connected and POTS LED if device connected should be ON This indicates that all services are running normally Figure 1 11 Power On Page 9 ...

Page 10: ... in to the Device Perform this procedure to log in to the device Prerequisites Ensure all optical fibre and LAN cables are connected properly to the F668 and a computer or other device is correctly configured 1 Open a Web Browser and enter http 192 168 1 1 default IP address of the device in to the URL address bar and press Enter The login dialog box is displayed as shown in Figure 2 1 Enter the U...

Page 11: ...f required and click Submit to apply the changes Figure 2 2 Table 2 1 Parameter Description Note All other parameters in this section should remain as default Page 11 Parameter Description Wireless RF Mode Set to Enabled Options are Enabled Disabled and Scheduled Mode Set to Mixed 802 11b 802 11g 802 11n Country Region Set to United Kingdom or Other Bandwidth Set to 20Mhz Default setting Channel S...

Page 12: ...p of the window click on the Network tab and then from the menu on the left choose WLAN and then Security 2 In the middle window select WPA WPA2 PSK from the Authentication Type drop down list Next Type a memorable password into WPA Passphrase box and select TKIP AES from the WPA Encryption Algorithm drop down list Select Submit and the security configuration is complete Page 12 ...

Reviews: