PN series frame version
Controls and operation
Command description
4-31
110006,001,11-2009, jmu
4
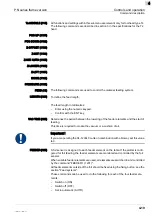
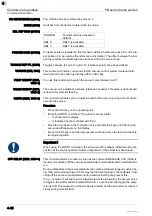
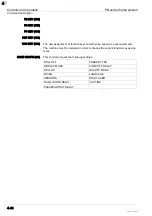
PART MARKER (235) Settings for the "Part Marker" tool - an inkjet print head to label/mark parts or com
-
ponents.
LINK TO TOOL (2351) The module of the tool into which the Part Marker is inserted has to be selected here.
Possible inputs: OFF, 1, 2, 3, 4
Tool number:
– Enter using the (left/right) arrow keys or the numeric keypad.
– Confirm with the ENT key.
– Save as configuration parameter, if required.
WIDTH CORR. (2352) The width correction can be used to change (expand) the width of the fonts. The de
-
fault is 1.0; an expansion of up to 2.0 is possible.
CAMERA ILLUM. (236) The menu for the Zünd camera.
MODE (2361) Turn the camera illumination on/off.
0 ... Off
1 ... On
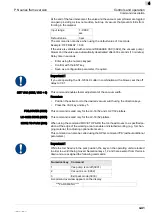
INTENSITY (2362) Set the intensity of illumination. Setting 1 ... 7
RESERVED (2363) -
RESERVED (2364) -
POWER ON INIT. (2365) ON: The camera settings are adopted and can be saved using SAVE CONFIG (46).
OFF: The basic settings are active: MODE - off, INTENSITY - 1
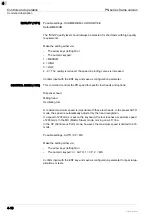
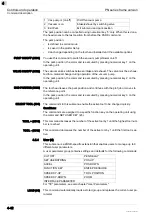
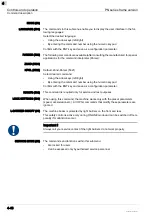
CUT PRECISION (24) Depending on the tool heads and tools used, inaccuracies may occur as a result of
the sum of several manufactured-in tolerances, especially during cutting.
Example: Tool head with knife:
Tool heads, insert sleeves, knife holders and even the knives themselves are sub
-
jected to manufactured-in tolerances. When a knife cuts, each cutting error is
doubled with cutting in the reverse direction. If in this case a tolerance of only 1/
100mm is assumed, then it is already 4/100mm. The "reversal error" doubles this to
-
lerance. In our example, a tolerance of 8/100 mm could occur. The "Accuracy" func
-
tion was implemented to eliminate the resulting inaccuracy.
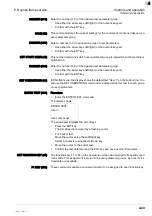
Important !
Check the precision using online data or a test cut. Possible tolerances cannot be
viewed when cutting in offline mode.
Procedure
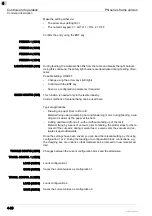
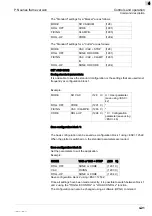
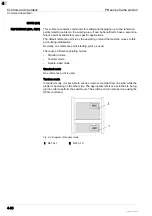
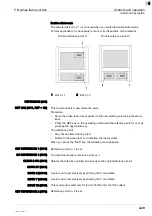
To be able to correct occurring tolerances, the skew
has to be determined. Use menu function ESC 2413 to perform a test cut. Determine
tolerances with a scaled magnifying glass and set the corrective parameters accor
-
dingly.
In the link to tool (
ESC 241
), assign this function/correction to the appropriate tool.
Summary of Contents for L-1200
Page 6: ...PN series frame version 0 4 110002 001 11 2009 jmu 0 ...
Page 14: ...Introduction PN series frame version Publishing details 1 8 110003 001 11 2009 jmu 1 ...
Page 48: ...Safety PN series frame version Disposal 3 26 110005 001 11 2009 jmu 3 ...
Page 123: ...PN series frame version Tools 7 1 100011 003 11 2009 jmu 7 7 Tools ...
Page 124: ...Tools PN series frame version 7 2 100011 003 11 2009 jmu 7 ...
Page 125: ...PN series frame version Tool heads 8 1 110008 001 11 2009 jmu 8 8 Tool heads ...
Page 126: ...Tool heads PN series frame version 8 2 110008 001 11 2009 jmu 8 ...
Page 127: ...PN series frame version Options 9 1 100015 001 11 2009 jmu 9 9 Options ...
Page 128: ...Options PN series frame version 9 2 100015 001 11 2009 jmu 9 ...
Page 129: ...PN series frame version Material feed 10 1 100012 003 11 2009 jmu 10 10 Material feed ...
Page 130: ...Material feed PN series frame version 10 2 100012 003 11 2009 jmu 10 ...
Page 132: ...Additional specifications PN series frame version 11 2 100014 003 11 2009 jmu 11 ...
Page 133: ...PN series frame version Documents 12 1 100017 001 11 2009 jmu 12 12 Documents ...
Page 134: ...Documents PN series frame version 12 2 100017 001 11 2009 jmu 12 ...
Page 142: ...Annex PN series frame version Service and maintenance works 13 8 100013 003 11 2009 jmu 13 ...


