Chapter 14 NAT
UAG Series User’s Guide
220
14.2 The NAT Screen
The
NAT
summary screen provides a summary of all NAT rules and their configuration. In addition,
this screen allows you to create new NAT rules and edit and delete existing NAT rules. To access this
screen, login to the Web Configurator and click
Configuration > Network > NAT
. The following
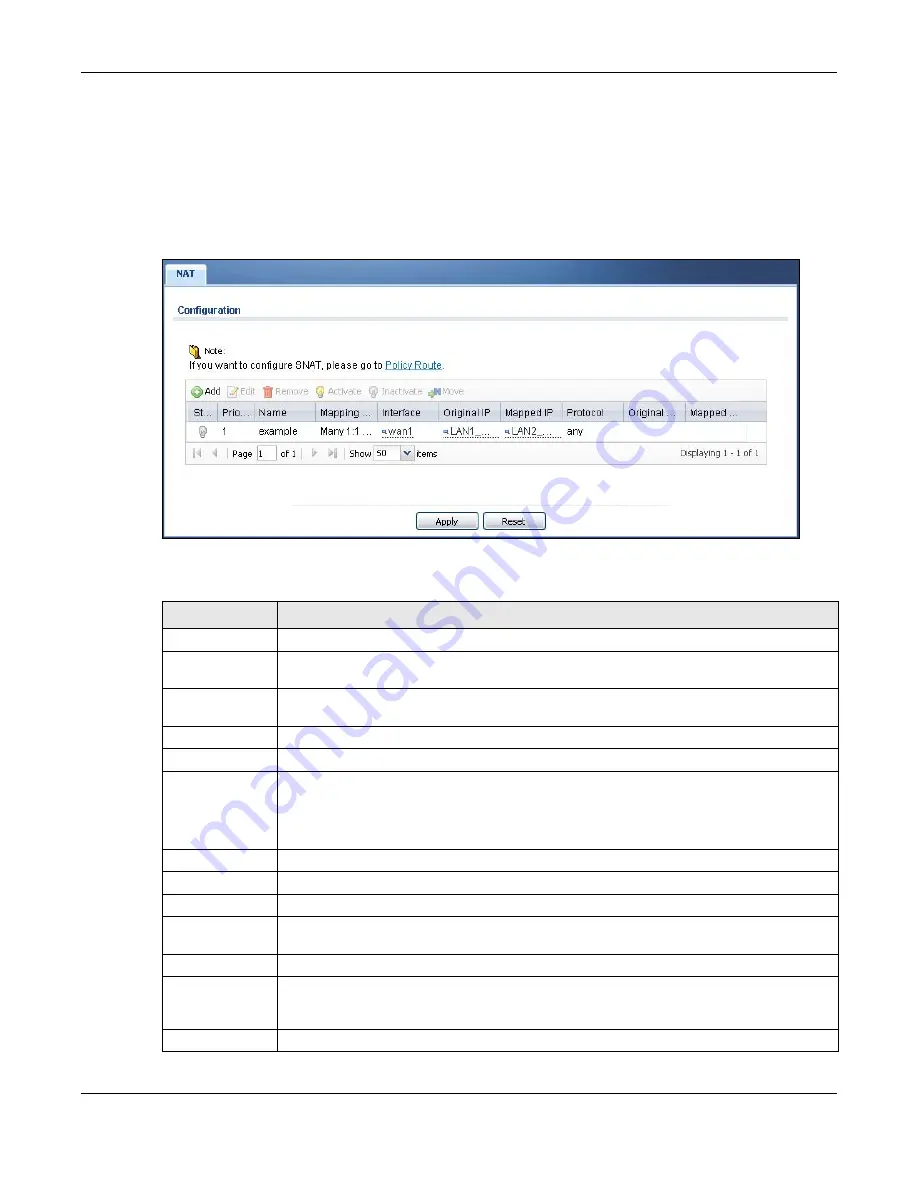
screen appears, providing a summary of the existing NAT rules.
Figure 141
Configuration > Network > NAT
The following table describes the labels in this screen.
Table 96
Configuration > Network > NAT
LABEL
DESCRIPTION
Add
Click this to create a new entry.
Edit
Double-click an entry or select it and click
Edit
to open a screen where you can modify the
entry’s settings.
Remove
To remove an entry, select it and click
Remove
. The UAG confirms you want to remove it
before doing so.
Activate
To turn on an entry, select it and click
Activate
.
Inactivate
To turn off an entry, select it and click
Inactivate
.
Move
To change a rule’s position in the numbered list, select the rule and click
Move
to display a
field to type a number for where you want to put that rule and press [ENTER] to move the
rule to the number that you typed.
The ordering of your rules is important as they are applied in order of their numbering.
Status
This icon is lit when the entry is active and dimmed when the entry is inactive.
Priority
This is the order of the entry in the list.
Name
This field displays the name of the entry.
Mapping Type
This field displays what kind of NAT this entry performs:
Virtual Server
,
1:1 NAT
, or
Many 1:1 NAT
.
Interface
This field displays the interface on which packets for the NAT entry are received.
Original IP
This field displays the original destination IP address (or address object) of traffic that
matches this NAT entry. It displays
any
if there is no restriction on the original destination
IP address.
Mapped IP
This field displays the new destination IP address for the packet.


