Chapter 26 Billing
UAG Series User’s Guide
307
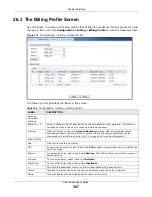
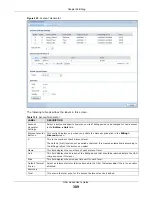
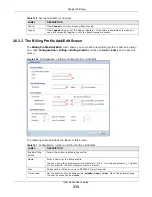
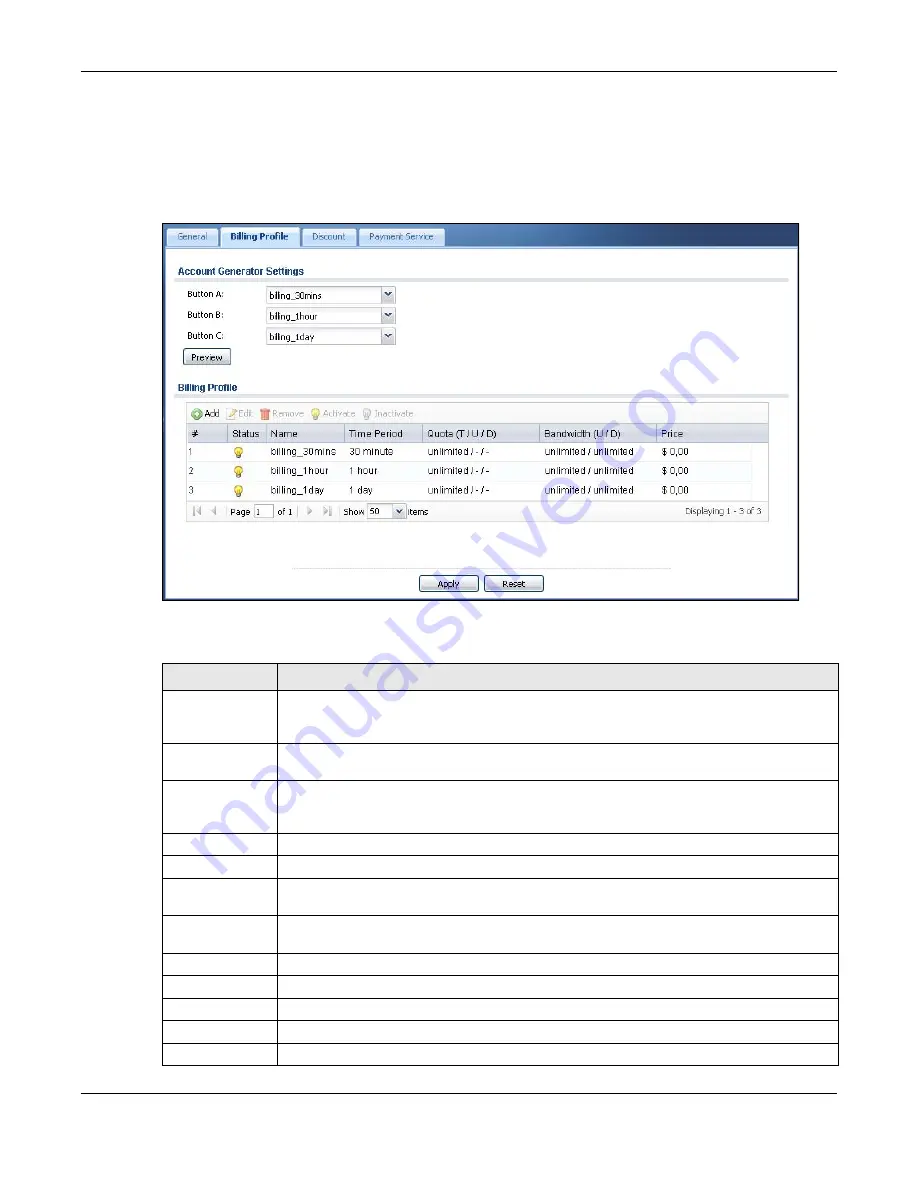
26.3 The Billing Profile Screen
Use this screen to configure the billing profiles that defines the maximum Internet access time and
charge per time unit. Click
Configuration > Billing > Billing Profile
to open the following screen.
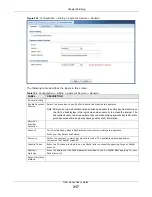
Figure 219
Configuration > Billing > Billing Profile
The following table describes the labels in this screen.
Table 138
Configuration > Billing > Billing Profile
LABEL
DESCRIPTION
Account
Generator
Settings
Button A ~ C
Select a billing profile for each button of the web-based account generator. The buttons
correspond to the buttons on a connected statement printer.
Preview
Click this button to open the
Account Generator
screen, where you can generate a
dynamic guest account and print the account information using a statement printer
connected to the UAG (see
for more information).
Billing Profile
Add
Click this to create a new entry.
Edit
Double-click an entry or select it and click
Edit
to open a screen where you can modify the
entry’s settings.
Remove
To remove an entry, select it and click
Remove
. The UAG confirms you want to remove it
before doing so.
Activate
To turn on an entry, select it and click
Activate
.
Inactivate
To turn off an entry, select it and click
Inactivate
.
#
This field is a sequential value, and it is not associated with a specific entry.
Status
This icon is lit when the entry is active and dimmed when the entry is inactive.
Name
This field displays the descriptive profile name for this entry.

