Chapter 46 System
UAG Series User’s Guide
528
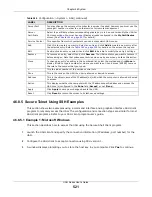
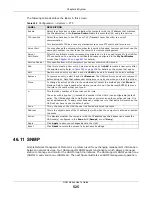
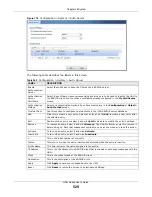
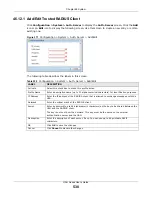
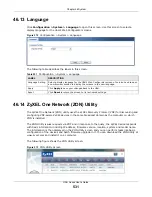
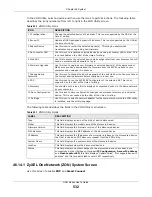
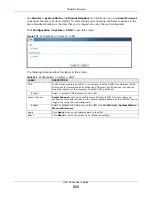
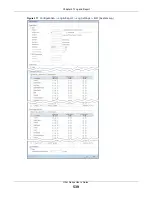
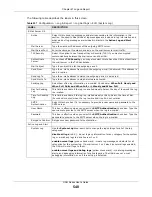
The following table describes the labels in this screen.
46.12 Authentication Server
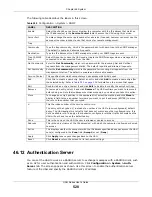
You can set the UAG to work as a RADIUS server to exchange messages with a RADIUS client, such
as an AP for user authentication and authorization. Click
Configuration > System > Auth.
Server
tab. The screen appears as shown. Use this screen to enable the authentication server
feature of the UAG and specify the RADIUS client’s IP address.
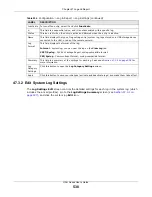
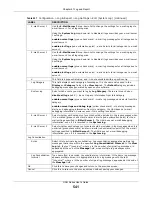
Table 248
Configuration > System > SNMP
LABEL
DESCRIPTION
Enable
Select the check box to allow or disallow the computer with the IP address that matches
the IP address(es) in the
Service Control
table to access the UAG using this service.
Server Port
You may change the server port number for a service if needed, however you must use the
same port number in order to use that service for remote management.
Trap
Community
Type the trap community, which is the password sent with each trap to the SNMP manager.
The default is public and allows all requests.
Destination
Type the IP address of the SNMP manager to which your SNMP traps are sent.
Trap CAPWAP
Event
Select this option to have the UAG send a trap to the SNMP manager when a managed AP is
connected to or disconnected from the UAG.
Get Community
Enter the
Get Community
, which is the password for the incoming Get and GetNext
requests from the management station. The default is public and allows all requests.
Set Community
Enter the
Set community
, which is the password for incoming Set requests from the
management station. The default is private and allows all requests.
Service Control
This specifies from which computers you can access which UAG zones.
Add
Click this to create a new entry. Select an entry and click
Add
to create a new entry after
the selected entry. Refer to
for details on the screen that opens.
Edit
Double-click an entry or select it and click
Edit
to be able to modify the entry’s settings.
Remove
To remove an entry, select it and click
Remove
. The UAG confirms you want to remove it
before doing so. Note that subsequent entries move up by one when you take this action.
Move
To change an entry’s position in the numbered list, select the method and click
Move
to
display a field to type a number for where you want to put it and press [ENTER] to move
the rule to the number that you typed.
#
This the index number of the service control rule.
The entry with a hyphen (-) instead of a number is the UAG’s (non-configurable) default
policy. The UAG applies this to traffic that does not match any other configured rule. It is
not an editable rule. To apply other behavior, configure a rule that traffic will match so the
UAG will not have to use the default policy.
Zone
This is the zone on the UAG the user is allowed or denied to access.
Address
This is the object name of the IP address(es) with which the computer is allowed or denied
to access.
Action
This displays whether the computer with the IP address specified above can access the UAG
zone(s) configured in the
Zone
field (
Accept
) or not (
Deny
).
Apply
Click
Apply
to save your changes back to the UAG.
Reset
Click
Reset
to return the screen to its last-saved settings.

