Chapter 22 Layer 2 Isolation
UAG4100 User’s Guide
214
• Use the
White List
screen (
) to enable and configures the white list.
22.2 Layer-2 Isolation General Screen
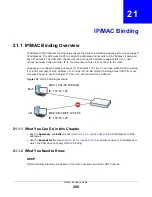
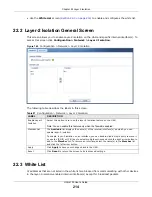
This screen allows you to enable Layer-2 isolation on the UAG and specific internal interface(s). To
access this screen click
Configuration > Network > Layer 2 Isolation
.
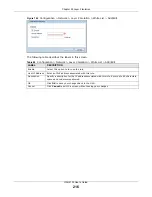
Figure 140
Configuration > Network > Layer 2 Isolation
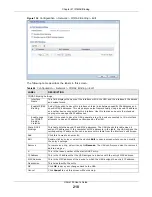
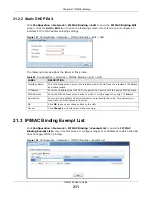
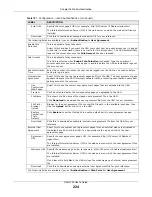
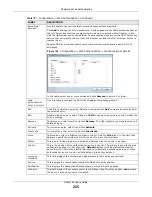
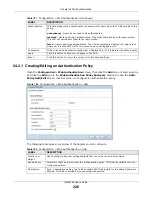
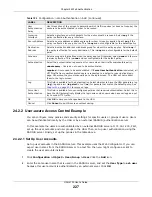
The following table describes the labels in this screen.
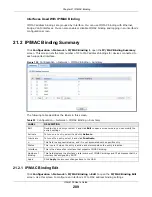
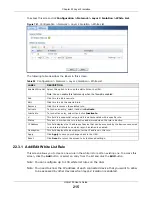
22.3 White List
IP addresses that are not listed in the white list are blocked from communicating with other devices
in the layer-2-isolation-enabled internal interface(s) except for broadcast packets.
Table 97
Configuration > Network > Layer 2 Isolation
LABEL
DESCRIPTION
Enable Layer2
Isolation
Select this option to turn on the layer-2 isolation feature on the UAG.
Note: You can enable this feature only when the firewall is enabled.
Member List
The
Available
list displays the name(s) of the internal interface(s) on which you can
enable layer-2 isolation.
To enable layer-2 isolation on an interface, you can double-click a single entry to move it
or use the [Shift] or [Ctrl] key to select multiple entriess and click the right arrow button to
add to the
Member
list. To remove an interface, select the name(s) in the
Member
list
and click the left
arrow button.
Apply
Click
Apply
to save your changes back to the UAG.
Reset
Click
Reset
to return the screen to its last-saved settings.

