Chapter 11 Trunks
UAG5100 User’s Guide
162
11.2.1 Configuring a User-Defined Trunk
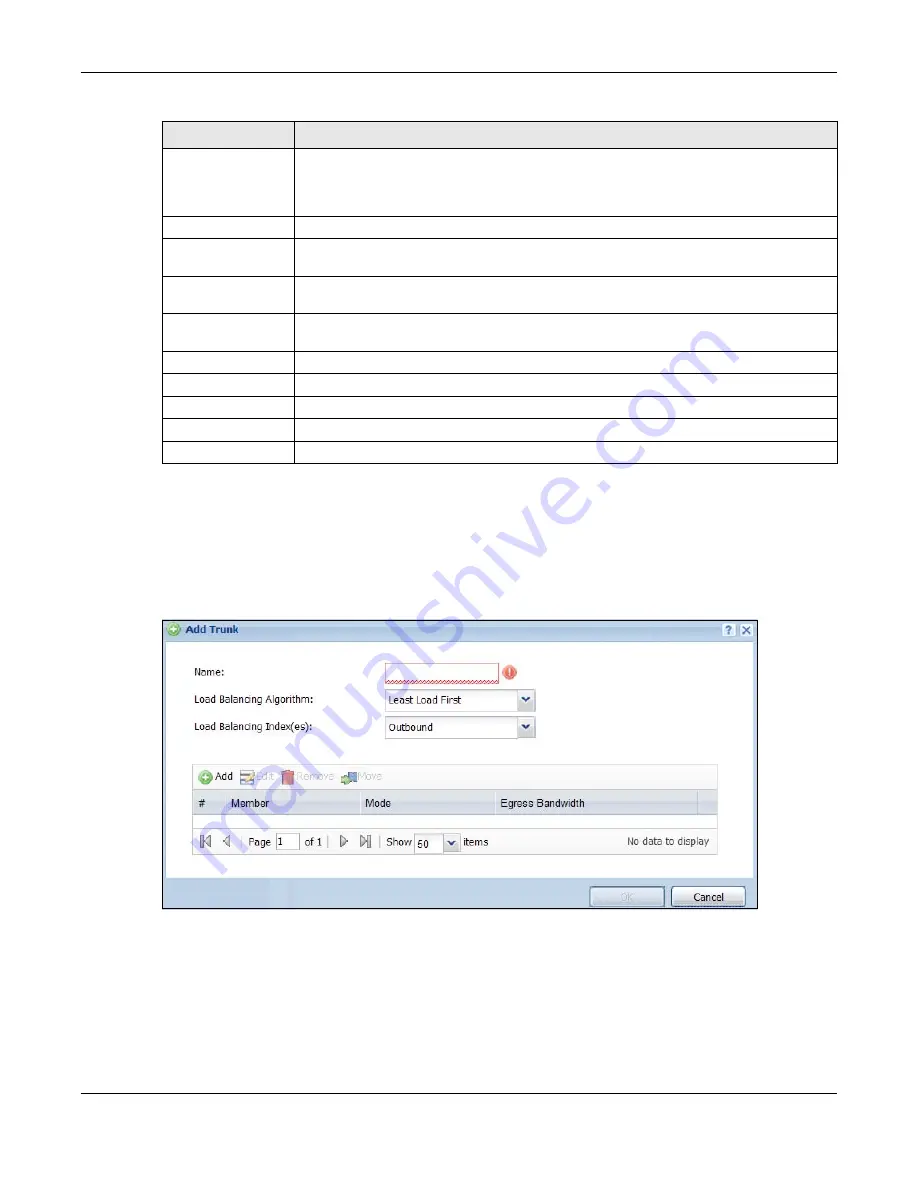
Click Configuration > Network > Interface > Trunk, in the User Configuration table click the
Add (or Edit) icon to open the Add/Edit Trunk screen. Use this screen to create or edit a WAN
trunk entry.
Figure 101
Configuration > Network > Interface > Trunk > Add/Edit
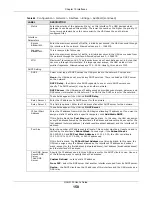
User Configuration
/ System Default
The UAG automatically adds all external interfaces into the pre-configured system
default SYSTEM_DEFAULT_WAN_TRUNK. You cannot delete it. You can create your
own User Configuration trunks and customize the algorithm, member interfaces and
the active/passive mode.
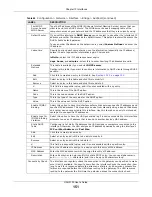
Add
Click this to create a new user-configured trunk.
Edit
Double-click an entry or select it and click Edit to open a screen where you can modify
the entry’s settings.
Remove
To remove a user-configured trunk, select it and click Remove. The UAG confirms you
want to remove it before doing so.
Object Reference
Select an entry and click Object Reference to open a screen that shows which settings
use the entry. See
for an example.
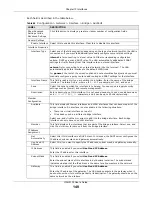
#
This field is a sequential value, and it is not associated with any interface.
Name
This field displays the label that you specified to identify the trunk.
Algorithm
This field displays the load balancing method the trunk is set to use.
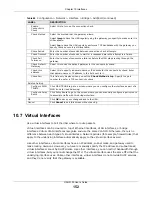
Apply
Click this button to save your changes to the UAG.
Reset
Click this button to return the screen to its last-saved settings.
Table 70
Configuration > Network > Interface > Trunk (continued)
LABEL
DESCRIPTION


