Chapter 16 VPN 1-1 Mapping
UAG5100 User’s Guide
195
The following table describes the labels in this screen.
16.3 The VPN 1-1 Mapping Profile Screen
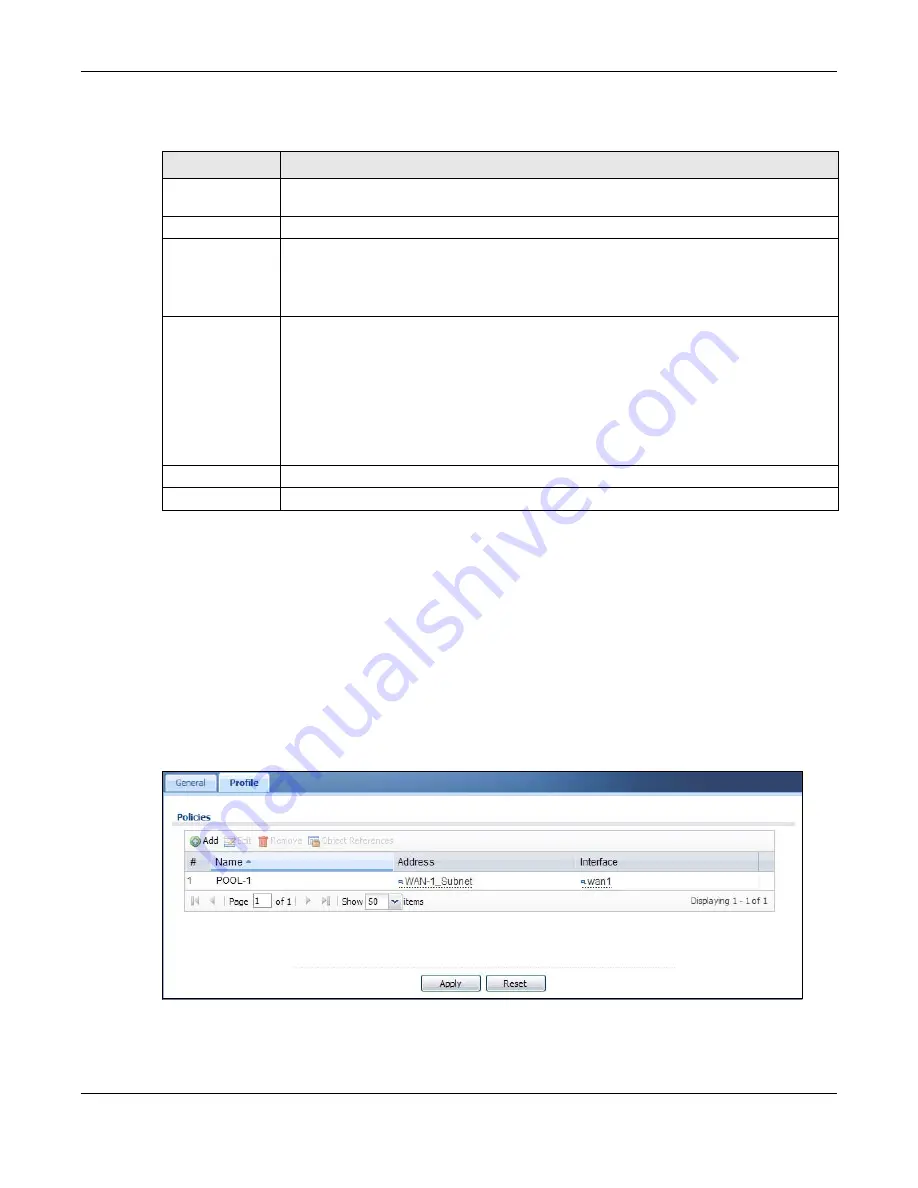
The VPN 1-1 Mapping Profile summary screen provides a summary of all pool profiles for VPN 1-
1 mapping and their configuration. In addition, this screen allows you to create new pool profiles
and edit and delete existing profiles. A pool profile defines the public IP address(es) that the UAG
assigns to the matched users and the interface through which the user’s traffic is forwarded. To
access this screen, login to the Web Configurator and click Configuration > Network > VPN 1-1
Mapping > Profile. The following screen appears, providing a summary of the existing IP address
pool profiles.
Figure 122
Configuration > Network > VPN 1-1 Mapping > Profile
Table 86
Network > VPN 1-1 Mapping > Add/Edit
LABEL
DESCRIPTION
Create New
Object
Click this button to create any new user/group objects that you need to use in this screen.
Enable Policy
Use this option to turn the VPN 1-1 mapping rule on or off.
User/Group
Use the drop-down list box to select the individual or group for which you want to use this
rule.
Select any to have the mapping rule apply to all of the traffic that the UAG receives from
any user.
Pool Profile
The Selectable Pool Profiles list displays the name(s) of the pool profile(s) you can
select for this mapping rule.
To associate a pool profile to this mapping rule, you can double-click a single entry to
move it or use the [Shift] or [Ctrl] key to select multiple entries and click the right arrow
button to add to the Selected Pool Profiles list. To remove a pool profile, select the
name(s) in the Selected Pool Profiles list and click the left arrow button.
You can also use the up or down arrow button to change the order of members in the
Selected Pool Profiles list.
OK
Click OK to save your changes back to the UAG.
Cancel
Click Cancel to exit this screen without saving.


