Chapter 13 Spanning Tree Protocol
XGS4600 Series User’s Guide
169
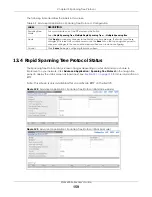
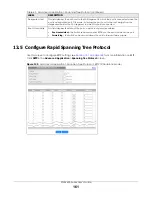
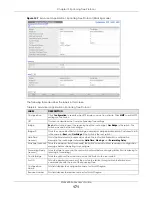
The following table describes the labels in this screen.
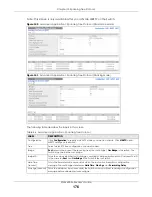
13.7 Multiple Spanning Tree Protocol Status
Click
Advanced Application
>
Spanning Tree Protocol
in the navigation panel to display the status
screen as shown next.
Note: This screen is only available after you activate MSTP on the Switch.
Table 63 Advanced Application > Spanning Tree Protocol > MSTP > Port
LABEL
DESCRIPTION
MSTP
Click
MSTP
to edit MSTP settings on the Switch.
SLOT
This field appears only in stacking mode. Click the drop-down list to choose the slot number of
the Switch in a stack.
Port
This field displays the port number. In stacking mode, the first number represents the slot ID
and the second is the port number. Please note that the default stacking ports (the last two
ports of your Switch) cannot be configured. They are reserved for stacking only.
*
Settings in this row apply to all ports.
Use this row only if you want to make some settings the same for all ports. Use this row first to
set the common settings and then make adjustments on a port-by-port basis.
Note: Changes in this row are copied to all the ports as soon as you make them.
Edge
Select this check box to configure a port as an edge port when it is directly attached to a
computer. An edge port changes its initial STP port state from blocking state to forwarding
state immediately without going through listening and learning states right after the port is
configured as an edge port or when its link status changes.
Note: An edge port becomes a non-edge port as soon as it receives a Bridge
Protocol Data Unit (BPDU).
Root Guard
Select this check box to enable root guard on this port in order to prevent the switches
attached to the port from becoming the root bridge.
With root guard enabled, a port is blocked when the Switch receives a superior BPDU on it.
The Switch allows traffic to pass through this port again when the switch connected to the
port stops to send superior BPDUs.
Apply
Click
Apply
to save your changes to the Switch’s run-time memory. The Switch loses these
changes if it is turned off or loses power, so use the
Save
link on the top navigation panel to
save your changes to the non-volatile memory when you are done configuring.
Cancel
Click
Cancel
to begin configuring this screen afresh.


