Chapter 50 OSPF
XGS4600 Series User’s Guide
464
50.10 IPv6 OSPF Configuration
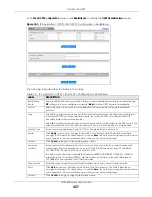
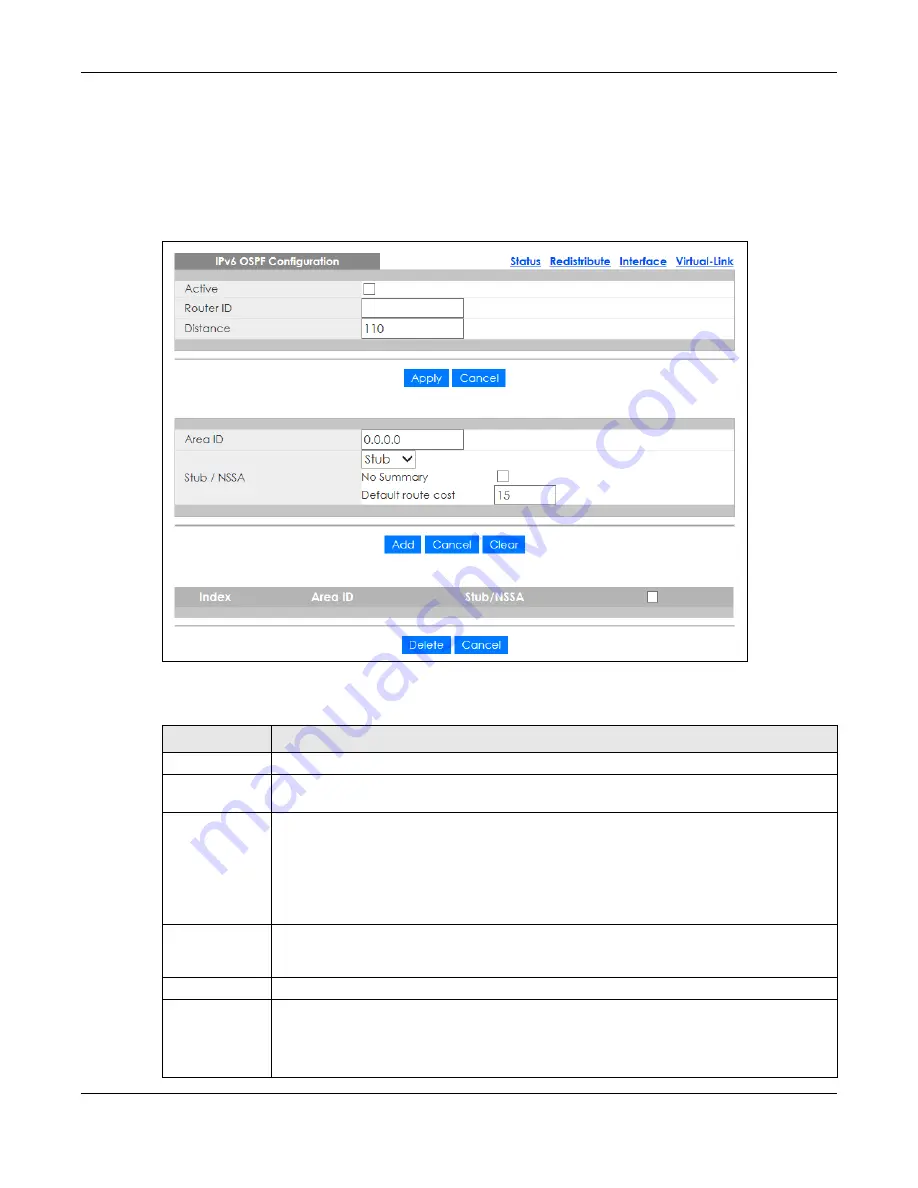
Use this screen to activate OSPF for IPv6 and set general settings. Click
IP Application
>
OSPF
>
IPv6 OSPF
>
Configuration
to display the
IPv6 OSPF Configuration
screen. See
information on OSPF.
Figure 367
IP Application > IPv6 OSPF > Configuration
The follow table describes the related labels in this screen.
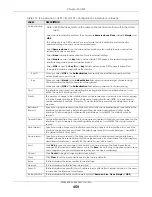
Table 216 IP Application > IPv6 OSPF > Configuration
LABEL
DESCRIPTION
Active
OSPF for IPv6 is disabled by default. Select this option to enable it.
Router ID
Router ID uniquely identifies the Switch in an OSPF. Enter a unique ID (that uses the format of an
IP address in dotted decimal notation) for the Switch.
Distance
Enter a number from 10 to 255 to specify the administrative distance that is assigned to routes
learned by OSPF.
The lower the administrative distance value is, the more preferable the routing protocol is.
Note: You cannot set two routing protocols to have the same administrative
distance.
Apply
Click
Apply
to save your changes to the Switch’s run-time memory. The Switch loses these
changes if it is turned off or loses power, so use the
Save
link on the top navigation panel to save
your changes to the non-volatile memory when you are done configuring.
Cancel
Click
Cancel
to begin configuring this screen afresh.
Area ID
Enter a 32-bit ID (that uses the format of an IPv4 address in dotted decimal notation) that
uniquely identifies an area.
A value of
0.0.0.0
indicates that this is a backbone (also known as Area 0). You can create only
one backbone area on the Switch.


