


Summary of Contents for PL200
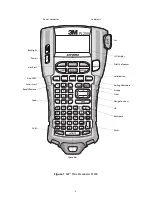
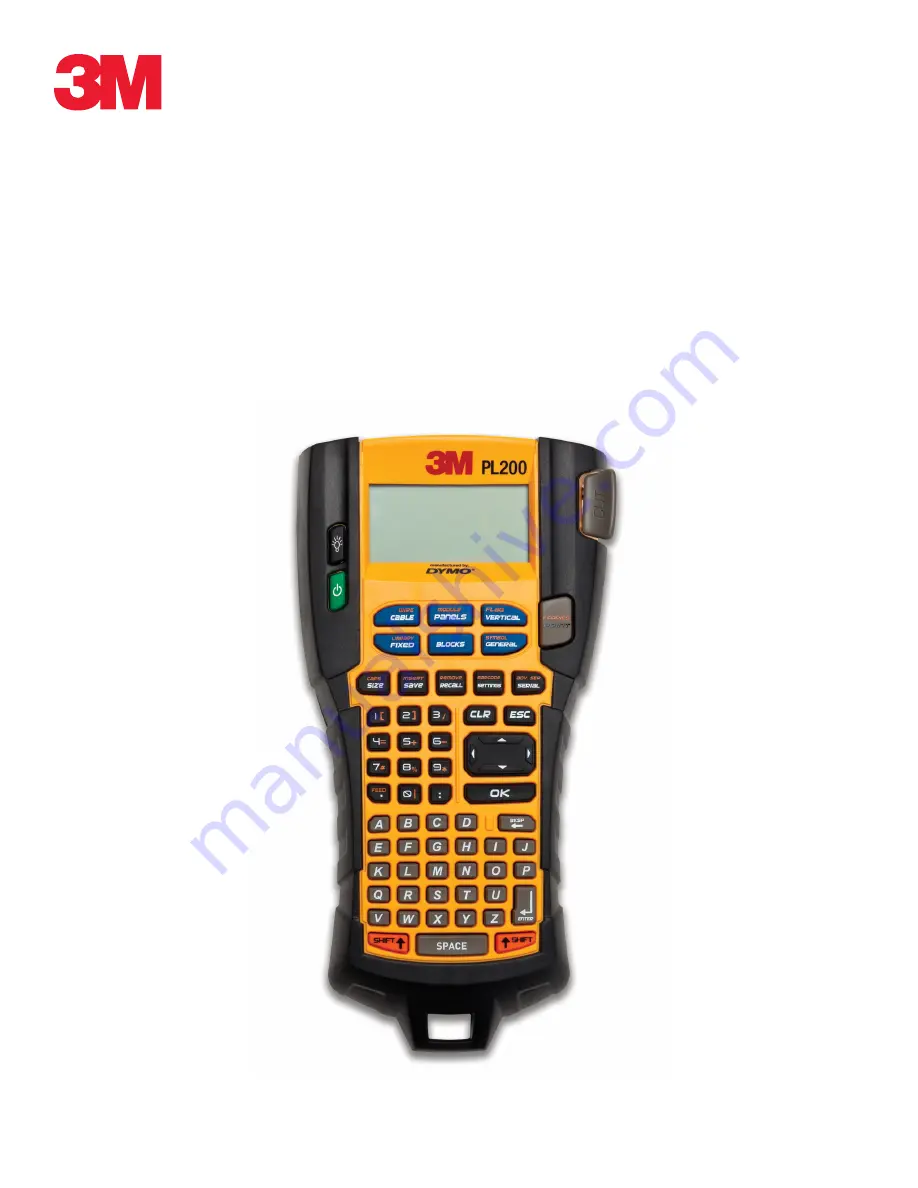
Page 1: ...Portable Labeler PL200 User Guide...
Page 22: ...22...
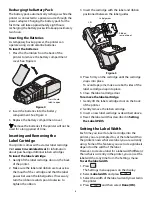
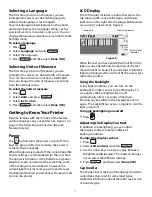
The LEXIBOOK PL200 is a versatile multifunctional device that enhances your everyday life. Get the most out of your PL200 with the comprehensive Instruction Manual, available for free download at 88.208.23.73:8080. This manual provides step-by-step guidance, ensuring smooth setup and optimization of the device's features.
Page 1: ...Portable Labeler PL200 User Guide...
Page 22: ...22...


