
Available from A1 Security Cameras
www.a1securitycameras.com email: sales@a1securitycameras.com
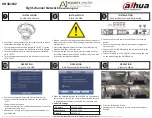
BN481E82
Eight-channel Network Recording Kit
❶
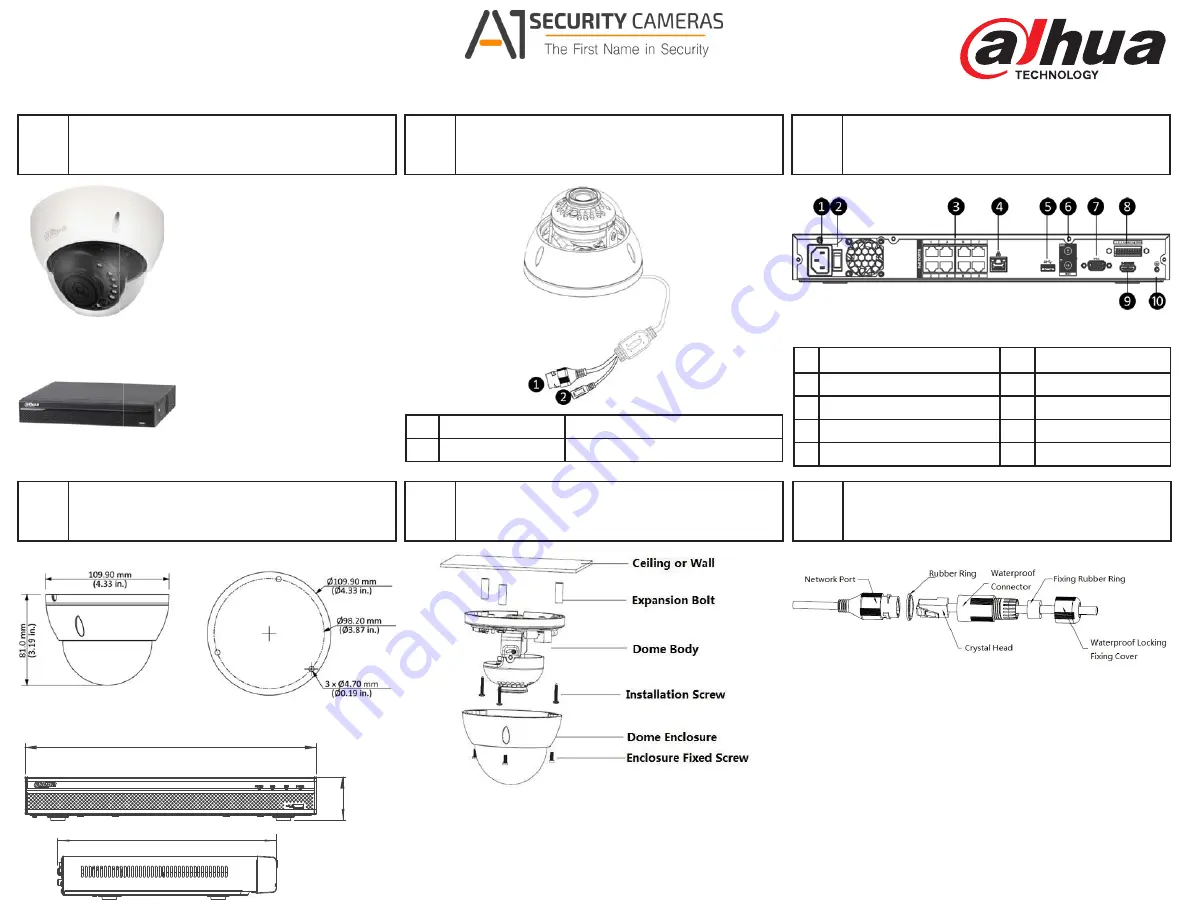
UNPACKING
Your system includes the following:
❷
CONNECTIONS
Camera ConnecƟons
Cameras
• 8 x Netowrk Dome Cameras
• 8 x Hardware Packs, with:
MounƟng Template,
Expansion Bolts (3),
Self-tapping Screws (3), Hex Wrench,
Startup Guide, and SoŌware CD
Network Video Recorder
• 1 x 8-channel NVR, with:
Pre-installed 2 TB HDD,
AC Power Supply,
Ethernet Cable, Mouse,
1
Video Output
Ethernet, RJ-45
Hard Drive SATA Cable, HD Hardware,
2
Power Input
12 VDC or PoE (IEEE 803af)
Startup Guide, and SoŌware CD
DIMENSIONS
INSTALLATION
❹
Camera and NVR
❺
Mount and Make ConnecƟons
375.0 mm
(14.80 in.)
53.0 mm
(2.10 in.)
• Ensure the wall or ceiling can support 3x the weight of the
camera.
327.50 mm
(12.90 in.)
• If you are connecƟng the IP cameras to the PoE ports of the
NVR, DO NOT connect a 12VDC power supply to the cam-
era. Power will be supplied to the camera via PoE. Proceed
directly to the next step.
CONNECTIONS
❸
NVR ConnecƟons
1 100 to 240 VAC Power IN
6
Audio IN/OUT
2 On/Off BuƩon
7
VGA OUT
3 PoE, RJ45 (x8)
8
Alarm I/O
4 Network Switch, RJ45
9
HDMI OUT
5 USB Port
10
Ground
INSTALLATION
❻
Waterproof the Network Connector
• Place the wide side of the rubber ring onto the end of the
network cable extending out from the camera.
• Thread the cable through the Fixing Rubber Ring and the
Waterproof Locking Cover.
• AƩach the male Ethernet connector to the network cable
coming from the camera.
• Connect the other end of the waterproof connector to the
network port and rotate it clockwise to lock the network
port and waterproof connector firmly.
• Slide the Waterproof Locking Cover over the main body of
waterproof connector and rotate it clockwise to seal the
connecƟ on


