AAT Movilino, User Manual
The AAT Movilino User Manual is the perfect companion for navigating your way through the features and functions of this innovative product. Our Translation of the Original User Manual is available for free download at 88.208.23.73:8080, providing you with a comprehensive guide to fully utilize the Movilino's capabilities.
Share
Download


Reviews:
No comments
Related manuals for Movilino
Giraffe
Brand: Jenx Pages: 44

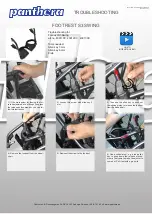
S2
Brand: panthera Pages: 9

S2
Brand: panthera Pages: 9
S3
Brand: panthera Pages: 2
X3
Brand: Garaventa Lift Pages: 7
400
Brand: Accora Pages: 3
c-max U2
Brand: AAT Pages: 64
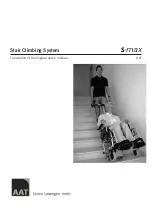
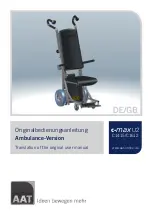
S-max
Brand: AAT Pages: 44
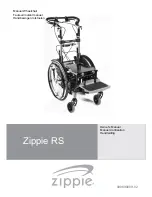
RS
Brand: Zippie Pages: 60
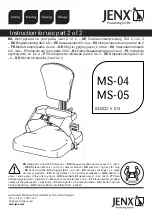
MS-04
Brand: Jenx Pages: 24
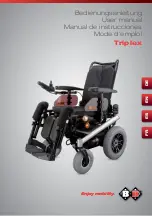
triplex
Brand: B+B Pages: 71
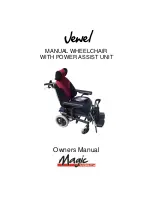
Jewel
Brand: Magic Mobility Pages: 12
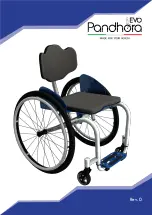
Evo
Brand: Pandhora Pages: 72

Cougar
Brand: R82 Pages: 4
Cougar
Brand: R82 Pages: 5
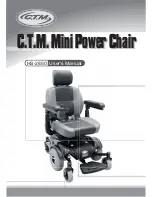
HS-2850
Brand: C.T.M. Pages: 22
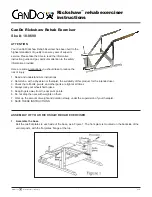
Rickshaw
Brand: Cando Pages: 2
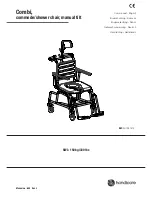
Combi
Brand: Handicare Pages: 32


