background image


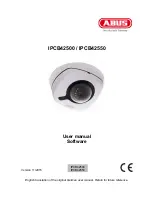
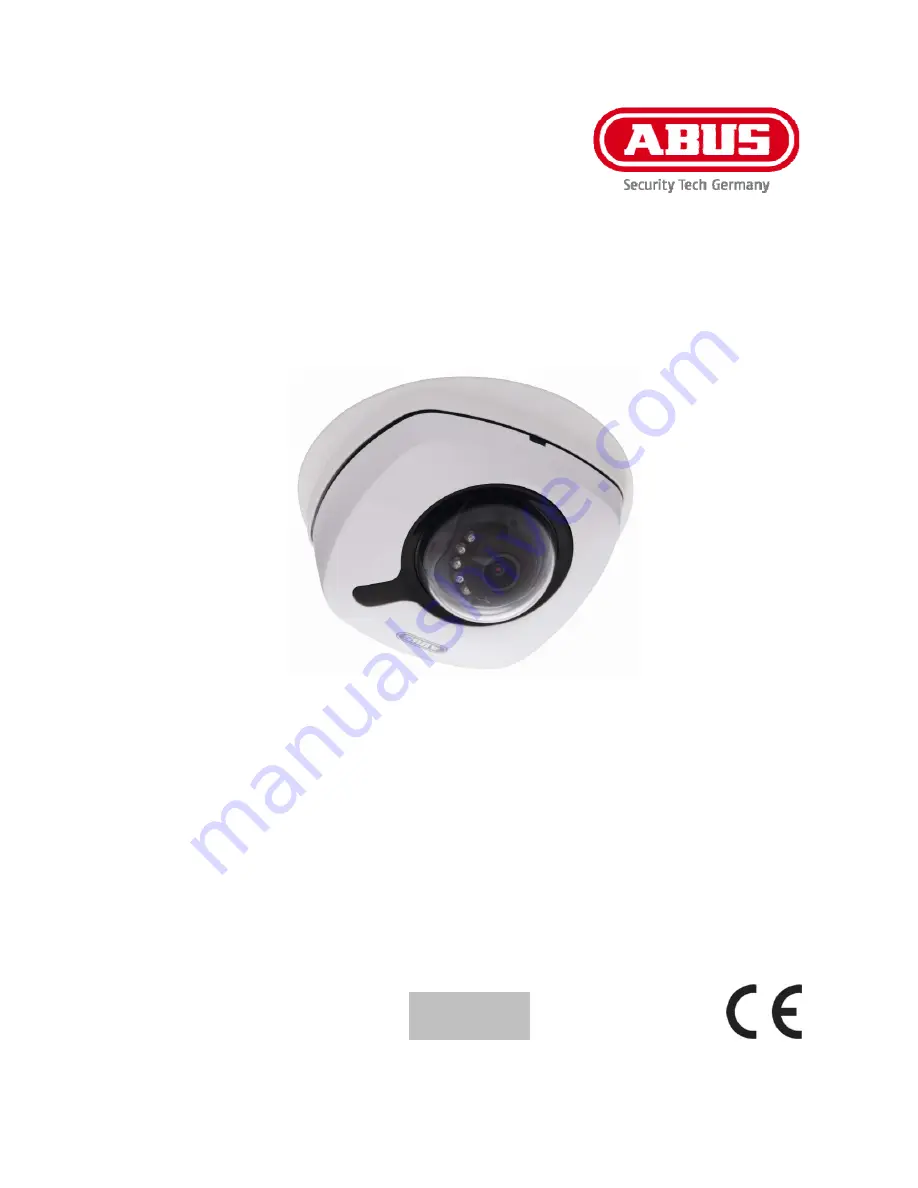
IPCB42500 / IPCB42550


User manual 

Software 


Version 

11/2015 


English translation of the original German user manual. Retain for future reference. 

IPCB42500 
IPCB42550 


Summary of Contents for IPCB42500

Page 1: ...IPCB42500 IPCB42550 User manual Software Version 11 2015 English translation of the original German user manual Retain for future reference IPCB42500 IPCB42550 ...

Page 2: ... and product descriptions are trademarks of the corresponding owner All rights reserved If you have any questions please contact your specialist installation contractor or specialist dealer Disclaimer This user manual has been produced with the greatest of care Should you discover any missing information or inaccuracies please let us know about them ABUS Security Center GmbH Co KG does not accept ...

Page 3: ... sheeting polystyrene packaging etc can pose a danger to children if played with The video surveillance camera contains small parts which could be swallowed and must be kept out of the reach of children for safety reasons Do not insert any objects into the device through the openings Only use replacement devices and accessories that are approved by the manufacturer Do not connect any non compatibl...

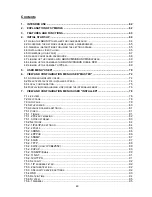
Page 4: ...DELETE USERS 74 6 2 DEACTIVATE ACTIVATE INSTALLER ACCESS 74 6 3 LOCAL CONFIGURATION 75 6 4 DISPLAYING DOWNLOADING VIDEO FROM THE INTERNAL MEMORY 76 7 VIEW AND CONFIGURATION MENUS USER INSTALLER 78 7 1 LIVE VIEW 78 7 2 HELP PAGE 78 7 3 INFO PAGE 78 7 4 SETUP WIZARD 80 7 5 ADVANCED CAMERA SETTINGS 81 7 5 1 VIDEO 81 7 5 1 1 IMAGE 81 7 5 1 2 PRIVACY MASKING 82 7 5 1 3 VIDEO STREAM 83 7 5 2 NETWORK 84 ...

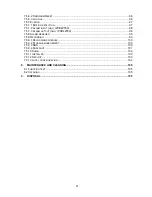
Page 5: ...ARM OUTPUT ONLY IPCB42550 98 7 5 8 ALARM MANAGER 99 7 5 9 RECORDING 99 7 5 9 1 RECORDING SCHEDULE 100 7 5 9 2 STORAGE MANAGEMENT 100 7 5 9 3 NAS 100 7 5 9 4 SNAPSHOT 101 7 5 10 AUDIO 102 7 5 11 INSTALLER 103 7 5 12 SERVICE 103 7 5 13 LOCAL CONFIGURATION 104 8 MAINTENANCE AND CLEANING 105 8 1 FUNCTION TEST 105 8 2 CLEANING 105 9 DISPOSAL 105 ...

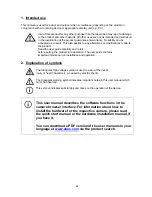
Page 6: ...the product into operation The user guide contains important information on installation and operation 2 Explanation of symbols The triangular high voltage symbol is used to warn of the risk of injury or health hazards e g caused by electric shock The triangular warning symbol indicates important notes in this user manual which must be observed This symbol indicates special tips and notes on the o...

Page 7: ...63 3 Features and functions WDR DWDR IR infrared WLAN IPCB42500 IPCB42550 ...

Page 8: ... be changed using the ABUS IP installer This will change the language preference for the master and installer users at the same time for an explanation of master installer see chapter User accounts and passwords Individual language preferences can be amended in the settings menus for master and installer Please be aware that the language preference for the camera homepage is set automatically depe...

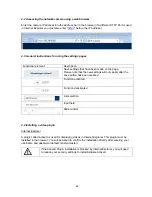
Page 9: ...w settings will only apply after the save button has been pressed Function activated Function deactivated List selection Input field Slide control 4 4 Installing a video plugin Internet Explorer A plugin called ActiveX is used for displaying videos in Internet Explorer This plugin must be installed in the browser You will be asked to confirm the installation directly after entering your username a...

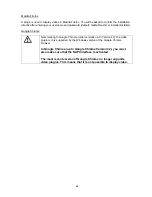
Page 10: ...nstaller Google Chrome Note relating to Google Chrome older versions up to Version 42 the video plugin is only supported by the Windows version of the Google Chrome browser In Google Chrome up to Google Chrome Version 42 you must also make sure that the NAPI interface is activated The most recent version of Google Chrome no longer supports video plugins This means that it is not possible to displa...

Page 11: ...lorer options Windows setting Each respective user account installer master or user can set their language individually For example the settings pages can be set to English for the installer account and German for the master account The following languages are supported German English French Dutch Danish If a language is not supported the website will be displayed in English ...

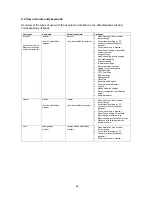
Page 12: ...ddress settings Network protocol settings Setting for connection ports DDNS settings HTTPS settings SMTP settings Displayed text Date Time Export Import Restore Firmware update Restart Log file Motion detection settings Alarm management email switch output Audio parameter master master can be modified by master master can be modified by master Video display on web browser Instant image Local video...

Page 13: ...up the camera with ABUS NVR ABUS Hybrid DVR The following information is required to link up the camera with ABUS NVR ABUS Hybrid DVR IP address domain name http port default 80 rtsp port default 554 may not be changed User name Installer Password installer can be changed via the installer settings 4 9 Linking up the camera to IPCam The following information is required to link up the camera with ...

Page 14: ... bar Live display Help page Log out as user Button display on screen Function Instant image function This function saves an instant image from the current video stream in JPEG format The picture is stored in the following folder Save location see local configuration ...

Page 15: ...uting the microphone if available This button can be used to deactivate the microphone in the camera or the microphone in the optional audio input Muting the speaker if available This button can be used to deactivate the speaker in the optional audio output Full screen mode Switching the video picture on the monitor to full screen mode you can also do this by double clicking within the video frame...

Page 16: ...n for save location Video function This function saves a video from the current video stream in AVI format see Local Configuration for save location Muting the microphone if available This button can be used to deactivate the microphone in the camera or the microphone in the optional audio input Muting the speaker if available This button can be used to deactivate the speaker in the optional audio...

Page 17: ...clicking within the video frame You can exit full screen mode by double clicking within the video frame again or pressing the ESC button Live view page for master user Information page with explanations of what the buttons do Settings page for master user Log out as user Afterwards the login page is displayed again ...

Page 18: ...uirements 8 16 characters 2x numbers 2x lower case letters 2x upper case letters 2x special characters Password confirm Enter and confirm the password here 6 2 Deactivate activate installer access Block user Installer The Master user can block installer access Installer user when the installation has finished Access can be activated again if required If the Master or Installer user has forgotten t...

Page 19: ...ct the encoding format for saving single frames using the browser live interface Record file size Select the size of video sequences for saving videos using the browser live interface Save record files to Select the path for video recording Save downloaded files to Select the path for video files downloaded from the SD card Save live snapshots to Select the encoding format for saving images using ...

Page 20: ... Explanation Selection of the date when searching for a recording If data are found on the SD card they are displayed in the playback bar by record type First select a date and then click SEARCH Stop playback Slow playback forwards Fast playback forwards Frame forwards ...

Page 21: ...ion see local configuration Start stop the video cutting function The cut video is saved after you press stop save location see local configuration Opens a dialogue for downloading recorded video files from the SD card Opens a dialogue for downloading recorded image files from the SD card Playback bar with time and date display display depends on temporal zoom factor The recorded data are displaye...

Page 22: ...er the installer user has extended options for settings such as the set up wizard or extended configuration Example image IPCB42550 7 2 Help page The functions of the buttons on the live page are explained on this page 7 3 Info page The info page displays general information about the camera e g installed firmware version or MAC address of the camera ...

Page 23: ...y the installer System condition is critical Certain parameters such as system temperature or processor usage are critical for the system The system must be tested by the installer immediately IP camera name display of the camera name Can be modified using Configuration System Device number display of the max resolution of the camera platform Model camera item number Firmware version display of th...

Page 24: ...tus Data throughput total video and audio bit rate over the network interface outgoing CPU usage display of the processor usage of the camera 7 4 Setup wizard The setup wizard navigates you through the most important menu options the camera has The setup wizard deals with the following menu options Network DDNS Text Date time Installer Service Storage Restart For more information on each settings ...

Page 25: ...ing select a method for switching between day and night mode Day the camera stays in day mode Night the camera stays in night mode Auto Automatic switching according to light conditions Schedule switching at fixed times You must enter the day start time and day end time Triggered by event switching is performed by triggering the switching input The output status can be achieved via the status opti...

Page 26: ...rizontally or horizontally and vertically Portrait mode this setting is used to rotate the image to increase the vertical angle of view It is necessary to rotate the camera module through 45 when doing this Video standard Here you can set the mains frequency of the power supply network 7 5 1 2 Privacy masking Preview area the preview of the video and privacy masks that have been set up are display...

Page 27: ... bitrate only The value set here describes the compression level Frame rate select the number of images second to be transmitted Max bitrate select the bandwidth that should constantly be used for data transmission for constant bitrate only Video encoding select the codec that should be used for compressing the data Profile here you can select the profile type for the video codec A profile is stan...

Page 28: ...84 7 5 2 Network 7 5 2 1 IPv4 IPv6 settings ...

Page 29: ...location of the address by the DHCP Route advertisement IPv6 address IPv6 network address IPv6 Subnet Mask IPv6 Subnet Mask IPv6 Default Gateway IPv6 Default Gateway MAC Address display of the MAC address MTU maximum packet length Multicast address multicast network address Enable multicast enable the multicast function Preferred DNS Server manual setting of the DNS server s IP address Alternate D...

Page 30: ...service provider Port port for the service User name user account identification with the DDNS service provider Password account password with the DDNS service provider Further information on the ABUS SERVER can be found on the help page at the following address https www abus server com faq html 7 5 2 4 PPPoE The PPPoE protocol makes it possible to connect the camera to a provider modem directly ...

Page 31: ...on algorithm MD5 SDA Authentication Password Password assignment Private key Algorithm Select encryption algorithm DES AES Private key password Password assignment Write UserName Allocate user name Security level auth priv no authentication no encryption auth no priv authentication no encryption no auth no priv No authentication encryption Authentication algorithm Select authentication algorithm M...

Page 32: ...ent directory Save in the child directory Parent directory This menu item is only available if Save in the parent directory or Save in the child directory was selected under Directory Structure You can select the name for the parent directory here The files are saved in a folder on the FTP server Choose between Use Device Name Use Device Number and Use Device IP address Child directory Select the ...

Page 33: ...sing a central instance wireless access point router All network components must use the same SSID and security mode Security mode Select encryption for the Wi Fi connection WPA2 personal is recommended Encryption Type Select an encryption algorithm Password Enter a password for the Wi Fi network Enable WPS Wi Fi protected setup enables the WPS function There are 2 different methods for using the ...

Page 34: ... configured beforehand so that the camera is able to send emails if certain events occur You can obtain information about the various details from your email provider Sender Enter the name of the sender here Sender s address Enter the email address of the sender here SMTP Server Enter the SMTP outgoing mail server for your email provider here SMTP port Enter the SMTP server port here e g 465 if yo...

Page 35: ...ion automatically sets up port forwarding for access from the Internet to the camera in the router if the router supports this Mapping type Auto automatic assignment of all ports Manual manual assignment of all ports 7 5 2 12 HTTPS Activate HTTPS enables the HTTPS function This enables a secure connection with connection certificate Please note that further steps are necessary for configuring the ...

Page 36: ...Delete manage filter rules The format for entering an IP address is XXX XXX XXX XXX 7 5 3 2 Authentication RTSP authentication On basic enables authentication User name and password are required for transmitting video data via RTSP Off disable disables authentication 7 5 3 3 Security service settings Enable SSH enables the Telnet interface Enable illegal login lock after enabling access to the cam...

Page 37: ...r for the time Date format select a display format for the date Display mode select between flashing or non flashing display for all overlays OSD size select the size for a character Options 16x16 32x32 48x48 64x64 pixels auto The auto option automatically adapts the character size to the image size Font colour select the colour for displaying characters The colour palette for a custom selection c...

Page 38: ... is already set up and can be adjusted if required NTP port enter the NTP port here The standard port for NTP is 123 Interval select an update interval Manual manual setting of date and time Click in the date time field to open a configuration menu Synchronisation with computer time use the current PC time currently being used for access after saving the settings Enable summer time DST tick the bo...

Page 39: ... are Export configuration exports the entire camera configuration into a file Import configuration imports a previously exported configuration of the same camera type Reset settings resets the camera to factory settings except network settings Selecting Include network also resets the network settings ...

Page 40: ...his file for updating Press the Upload button to start the update Restart Press the Reboot button to complete the restart manually Reboot schedule enables scheduled reboot The reboot can be carried out every x days at a certain time 7 5 6 3 Log file Log file data relevant to the system is recorded in the log file This can help with troubleshooting for example Export exporting the log file into ano...

Page 41: ...utton draw rectangle in the preview using left mouse button press button again to finish drawing Delete all delete all areas Day night switching defines how motion detection is applied during the day or night mode Off settings for day and night are identical Automatic switching settings are automatically coupled to automatic day night switching Schedule settings for day and night are applied accor...

Page 42: ...nd triggered statuses NO normally open normal status open NC normally closed normal status closed 7 5 7 3 Alarm output only IPCB42550 Alarm output Select the alarm output to be configured here number depends on camera model Alarm name enter the name here Dwell time select the duration of switching output activity in the event of an alarm Manual The output is only activated for as long as the event...

Page 43: ... from the list Only one trigger can be configured for each rule Schedule an alarm rule can be enabled in 30 minute intervals This is highlighted directly in the matrix on the left red enabled Delete all deletes the entire schedule Mark all selects the entire schedule Action one or more actions can be defined for the rule on this page 7 5 9 Recording ...

Page 44: ...ng and configuration video data are either saved constantly or at certain times and if necessary when an event occurs The schedule can be configured using the Edit button 7 5 9 2 Storage management Device list indicates the available storage media in the camera SD card Format formats the selected storage medium Attention all data are deleted Information shows more storage medium information 7 5 9 ...

Page 45: ...101 7 5 9 4 Snapshot ...

Page 46: ...mine the schedule for storage here Enable event triggered snapshot after enabling single frames are saved to the SD card if an event occurs motion detection video tampering alarm input alarm output tripwire intrusion detection Number of images here you can define the number of images saved after an event 1 120 7 5 10 Audio Audio encoding select the audio encoding for audio transmission here G 722 ...

Page 47: ...e of the PC as long as this language is available in the camera If the language is not available it will be displayed in English 7 5 12 Service Country of service select the country where the installer of the camera will be contacted in the event of service Send information to ABUS sends the configuration file without passwords and the log file to ABUS support This confirmation must be confirmed b...

Page 48: ...lect the encoding format for saving single frames using the browser live interface Record file size Select the size of video sequences for saving videos using the browser live interface Save record files to Select the path for video recording Save downloaded files to Select the path for video files downloaded from the SD card Save live snapshots to Select the encoding format for saving images usin...

Page 49: ...on Please note You do not need to perform any maintenance on the product There are no components requiring servicing or checking inside the product Never open it 8 2 Cleaning Clean the product with a clean dry cloth The cloth can be dampened with lukewarm water to remove stubborn dirt Make sure that no liquids enter the inside of the device as this will destroy it Do not use any chemical cleaning ...

Reviews: