background image

Summary of Contents for ADDAC604

Page 1: ......

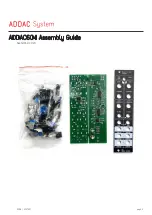
Page 2: ...September 2020 ADDAC604 Assembly Guide ADDAC SYSTEM page 2...

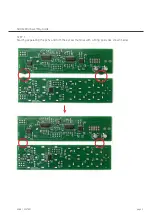
Page 3: ...ADDAC SYSTEM page 3 STEP 1 Start by separating the pcbs and trim the excess material with cutting pliers like shown below ADDAC604 Assembly Guide...

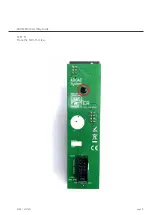
Page 4: ...the 3 pin male and female pinheaders and use a pliers to remove the middle pin like shown below STEP 3 Locate the remaining pinheaders and place them like shown below Then proceed to solder all pins...

Page 5: ...ADDAC SYSTEM STEP 4 Next locate and solder the 2x5 power connector notice the hole orientation marking on the pcb page 5 STEP 5 Proceed by placing the spacer ADDAC604 Assembly Guide...

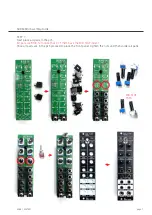
Page 6: ...STEP 6 Next locate all 6 plastic shaft trim pots and flatten out their legs with the help of some pliers like shown below ADDAC SYSTEM page 6 ADDAC604 Assembly Guide...

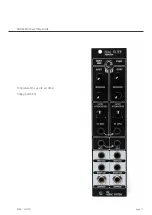
Page 7: ...parts in the pcb All pots are B103 but notice that 2 of them have the MID STOP indent Once all parts are in the pcb proceed to place the front panel tighten the nuts and then solder all pads MID STOP...

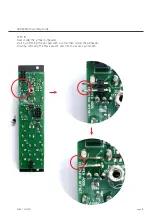
Page 8: ...M page 8 STEP 8 Next solder the jumper pinheader start by trimming the pot pad with a cutter then solder the pinheader finish by removing the black plastic and trim the excess pin length ADDAC604 Asse...

Page 9: ...ADDAC SYSTEM page 9 STEP 9 Place the bottom screw ADDAC604 Assembly Guide...

Page 10: ...ADDAC SYSTEM page 10 Congratulations you re all done Happy patching ADDAC604 Assembly Guide...

Page 11: ...For feedback comments or problems please contact us at addac addacsystem com ADDAC604 ASSEMBLY GUIDE September 2020 Revision 01...

Reviews: