Installation Guide
ADT Pulse
®
Interactive Solutions
Model: ADT Pulse Gateway PGZNG1
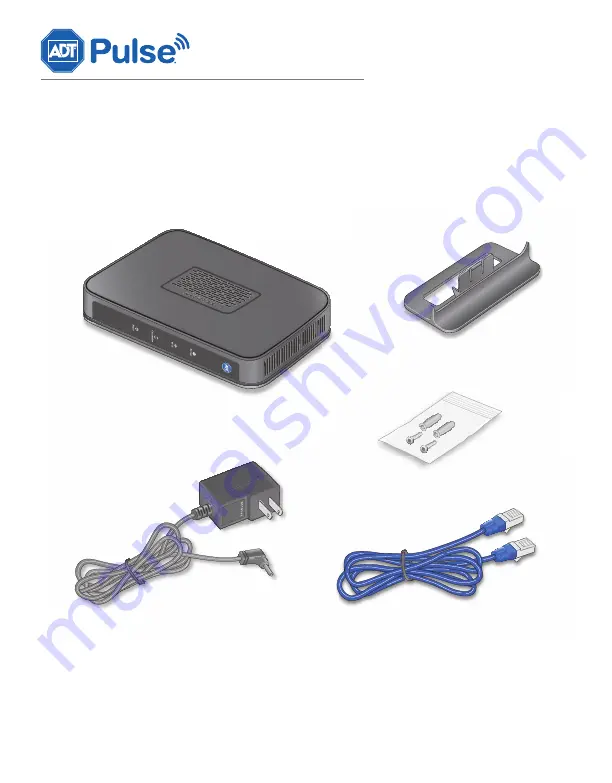
Package Contents
Warning:
Do not
stack equipment, or place equipment in tight spaces, in drawers, or on
carpets. Make sure that your equipment is surrounded by at least 2 inches (5 centimeters) of
air space.
Gateway
Ethernet Cable
Stand
Power Adapter
Wall Mount Kit
Connecting the Gateway
1.
Verify the package contents.
2.
Decide where to place the Gateway.
Note: For best Wi-Fi coverage, identify a relatively central location within the
premises. Ensure that the Gateway can be conveniently wired to both the broadband
router and security panel, and is close to an AC outlet.
3.
Install the Gateway in the proper orientation:
•
Mount vertically (using the stand or wall mount kit) if the security panel and most
devices are on the same floor as the Gateway.
•
Place horizontally if the security panel, devices and Gateway occupy multiple
floors.
4.
Connect the cables following steps a through d below.
a.
Use a 4-wire cable to connect the Security Panel to the Security connector on the
Gateway.
Notes:
•
The security panel connection requires one of the following: Honeywell
HSPIM, DSC Communicator Module, GE Automation Module.
•
Wiring: Tx(-) to Rx(-), Tx(+) to Rx(+), Rx(-) to Tx(-), Rx(+) to Tx(+).
•
Wires must be stripped and seated deeply in terminal connection points.
b.
Connect an Ethernet cable from one of the open ports of the broadband router to
the Broadband Ethernet port of the Gateway.
c.
Pull wires gently to verify that Gateway connections are secure.
d.
Plug the power cord into the Gateway and then plug the power adapter into an AC
outlet.
5.
Wait until the Power and Devices LEDs on the Gateway become solid green (this could
take a few minutes).
6.
To begin the installation process, go to https://portal.adtpulse.com/activation and use
installer credentials to log into the ADT Pulse system.
Horizontal Mount
Wall Mount
Vertical Mount
5 1/2 inches
3/16 inches
Broadband Router
Gateway
Security Panel
Gateway
TX+
TX-
RX+
RX-
TX+
TX-
RX+
RX-
Security Panel


