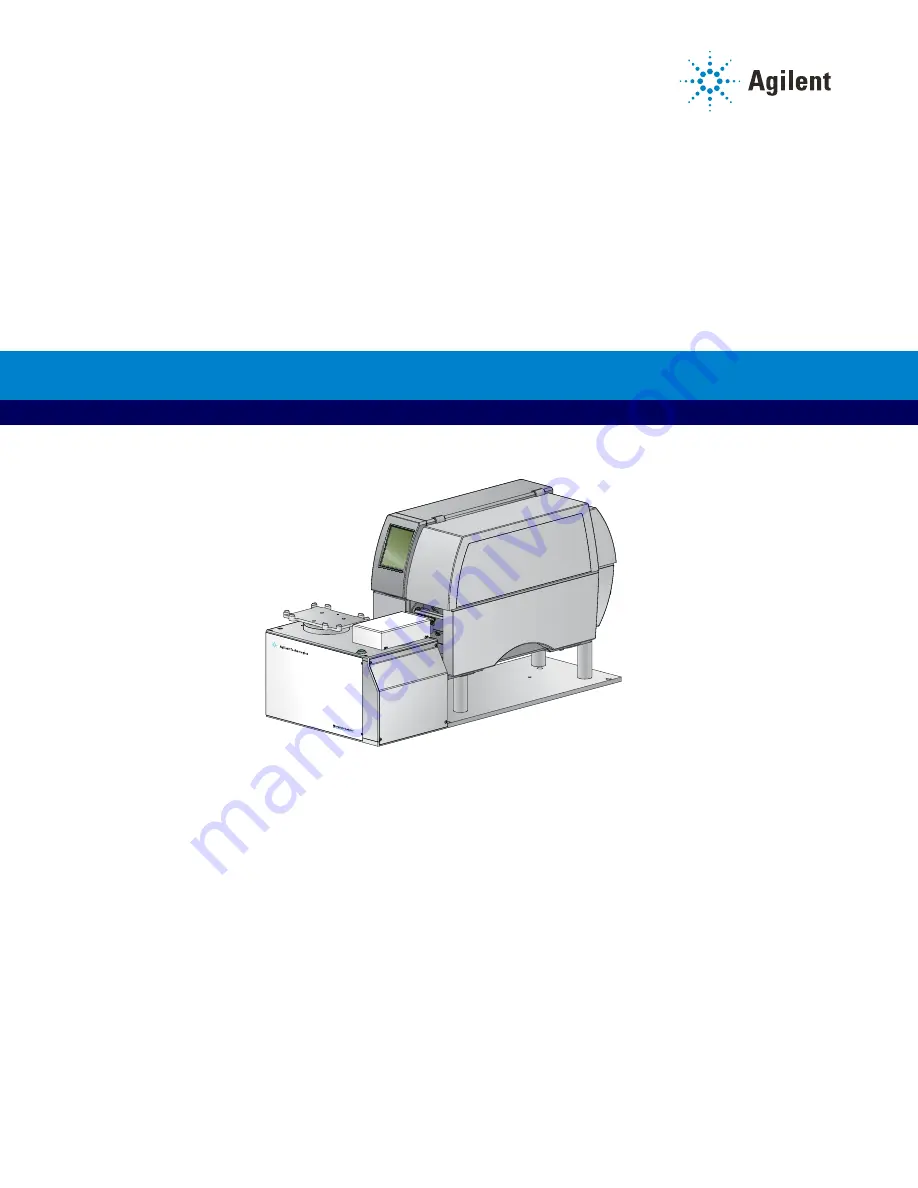
Summary of Contents for G5581A

Page 1: ... Loading labels and ribbon on page 8 Starting up and shutting down on page 16 Opening Diagnostics on page 17 Initializing the device on page 19 Performing a print and apply test on page 20 Using the printer touchscreen on page 23 Running a labeling protocol on page 25 Cleaning the printer components on page 27 G5581A Microplate Labeler Quick Guide ...

Page 2: ...VWorks Automation Control User Guide Note This guide does not contain instructions for using the ActiveX Control to run the Microplate Labeler For information on how to access Microplate Labeler Diagnostics using the ActiveX control see the Microplate Labeler ActiveX User Guide Where to find the user documentation To access the user guides for Agilent Automation Solutions products do one of the fo...

Page 3: ...ion of the device and that you have read the Agilent Automation Solutions Products General Safety Guide Emergency stops If the Microplate Labeler is integrated in an automation workstation follow the emergency stop protocol for that system To stop the Microplate Labeler in an emergency 1 Unplug the power cord from the Microplate Labeler or set the power switch to off O Make sure that the point at ...

Page 4: ...he cover open or with the cover removed ensure that you keep clear of the exposed rotating parts Burn hazard WARNING The printer can become hot while printing Do not touch the printer components during operation Allow the printer to cool down before changing the media or cleaning the printer components Item Description 1 Plate stage Automatically rotates side to side during labeling to present the...

Page 5: ...pplicator head green button electronics and the connection panel back side for the device 3 Plate stage Provides a platform to support a plate delivered by a robot or a person The plate stage rotates side to side to enable labeling on all four sides of a microplate The plate stage rotation also allows the optional barcode reader to read any side of a microplate The plate stage can move up and down...

Page 6: ...on panel back view 6 Vacuum pads Uses vacuum to pick up a label from the printer and uses compressed air to apply the label to a microplate on the plate stage 7 Printer peelbar Provides a platform for presenting each label to the applicator head vacuum pads As the label strip travels over the printer peelbar each label lifts off the label backing slightly to allow the applicator head to pick up th...

Page 7: ...t the applicator head uses to pick up labels from the printer Apply labels to a microplate 2 Ethernet port Connects an Ethernet cable from the controlling computer to the Microplate Labeler for communication IMPORTANT Ethernet is the recommended mode of communication If you connect to the device using the Ethernet port you do not use the serial port 3 Barcode reader port Connects the cable from th...

Page 8: ... are also displayed on the touchscreen Loading labels and ribbon Before you start Ensure that you have the Agilent Microplate Labeler Media Kit The kit contains a one to one quantity of ribbon and labels so that you can replace them at the same time The kit contents are roll of labels thermal transfer ribbon empty ribbon core functions as a spool to rewind the used ribbon and cleaning pen WARNING ...

Page 9: ...te Labeler Quick Guide Figure Printer side view showing the feed paths of the ribbon red and labels blue You can use the following procedures or you can access videos of how to remove and load the media from the Help menu on printer touchscreen ...

Page 10: ... green knob clockwise to contract the hub and loosen the empty roll Slide the roll off of the hub 2 Lift the printhead lever 2 counterclockwise to lift the printhead 3 While firmly grasping the take up hub 3 turn the green take up knob clockwise to contract the hub and loosen the used roll of ribbon Slide the used roll off of the take up hub 4 Lift the remaining ribbon out of the printer IMPORTANT...

Page 11: ...e to expand the hub and secure the ribbon roll 2 Ensure the printhead lever 2 is up to lift the printhead and then guide the ribbon under and around the printhead WARNING The printhead can be hot after use Allow the printhead to cool before changing the ribbon The printhead is the narrow bar that presses the image through the ribbon and onto the label as the media move onto the print roller CAUTIO...

Page 12: ...ocedure If you are finished loading all media turn the printhead lever 2 clockwise to lower the printhead Removing a used label roll See the following figure for the component locations referenced in the procedure To remove a used label roll 1 If the printhead is not already in the up position lift the printhead lever 1 counterclockwise to lift the printhead 2 Push down on the pinch roller lever 2...

Page 13: ...roll so that it feeds counterclockwise with the label side up 4 Reposition the margin stop 2 on the roll retainer 3 5 While firmly pushing the margin stop against the label roll 4 turn the green locking ring 1 clockwise so that the arrow points to securing the label roll in position IMPORTANT To ensure the roll feeds properly and label presentation is repeatable the margin stop must be firmly in p...

Page 14: ... the printhead lever 5 counterclockwise to lift the printhead 2 Slide the red guide ring 8 to the end of the axis bar 3 Guide the label strip below the axis bar and through the label sensor 7 so that the label strip exits the print unit between the printhead and the print roller 6 4 Push the guide ring 8 on the axis bar against the outer edge of the label strip 5 7 6 8 ...

Page 15: ...firmly turn the green knob clockwise until it stops 4 Insert the label strip under the three brackets on the rewinder 11 and turn the green knob counterclockwise until it stops The rewinder is fully expanded gripping the label strip firmly The inside edge of the label strip should be flush against the printer 5 Turn the rewinder 11 counterclockwise to tighten the label strip 6 Push up on the pinch...

Page 16: ...the Microplate Labeler 1 Turn on the air supply 2 On the Microplate Labeler connection panel check the air pressure gauge see figure 1 Verify the air pressure is set within the following range 0 55 MPa 80 psi to 0 58 MPa 85 psi Figure Connection panel showing Ethernet connection Note In Microplate Labeler Diagnostics click the I O tab to view the air pressure readout after the pressure has been re...

Page 17: ... Shut down the Microplate Labeler before you install a barcode reader perform maintenance clean or move the Microplate Labeler To shut down the Microplate Labeler 1 Exit the automation control software 2 Shut down the computer and turn off the monitor 3 On the Microplate Labeler connector panel press the power switch to the off o position 4 Turn off the air supply Opening Diagnostics You use Micro...

Page 18: ...Opening Diagnostics 18 G5581A Microplate Labeler Quick Guide Figure Device tab in the VWorks window Figure Microplate Labeler Diagnostics ...

Page 19: ...ld you like to initialize the devices now message appears and enables you to initialize the associated devices You can also initialize the device in the VWorks device manager Initializing the device in diagnostics If you want to control the device using Microplate Labeler Diagnostics you initialize the profile in diagnostics To initialize a profile in Microplate Labeler Diagnostics 1 Open Micropla...

Page 20: ...croplate Labeler device and then click Initialize selected devices Performing a print and apply test When to do a test Perform a print and apply test when first setting up your Microplate Labeler after creating a new label format when loading new labels and ribbon or when troubleshooting printing problems Testing helps you detect problems such as Incorrect height settings for the plate stage Incor...

Page 21: ...ter and not the printer so it can be used for testing purposes only Manually placing a microplate on the plate stage To place a microplate on the plate stage 1 Orient the microplate so that the A1 well is in the far left corner matching the A1 label on the plate stage 2 Carefully lower the microplate onto the stage making sure that the microplate lies flat When the microplate is on the plate stage...

Page 22: ...d into a barcode before printing 3 In the Testing Options area select Print and apply 4 Select the compass points corresponding to one or more sides that you want to apply labels to for example North and West IMPORTANT Make sure that the height of the plate stage is suitable for the type of microplate being labeled and that there is a microplate on the plate stage 5 In the Number of cycles list se...

Page 23: ...d as part of the Microplate Labeler Using the touchscreen menus to change the printer settings can cause the Microplate Labeler to fail IMPORTANT The printer display must show the Ready message before you can initialize the device During operation the software displays operator messages and error messages on the computer screen Touchscreen start page Figure Touchscreen start page Icon See Opens th...

Page 24: ...llowing items Info Displays information about the printer including firmware version Ethernet connection hours or operation and number of labels and so forth Help Displays videos on how to clean the printhead load labels and load ribbon All other menu items are for Agilent use only CAUTION Do not use the touchscreen to adjust the printer settings unless directed to do so by Agilent Technical Suppo...

Page 25: ...e protocol 2 Ensure that the labware to be labeled matches the labware specified in the protocol and that the labware is placed in the location specified in the protocol for example BenchCel stacker 1 3 Ensure that the Control Toolbar displays If is displayed click the button to turn off the simulation mode 4 Ensure that all the devices in the protocol are initialized Figure Example of a labeling ...

Page 26: ...y after you complete the configuration wizard Before you click Finish verify that the system is set up and the protocol is ready to run To monitor the progress of the run check the Progress tab at the bottom of the VWorks window Pausing a run To pause and continue a run 1 On the VWorks toolbar click The task currently in progress finishes before the protocol pauses The Scheduler Paused dialog box ...

Page 27: ...efore you attempt to clean the printer components For details see Loading labels and ribbon on page 8 WARNING To avoid risk of electric shock turn off the Microplate Labeler and disconnect the power cord before performing any maintenance or cleaning WARNING The printhead is hot after use To avoid risk of injury ensure the printhead has cooled down before cleaning CAUTION To avoid damage to the pri...

Page 28: ...ckwise lifting the printhead 2 2 Use the special cleaning pen to clean the printhead surface 2 The printhead is the narrow bar that presses the image through the ribbon and onto the label as the media move into position on the print roller Alternatively if you do not have the cleaning pen use a cotton swab dipped in isopropyl alcohol 3 Use isopropyl alcohol and a soft cloth to remove any deposits ...

Page 29: ...www agilent com Agilent Technologies Inc 2020 January 2020 D0001780 D0001780 Revision A ...

Reviews: