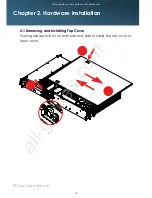
AIC RSC-2AT, User Manual
The AIC RSC-2AT is a cutting-edge industrial robot ideal for various applications. To ensure seamless operation, make sure to consult the User Manual available for free download on our website. Familiarize yourself with the manual to maximize the efficiency and performance of your robot. Download it now from 88.208.23.73:8080.
Share
Download


Reviews:
No comments
Related manuals for RSC-2AT

cDAQ-9138
Brand: National Instruments Pages: 4
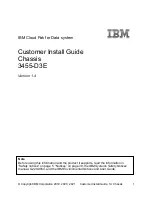
3455-D3E
Brand: IBM Pages: 46

GA88-B8021
Brand: TYAN Pages: 194

VSLOT
Brand: Ambient Recording Pages: 15

Prosody X
Brand: aculab Pages: 22

IB-565SSK
Brand: Icy Box Pages: 24
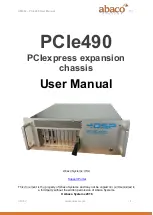
4DSP PCIe490
Brand: abaco systems Pages: 9

Socle Box
Brand: Riello Pages: 8

D Frame 2.0
Brand: In Win Pages: 15

X10G
Brand: Forcepoint Pages: 2

2001-21
Brand: Cross Technologies Pages: 5

BT6OC4E
Brand: AndyMark Pages: 21

TileRunner Bulldozer
Brand: AndyMark Pages: 21


