

Summary of Contents for 56515851
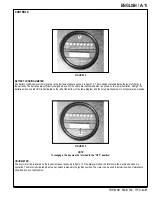
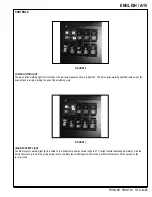
Page 49: ......
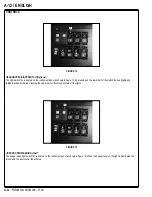
Page 53: ...ESPAÑOL B 5 FORM NO 56041720 7730 B 5 ...
Page 97: ......
Page 98: ......
Page 99: ......
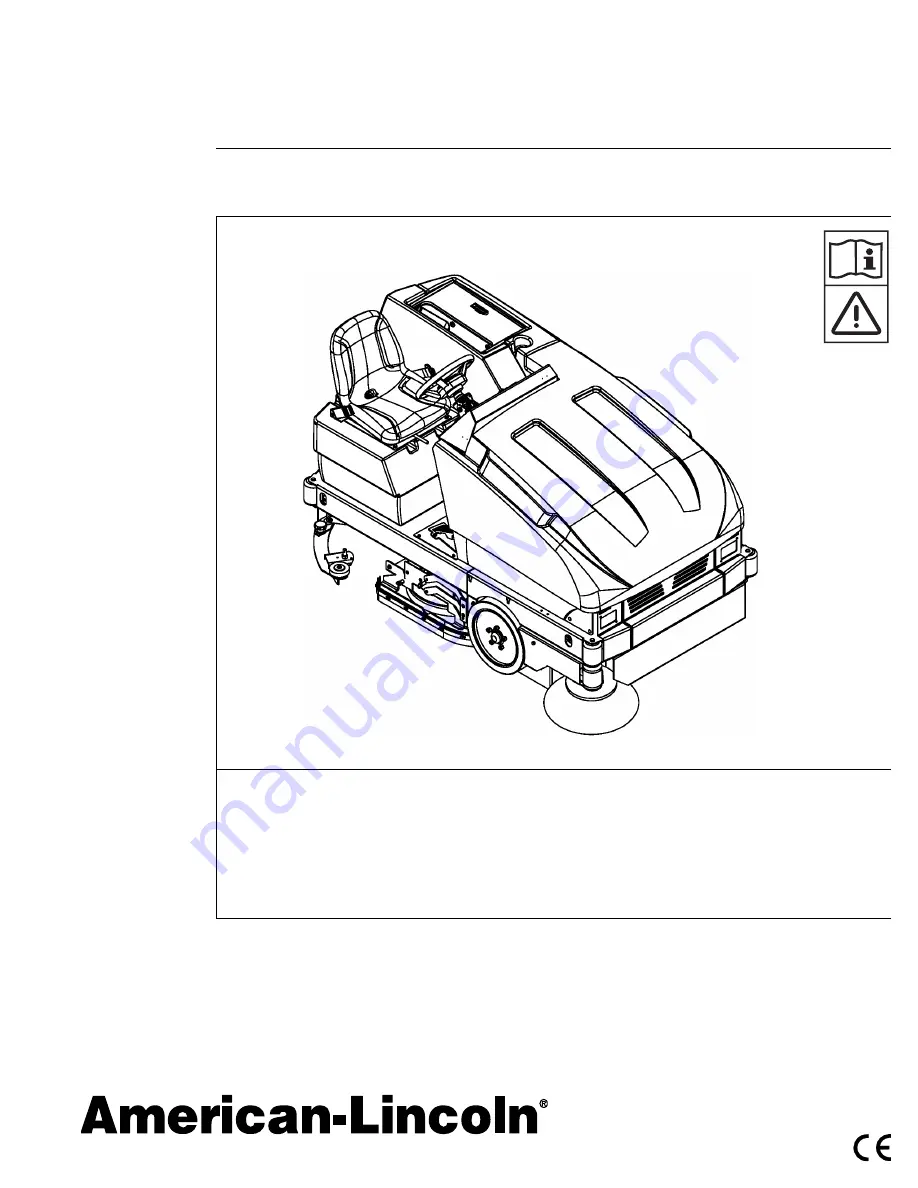
The American-Lincoln 56515851 Instructions For Use Manual is a comprehensive user guide essential for operating and maintaining your American-Lincoln product. This manual provides detailed instructions and troubleshooting tips, ensuring optimal performance. Download this manual for free from 88.208.23.73:8080 and unlock a wealth of valuable information to enhance your user experience.
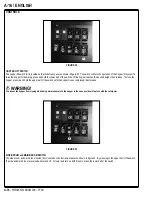
Page 49: ......
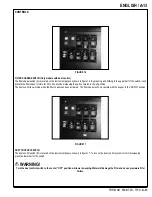
Page 53: ...ESPAÑOL B 5 FORM NO 56041720 7730 B 5 ...
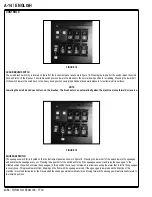
Page 97: ......
Page 98: ......
Page 99: ......


