background image

Simple Assembly Instructions

 - 

Please keep for future reference

IMPORTANT

1

. Read these instructions carefully and

    familiarise yourself with the procedure

    before assembling the unit.

2

. Check that you have all the component

    parts following the list on the back


cover and familiarise yourself with

    each part before proceeding.

3

. Take all the fittings out of the plastic bag

    and separate them into their groups.

4

. Ensure you have enough space to lay out

    all the parts before assembly.

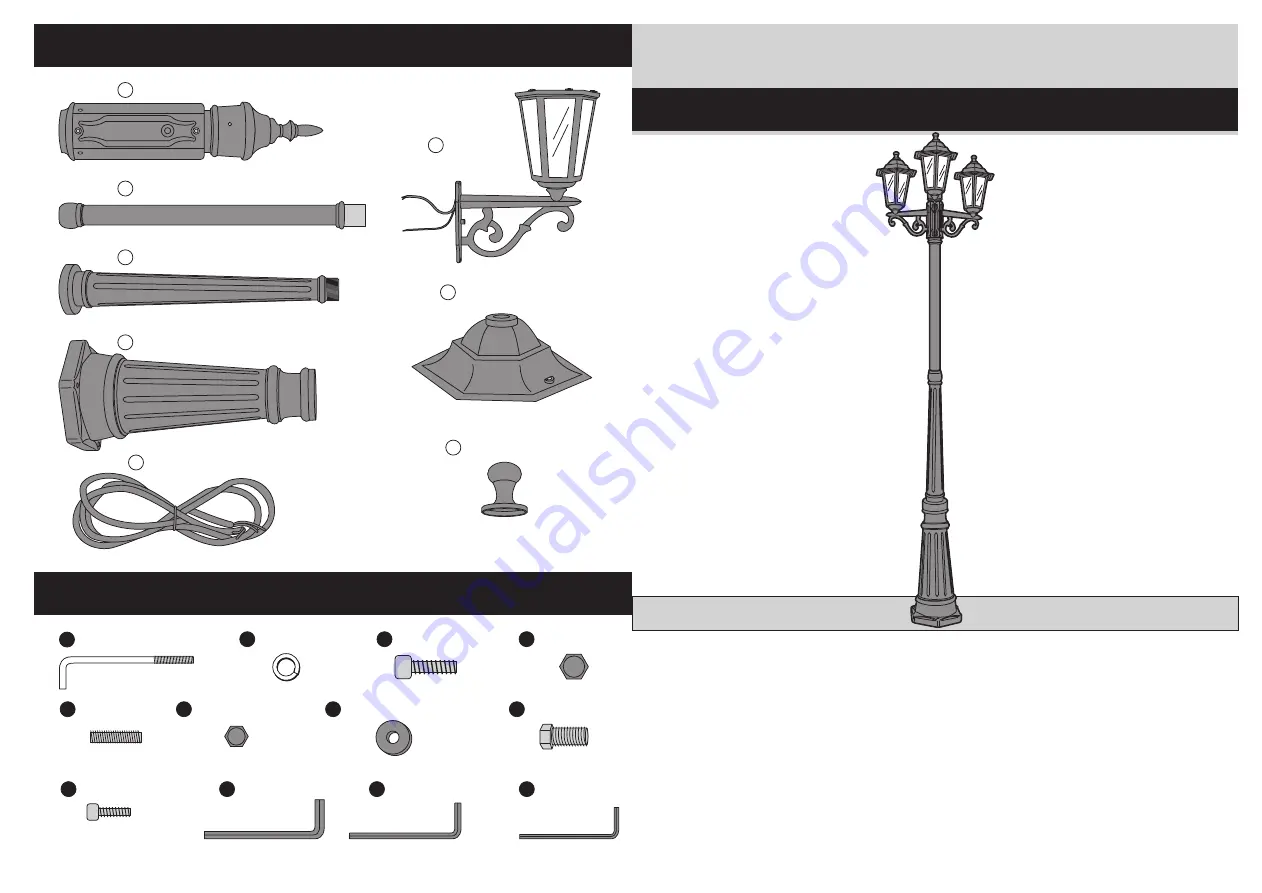
Three Head Street Lamp

Components

Fittings

5

. To avoid scratching it is recommended

    that you assemble the unit on a soft

    level surface.

11-08

A 1 x Head

1 x Top Tube

B

1 x Middle Tube

C

1 x Base

D

F 3 x Lamp Head

G 1 x Wires

H 3 x Lamp Top

(Fitted to Lamp Head)

A

3 x Peg

B

3 x Spring

C

3 x Screw

D

3 x Big Nut

E

6 x Screw

F

6 x Small Nut

G

3 x Plastic Washer

(Fitted to Lamp Head)

H

3 x Screw

(Fitted to Lamp Head)

J

6 x Screw

K

1 x Tool

L

1 x Tool

M

1 x Tool

(Fitted to Head)

E 3 x Lamp

Summary of Contents for Elega 432/5217

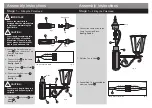
Page 1: ...ate them into their groups 4 Ensure you have enough space to lay out all the parts before assembly Three Head Street Lamp Components Fittings 5 To avoid scratching it is recommended that you assemble the unit on a soft level surface 11 08 A 1 x Head 1 x Top Tube B 1 x Middle Tube C 1 x Base D F 3 x Lamp Head G 1 x Wires H 3 x Lamp Top Fitted to Lamp Head A 3 x Peg B 3 x Spring C 3 x Screw D 3 x Bi...

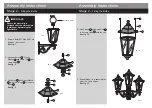
Page 2: ...ires from Lamp E through Head A See fig 4 3 Remove Screws J from Head A See fig 4 5 Use Screws J to fix Lamp E onto Head A See fig 4 6 Connect the Lamp wires to the Lamp Connection Block See fig 5 and 6 7 Refit the Top to Head A 8 Repeat Step 1 9 to assemble the other two Lamps E CAUTION We strongly recommend this light is fitted by a Qualified Electrician If you are in any doubt please ask the re...

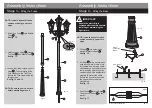
Page 3: ...H Plastic Washer G and Lamp Top H from Lamp Head F See fig 8 3 Use Screw H and Plastic Washer G to fix Lamp Top H onto Lamp Head F See fig 9 4 Use Screws E and Small Nuts F to fix Lamp Head F onto the unit See fig 10 5 Repeat Steps 1 4 to assemble the other two Lamp Heads See fig 11 E27 Max 60W H G H G IMPORTANT Ensure the electricity is switched off at the mains before installing or maintaining t...

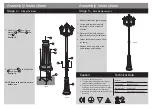
Page 4: ...n Pole Head A Then carefully fit the Pole Head onto the Top Tube Secure the Pole Head using the fixing screws See fig 13 and 14 1 Fit Pegs A into holes in the triangular plate in Base D See fig 15 2 Set Pegs A into a secure base such as concrete where it is to be located Run a mains cable connected to a light switch to the lamp bringing it up though the centre of pegs Use appropriate sleeving to p...

Page 5: ... Loosen the bulb and remove it from the lamp 5 Replace with a new bulb of the same voltage and wattage Technical Data Caution Model No Input Voltage Max Wattage Bulb 432 5217 220 240V 50Hz 3 x Max 60W Max 60W E27 230V 240V 1 Connect to 230V 240V 50Hz 2 If in doubt about fitting this product Please consult a suitably qualified electrician 3 The temperature of the spot lamp rises very quickly Do not...

Reviews: