


SAFETY NOTICE:
If this heater is not properly installed, a house fire may result. To reduce the risk of fire, follow
the installation instructions. Contact local building or fire officials about permits, restrictions and inspection
requirements in your area.
852441-2404F
United States Stove Company
227 Industrial Park Rd.
P.O.Box 151
South Pittsburg, TN 37380
(423) 837-2100
www.USSTOVE.com
CAUTION:
Please read this entire manual before you install and use your new room heater. Failure to follow
instructions may result in property damage, bodily injury, or even death.
DO NOT USE THIS HEATER IN A MOBILE HOME OR TRAILER
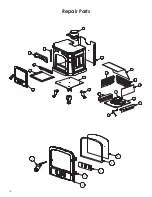
• ASSEMBLY
• INSTALLATION
• OPERATION REPAIR
• PARTS
Conforms To:
UL 1482
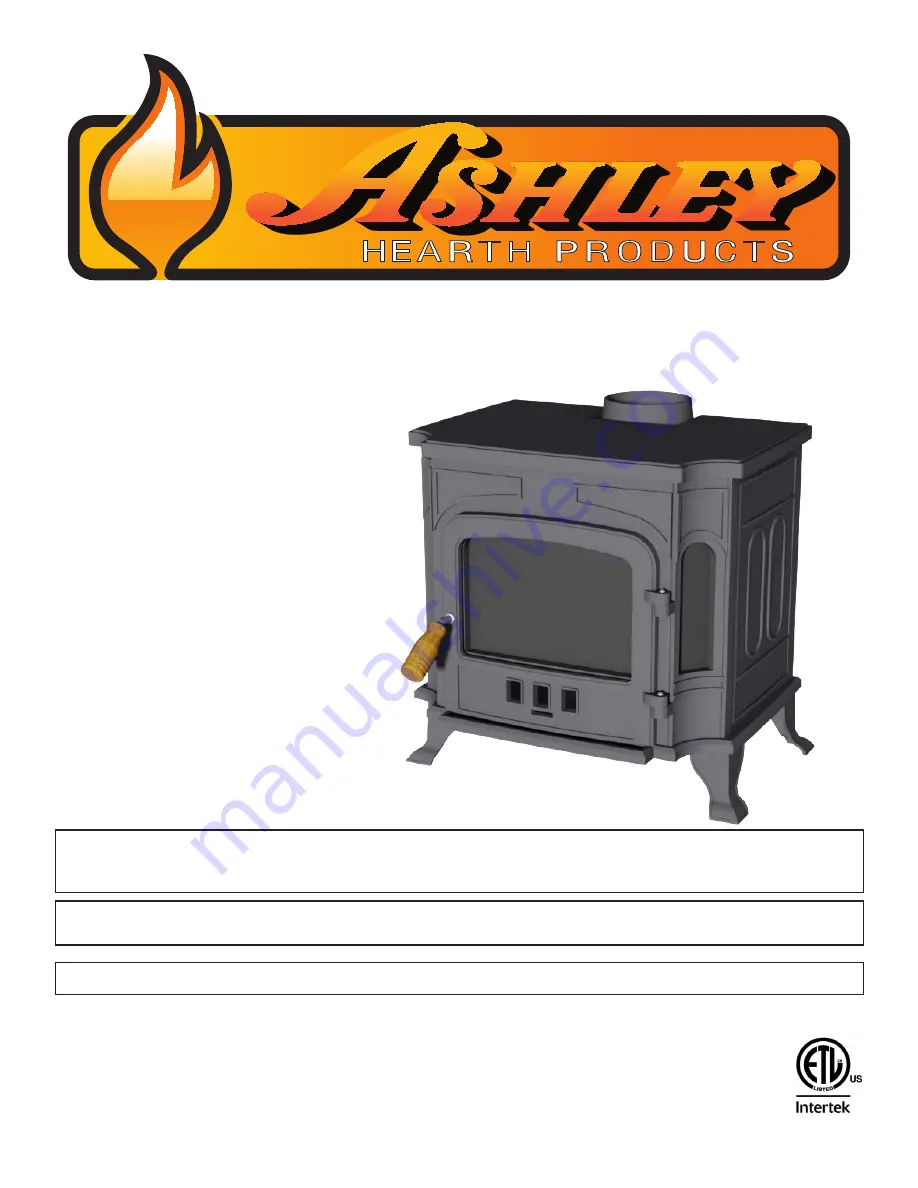
Installation and Operating Manual
Model AWC11
Coal Only Stove


